Lantronix xPrintServer - Office User Guide - Page 61
Testing Remote User Authentication, Domain Name, Admin, Active Directory
 |
View all Lantronix xPrintServer - Office manuals
Add to My Manuals
Save this manual to your list of manuals |
Page 61 highlights
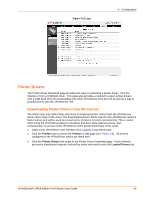
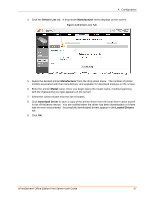
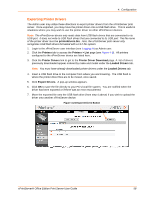
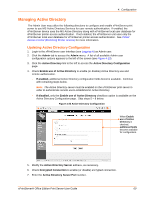
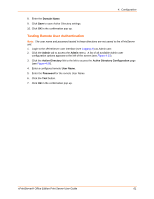
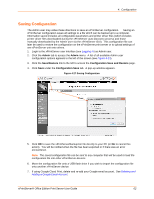
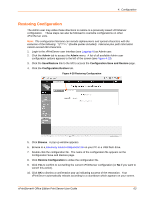
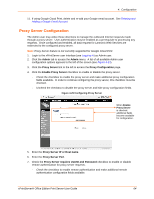
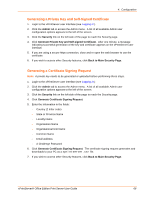
4: Configuration 8. Enter the Domain Name. 9. Click Save to save Active Directory settings. 10. Click OK in the confirmation pop-up. Testing Remote User Authentication Note: The user name and password tested in these directions are not saved to the xPrintServer unit. 1. Login to the xPrintServer user interface (see Logging In) as Admin user. 2. Click the Admin tab to access the Admin menu. A list of all available Admin user configuration options appears to the left of the screen (see Figure 4-13). 3. Click the Active Directory link to the left to access the Active Directory Configuration page (see Figure 4-26). 4. Enter a configured remote User Name. 5. Enter the Password for the remote User Name. 6. Click the Test button. 7. Click OK in the confirmation pop-up. xPrintServer® Office Edition Print Server User Guide 61
-
 1
1 -
2
-
3
-
4
-
5
-
6
-
7
-
8
-
9
-
10
-
11
-
12
-
13
-
14
-
15
-
16
-
17
-
18
-
19
-
20
-
21
-
22
-
23
-
24
-
25
-
26
-
27
-
28
-
29
-
30
-
31
-
32
-
33
-
34
-
35
-
36
-
37
-
38
-
39
-
40
-
41
-
42
-
43
-
44
-
45
-
46
-
47
-
48
-
49
-
50
-
51
-
52
-
53
-
54
-
55
-
 56
56 -
 57
57 -
 58
58 -
 59
59 -
 60
60 -
 61
61 -
 62
62 -
 63
63 -
 64
64 -
 65
65 -
 66
66 -
67
-
68
-
69
-
70
-
71
-
72
-
73
-
74
-
75
-
76
-
77
-
78
-
79
-
80
-
81
-
82
-
83
-
84
-
85
-
86
-
87
-
88
-
89
-
90
-
91
-
92
-
93
-
94
 |
 |
