Canon PC300 Instruction Manual - Page 92
Logging In to the Web Menu, See Configuring Administrator Settings, on p. 3-8.
 |
View all Canon PC300 manuals
Add to My Manuals
Save this manual to your list of manuals |
Page 92 highlights
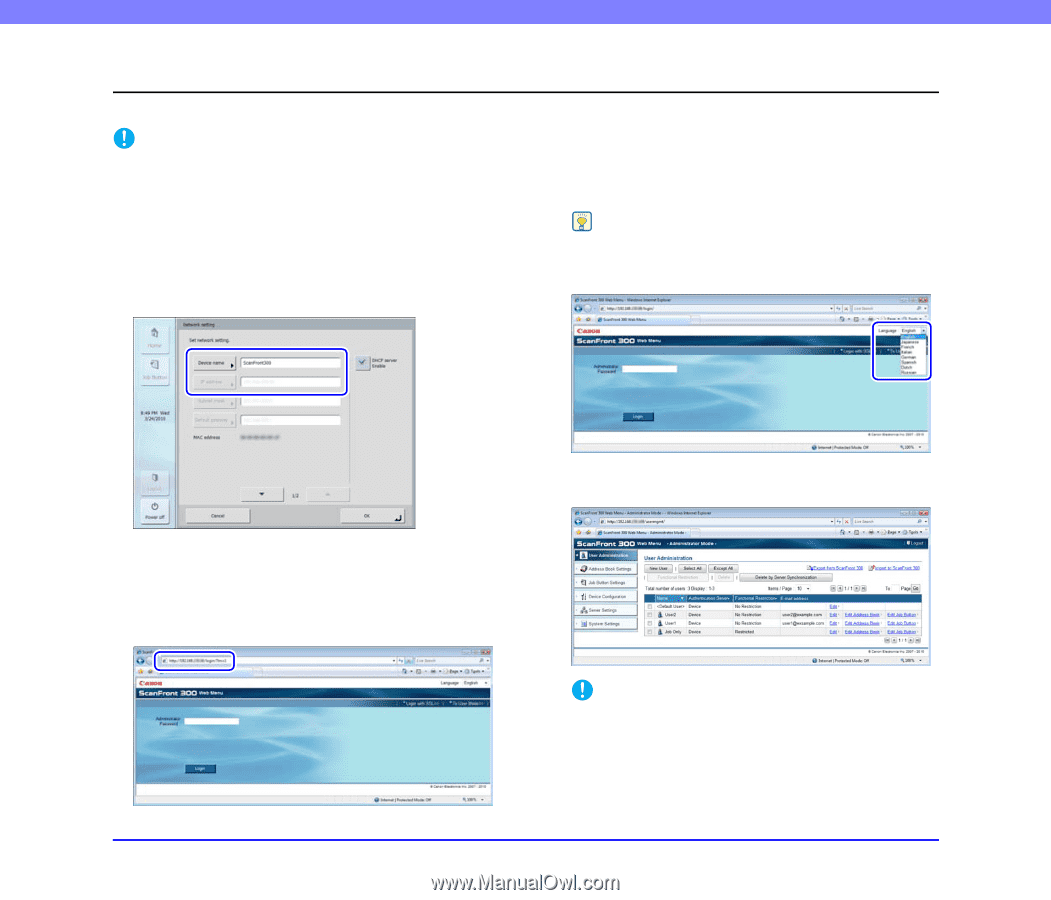
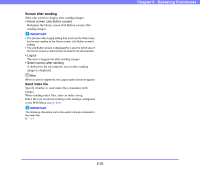
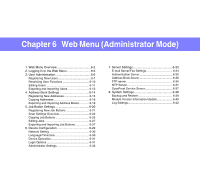
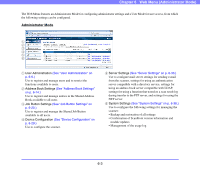
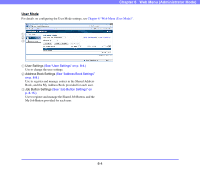
Chapter 6 Web Menu (Administrator Mode) 2. Logging In to the Web Menu You can log in to the Web Menu using the following procedure. IMPORTANT Use the device name or the IP address assigned to the scanner as the URL for accessing the Web Menu. For details on the device name and the IP address, see "Configuring Administrator Settings" on p. 3-8. 1. Turn the scanner ON. 2. Log in to [Administrator setting], open the network settings, and confirm the device name or the IP address. (See "Configuring Administrator Settings" on p. 3-8.) Hint If the Web Menu does not appear in the desired language, select the desired language in the [Language] box to switch the Web Menu display. 3. Launch the Web browser on the computer. 4. Enter the device name or the IP address as the URL to open the Web Menu. Ex.) http://scanfront300 when the device name is ScanFront300, and http://172.19.xxx.xxx for the IP address. 5. Click [Login] to log in to the Web Menu (Administrator Mode). IMPORTANT • If a password has been set under [Administrator setting] on the scanner, enter the Administrator password to log in. • Passwords are case-sensitive. Make sure to enter the password correctly. 6-5
-
 1
1 -
2
-
3
-
4
-
5
-
6
-
7
-
8
-
9
-
10
-
11
-
12
-
13
-
14
-
15
-
16
-
17
-
18
-
19
-
20
-
21
-
22
-
23
-
24
-
25
-
26
-
27
-
28
-
29
-
30
-
31
-
32
-
33
-
34
-
35
-
36
-
37
-
38
-
39
-
40
-
41
-
42
-
43
-
44
-
45
-
46
-
47
-
48
-
49
-
50
-
51
-
52
-
53
-
54
-
55
-
56
-
57
-
58
-
59
-
60
-
61
-
62
-
63
-
64
-
65
-
66
-
67
-
68
-
69
-
70
-
71
-
72
-
73
-
74
-
75
-
76
-
77
-
78
-
79
-
80
-
81
-
82
-
83
-
84
-
85
-
86
-
 87
87 -
 88
88 -
 89
89 -
 90
90 -
 91
91 -
 92
92 -
 93
93 -
 94
94 -
 95
95 -
 96
96 -
 97
97 -
98
-
99
-
100
-
101
-
102
-
103
-
104
-
105
-
106
-
107
-
108
-
109
-
110
-
111
-
112
-
113
-
114
-
115
-
116
-
117
-
118
-
119
-
120
-
121
-
122
-
123
-
124
-
125
-
126
-
127
-
128
-
129
-
130
-
131
-
132
-
133
-
134
-
135
-
136
-
137
-
138
-
139
-
140
-
141
-
142
-
143
-
144
-
145
-
146
-
147
-
148
-
149
-
150
-
151
-
152
-
153
-
154
-
155
-
156
-
157
-
158
-
159
-
160
-
161
-
162
-
163
-
164
-
165
-
166
-
167
-
168
-
169
-
170
-
171
-
172
-
173
-
174
-
175
-
176
-
177
-
178
-
179
-
180
-
181
-
182
-
183
-
184
-
185
-
186
-
187
-
188
-
189
-
190
-
191
-
192
-
193
 |
 |