Epson RX500 User's Guide - Page 110
Head Cleaning, Press the Color, Examine the nozzle check pattern you print. It should look like
 |
UPC - 010343848467
View all Epson RX500 manuals
Add to My Manuals
Save this manual to your list of manuals |
Page 110 highlights
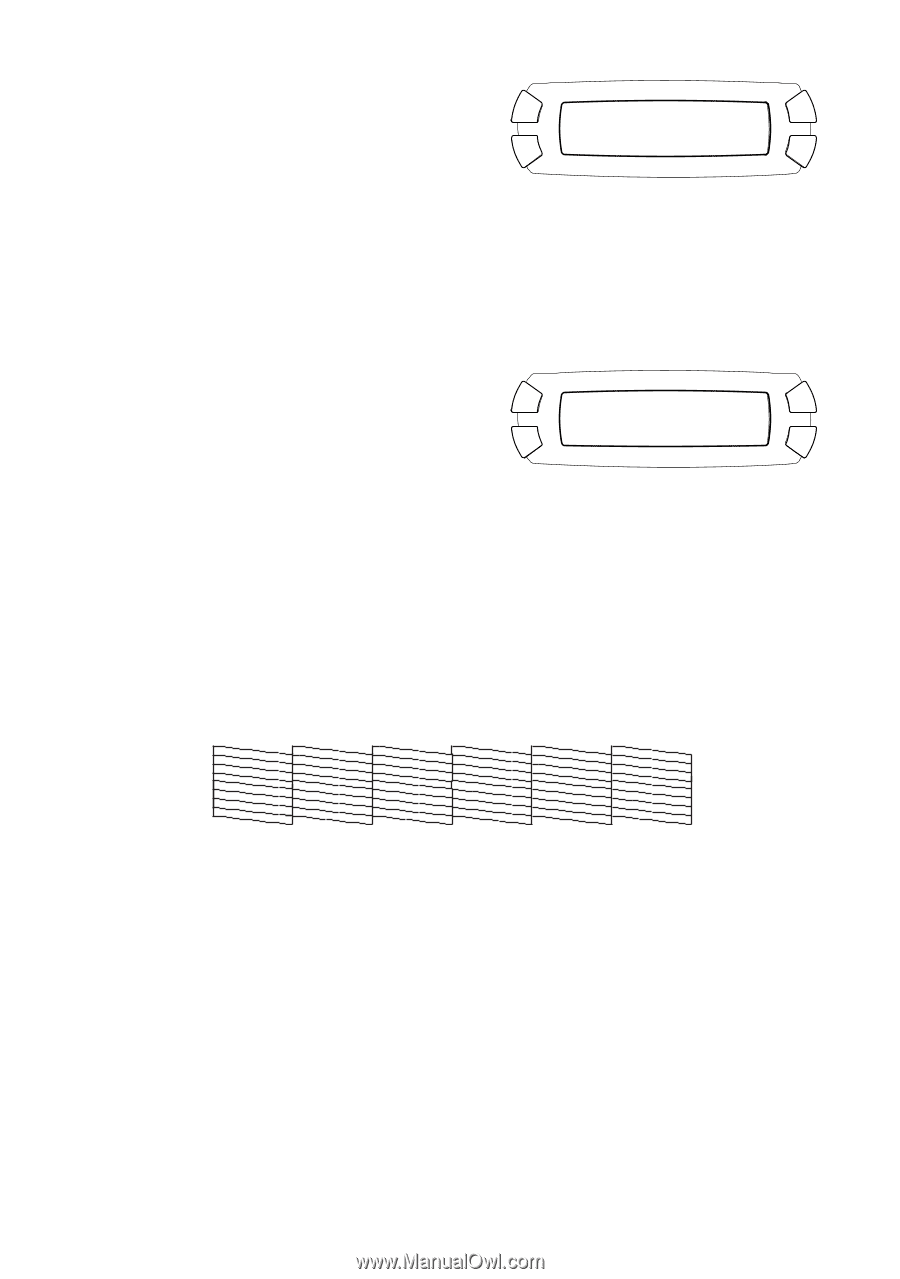
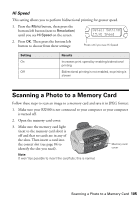
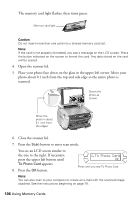
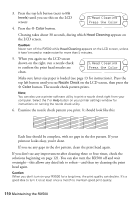
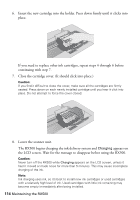
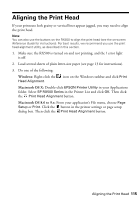
3. Press the top left button (next to Ink levels) until you see this on the LCD screen: 3.Head Cleaning Press the Color 4. Press the x Color button. Cleaning takes about 30 seconds, during which Head Cleaning appears on the LCD screen. Caution: Never turn off the RX500 while Head Cleaning appears on the LCD screen, unless it hasn't moved or made noise for more than 5 minutes. 5. When you again see the LCD screen shown on the right, run a nozzle check to confirm the print head nozzles are clean. 3.Head Cleaning Press the Color Make sure letter-size paper is loaded (see page 13 for instructions). Press the top left button until you see Nozzle Check on the LCD screen, then press the x Color button. The nozzle check pattern prints. Note: You can also use a printer software utility to print a nozzle check right from your computer. Select the ? or Help button on your printer settings window for instructions on running the nozzle check utility. 6. Examine the nozzle check pattern you print. It should look like this: Each line should be complete, with no gaps in the dot pattern. If your printout looks okay, you're done. If you see any gaps in the dot pattern, clean the print head again. If you don't see any improvement after cleaning three or four times, check the solutions beginning on page 121. You can also turn the RX500 off and wait overnight-this allows any dried ink to soften-and then try cleaning the print head again. Caution: When you don't turn on your RX500 for a long time, the print quality can decline. It's a good idea to turn it on at least once a month to maintain good print quality. 110 Maintaining the RX500
-
 1
1 -
2
-
3
-
4
-
5
-
6
-
7
-
8
-
9
-
10
-
11
-
12
-
13
-
14
-
15
-
16
-
17
-
18
-
19
-
20
-
21
-
22
-
23
-
24
-
25
-
26
-
27
-
28
-
29
-
30
-
31
-
32
-
33
-
34
-
35
-
36
-
37
-
38
-
39
-
40
-
41
-
42
-
43
-
44
-
45
-
46
-
47
-
48
-
49
-
50
-
51
-
52
-
53
-
54
-
55
-
56
-
57
-
58
-
59
-
60
-
61
-
62
-
63
-
64
-
65
-
66
-
67
-
68
-
69
-
70
-
71
-
72
-
73
-
74
-
75
-
76
-
77
-
78
-
79
-
80
-
81
-
82
-
83
-
84
-
85
-
86
-
87
-
88
-
89
-
90
-
91
-
92
-
93
-
94
-
95
-
96
-
97
-
98
-
99
-
100
-
101
-
102
-
103
-
104
-
 105
105 -
 106
106 -
 107
107 -
 108
108 -
 109
109 -
 110
110 -
 111
111 -
 112
112 -
 113
113 -
 114
114 -
 115
115 -
116
-
117
-
118
-
119
-
120
-
121
-
122
-
123
-
124
-
125
-
126
-
127
-
128
-
129
-
130
-
131
-
132
-
133
-
134
-
135
-
136
-
137
-
138
 |
 |