Kyocera KM-3530 Fax System (F) Operation Guide Rev1 - Page 118
Turning Reception Date & Time Print, Out ON/OFF
 |
View all Kyocera KM-3530 manuals
Add to My Manuals
Save this manual to your list of manuals |
Page 118 highlights
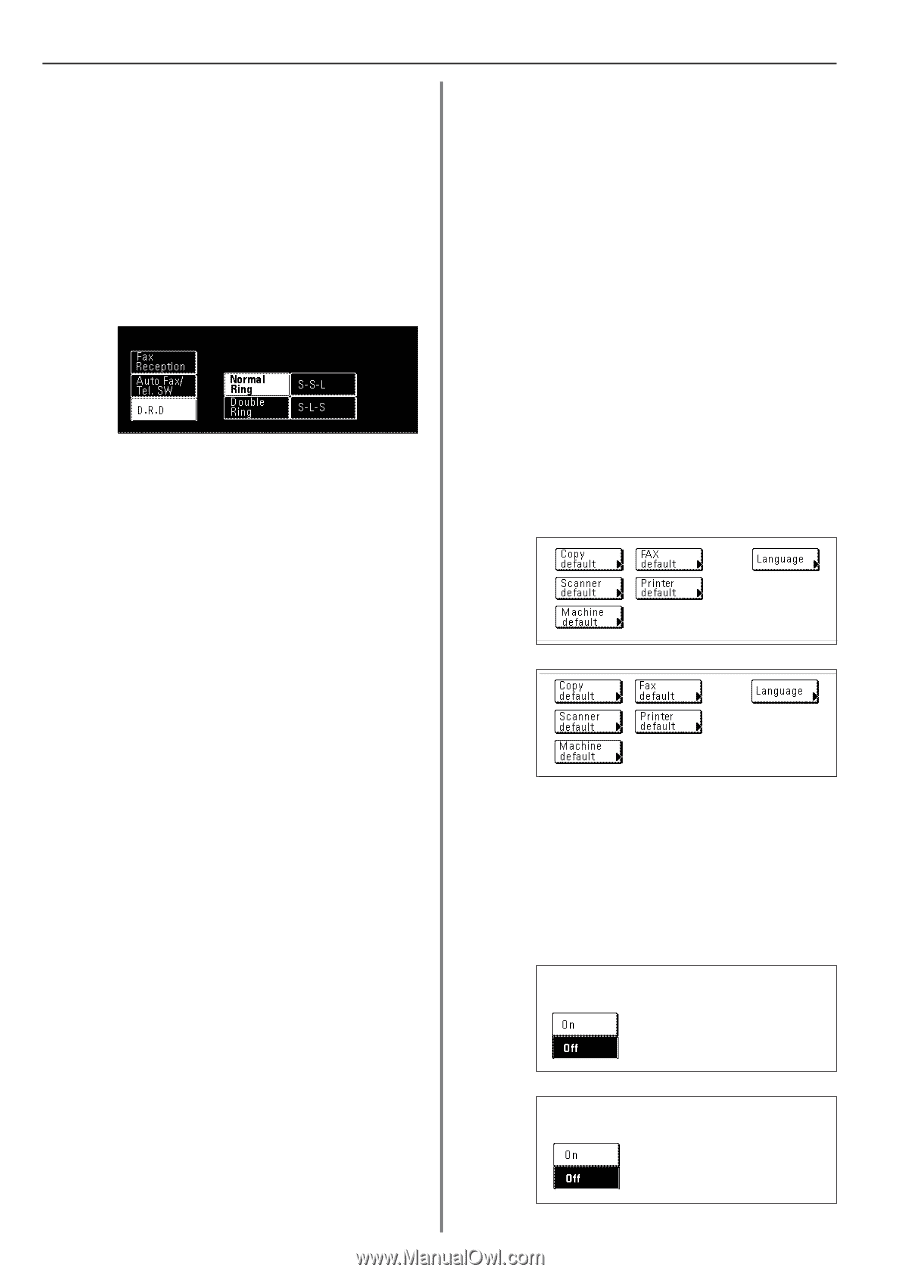
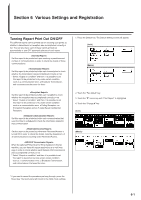
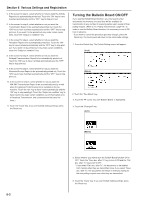
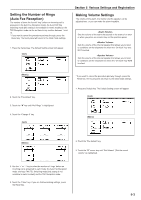
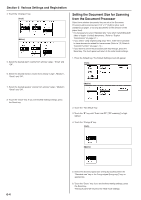
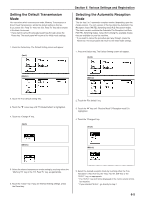
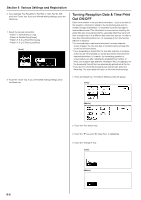
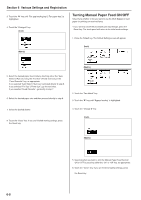
Section 6 Various Settings and Registration 6. If you selected "Fax Reception" ["Fax Rx"] or "Auto Fax/Tel. SW", touch the "Close" key. If you are finished making settings, press the Reset key. 7. Select the desired ring pattern. • Pattern 1: Normal Ring [1 ring] • Pattern 2: Double Ring [2 rings] • Pattern 3: S-S-L (Short-Short-Long) • Pattern 4: S-L-S (Short-Long-Short) (Inch) Turning Reception Date & Time Print Out ON/OFF Select here whether or not you want information - such as the time of the reception, information related to the transmitting party and the number of pages transmitted - to be printed out at the top edge of received documents. This information is convenient for checking the actual time you received documents, especially when they were sent from a location that is in a different time zone than you are. In order to have this information printed out, it is necessary to turn this function ON here in advance. * If a received page is split and printed onto 2 or more separate sheets of paper, the time and date of reception will be printed only on the first of those sheets. * If Fax Forwarding is turned ON, the true date and time of reception at this fax will not be printed out on the documents received at the selected destination. If, however, the forwarding operation is unsuccessful even after redialing the predetermined number of times, the reception date and time information WILL be displayed on the documents that will then be automatically printed out at this fax. * If you want to cancel the procedure part way through, press the Reset key. The touch panel will return to the initial mode settings. 8. Touch the "Close" key. If you are finished making settings, press the Reset key. 1. Press the Default key. The Default Setting screen will appear. (Inch) (Metric) 2. Touch the "Fax default" key. 3. Touch the "M" key until "RX Date/Time" is highlighted. 4. Touch the "Change #" key. (Inch) (Metric) 6-6
-
 1
1 -
2
-
3
-
4
-
5
-
6
-
7
-
8
-
9
-
10
-
11
-
12
-
13
-
14
-
15
-
16
-
17
-
18
-
19
-
20
-
21
-
22
-
23
-
24
-
25
-
26
-
27
-
28
-
29
-
30
-
31
-
32
-
33
-
34
-
35
-
36
-
37
-
38
-
39
-
40
-
41
-
42
-
43
-
44
-
45
-
46
-
47
-
48
-
49
-
50
-
51
-
52
-
53
-
54
-
55
-
56
-
57
-
58
-
59
-
60
-
61
-
62
-
63
-
64
-
65
-
66
-
67
-
68
-
69
-
70
-
71
-
72
-
73
-
74
-
75
-
76
-
77
-
78
-
79
-
80
-
81
-
82
-
83
-
84
-
85
-
86
-
87
-
88
-
89
-
90
-
91
-
92
-
93
-
94
-
95
-
96
-
97
-
98
-
99
-
100
-
101
-
102
-
103
-
104
-
105
-
106
-
107
-
108
-
109
-
110
-
111
-
112
-
 113
113 -
 114
114 -
 115
115 -
 116
116 -
 117
117 -
 118
118 -
 119
119 -
 120
120 -
 121
121 -
 122
122 -
 123
123 -
124
-
125
-
126
-
127
-
128
-
129
-
130
-
131
-
132
-
133
-
134
-
135
-
136
-
137
-
138
-
139
-
140
-
141
-
142
-
143
-
144
-
145
-
146
 |
 |