Kyocera KM-3530 Fax System (F) Operation Guide Rev1 - Page 14
Fax Operation Basic Use, Setting the Date and Time
 |
View all Kyocera KM-3530 manuals
Add to My Manuals
Save this manual to your list of manuals |
Page 14 highlights
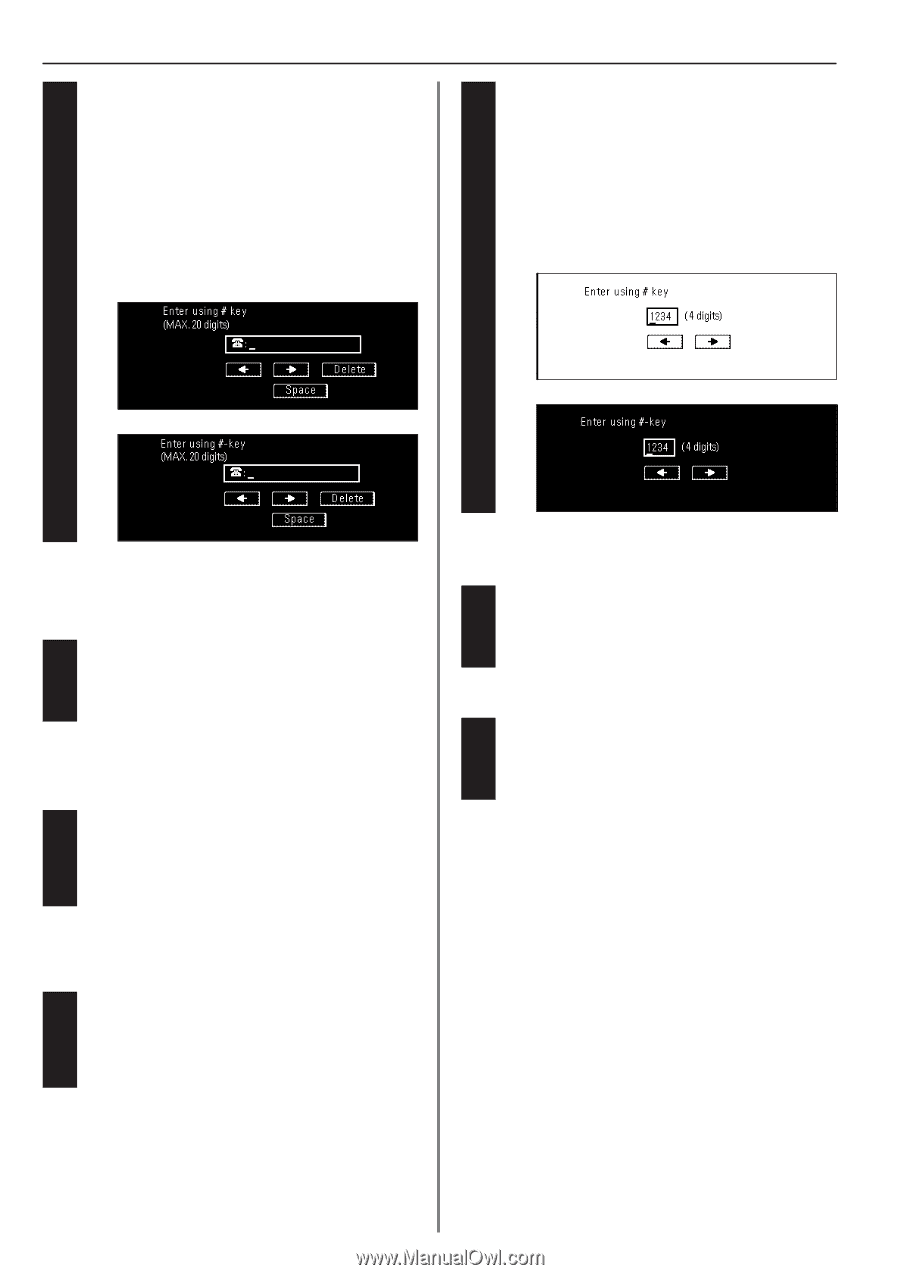
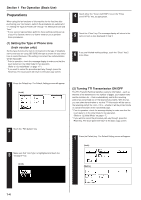
Section 1 Fax Operation (Basic Use) 3 G Registering your fax number Use the keypad to enter your fax number. * The fax number can be up to 20 digits in length. * If you want to clear the currently displayed number from the message display, simply press the Stop/Clear key. * If you want to revise the entered number, touch the "r" or "R" cursor key to move the cursor to the number that you want to change. Then touch the "Delete" key to delete that number and enter the correct number as desired. (Inch) 7 G Registering your station ID Use the keypad to enter the desired station ID (4 digits). * If you want to reset the displayed number to "0000", simply press the Stop/Clear key. * If you want to revise the entered number, touch the "r" or "R" cursor key to move the cursor to the number that you want to change. Then enter the correct number as desired. (Inch) (Metric) (Metric) 4 Touch the "OK" key. The message display will return to the same screen as was displayed in step 2. 8 Touch the "Confirm" key. The message display will return to the same screen as was displayed in step 2. 9 If you are finished making settings, press the Reset key. 5 G Registering your station name Enter the desired name for your station. (Refer to "Entering Characters" on page 1-23.) * Your station name can be up to 32 characters in length. 6 In the Character input screen, touch the "Confirm" key. The message display will return to the same screen as was displayed in step 2. (4) Setting the Date and Time Set the date and the time that will appear in the message display here. BE SURE that the date and time that you set here are correct since they will serve as a basis for all communications that use the timer. * Prior to operation, check the message display to make sure that the operation panel is in the initial mode for fax operation. (Refer to "(2) Initial Mode" on page 1-7.) * If you want to cancel the procedure part way through, press the Reset key. 1-6
-
 1
1 -
2
-
3
-
4
-
5
-
6
-
7
-
8
-
 9
9 -
 10
10 -
 11
11 -
 12
12 -
 13
13 -
 14
14 -
 15
15 -
 16
16 -
 17
17 -
 18
18 -
 19
19 -
20
-
21
-
22
-
23
-
24
-
25
-
26
-
27
-
28
-
29
-
30
-
31
-
32
-
33
-
34
-
35
-
36
-
37
-
38
-
39
-
40
-
41
-
42
-
43
-
44
-
45
-
46
-
47
-
48
-
49
-
50
-
51
-
52
-
53
-
54
-
55
-
56
-
57
-
58
-
59
-
60
-
61
-
62
-
63
-
64
-
65
-
66
-
67
-
68
-
69
-
70
-
71
-
72
-
73
-
74
-
75
-
76
-
77
-
78
-
79
-
80
-
81
-
82
-
83
-
84
-
85
-
86
-
87
-
88
-
89
-
90
-
91
-
92
-
93
-
94
-
95
-
96
-
97
-
98
-
99
-
100
-
101
-
102
-
103
-
104
-
105
-
106
-
107
-
108
-
109
-
110
-
111
-
112
-
113
-
114
-
115
-
116
-
117
-
118
-
119
-
120
-
121
-
122
-
123
-
124
-
125
-
126
-
127
-
128
-
129
-
130
-
131
-
132
-
133
-
134
-
135
-
136
-
137
-
138
-
139
-
140
-
141
-
142
-
143
-
144
-
145
-
146
 |
 |