Kyocera TASKalfa 4500i Fax System (V) Operation Guide - Page 109
Deleting Originals from a FAX Box, FAX Operation Advanced, Previewing Images
 |
View all Kyocera TASKalfa 4500i manuals
Add to My Manuals
Save this manual to your list of manuals |
Page 109 highlights
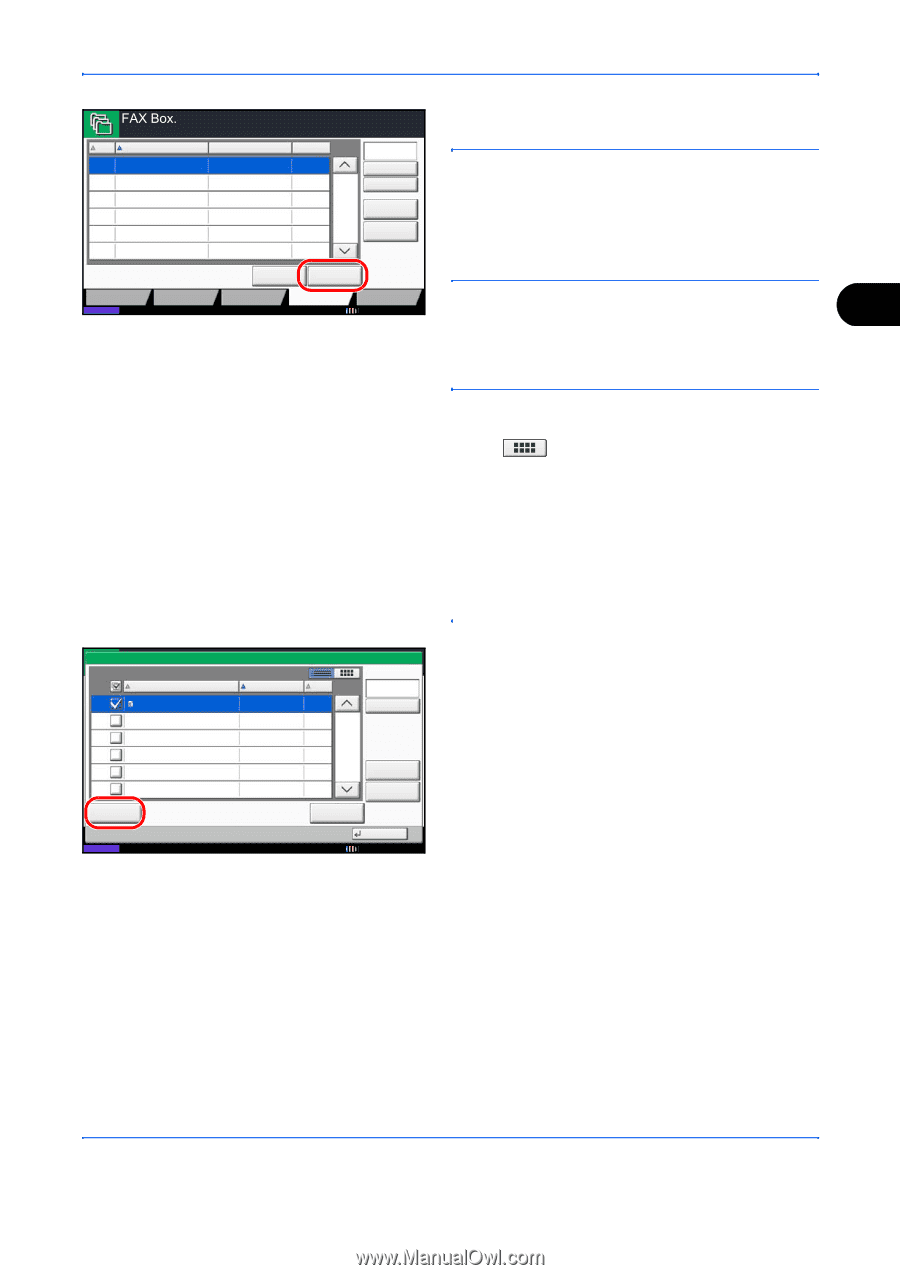
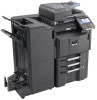
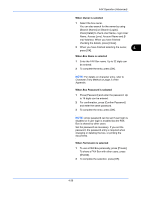
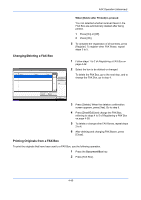
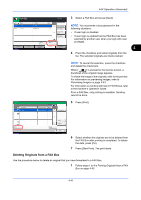
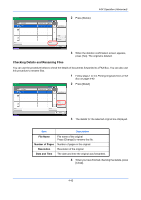
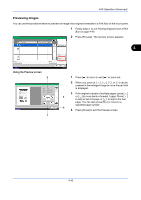
FAX Operation (Advanced) Free Space 3 Select a FAX Box and press [Open]. No. 0001 0002 Name 1 Box 2 Box Owner Anonymous Anonymous Used --------- 1/1 Search(Name) Search(No.) Register/Edit Box Polling Box Detail Open NOTE: You must enter a box password in the following situations: • If user login is disabled • If user login is enabled but the FAX Box has been selected by another user when you login with user privileges Custom Box Status Job Box Removable Memory FAX Box Program 10/10/2010 4 4 Press the checkbox and select originals from the list. The selected originals are check-marked. NOTE: To cancel the selection, press the checkbox and delete the checkmark. When [ ] is pressed in the fax box screen, a thumbnail of the original image appears. To check the image of the originals, refer to the preview. For information on previewing images, refer to Previewing Images on page 4-43. For information on working with lists in FAX Boxes, refer to the machine's Operation Guide. From a FAX Box, only printing is available. Sending cannot be done. Box: 0001 File Name 1 File Date and Time Size 2010/10/10 09:00 100 MB Search(Name) 5 Press [Print]. Print 1/1 Detail Preview Delete Status Close 10/10/2010 6 Select whether the originals are to be deleted from the FAX Box after printing is completed. To delete the data, press [On]. 7 Press [Start Print]. The print starts. Deleting Originals from a FAX Box Use the procedure below to delete an original that you have forwarded to a FAX Box. 1 Follow steps 1 to 4 in Printing Originals from a FAX Box on page 4-40. 4-41
-
 1
1 -
2
-
3
-
4
-
5
-
6
-
7
-
8
-
9
-
10
-
11
-
12
-
13
-
14
-
15
-
16
-
17
-
18
-
19
-
20
-
21
-
22
-
23
-
24
-
25
-
26
-
27
-
28
-
29
-
30
-
31
-
32
-
33
-
34
-
35
-
36
-
37
-
38
-
39
-
40
-
41
-
42
-
43
-
44
-
45
-
46
-
47
-
48
-
49
-
50
-
51
-
52
-
53
-
54
-
55
-
56
-
57
-
58
-
59
-
60
-
61
-
62
-
63
-
64
-
65
-
66
-
67
-
68
-
69
-
70
-
71
-
72
-
73
-
74
-
75
-
76
-
77
-
78
-
79
-
80
-
81
-
82
-
83
-
84
-
85
-
86
-
87
-
88
-
89
-
90
-
91
-
92
-
93
-
94
-
95
-
96
-
97
-
98
-
99
-
100
-
101
-
102
-
103
-
 104
104 -
 105
105 -
 106
106 -
 107
107 -
 108
108 -
 109
109 -
 110
110 -
 111
111 -
 112
112 -
 113
113 -
 114
114 -
115
-
116
-
117
-
118
-
119
-
120
-
121
-
122
-
123
-
124
-
125
-
126
-
127
-
128
-
129
-
130
-
131
-
132
-
133
-
134
-
135
-
136
-
137
-
138
-
139
-
140
-
141
-
142
-
143
-
144
-
145
-
146
-
147
-
148
-
149
-
150
-
151
-
152
-
153
-
154
-
155
-
156
-
157
-
158
-
159
-
160
-
161
-
162
-
163
-
164
-
165
-
166
-
167
-
168
-
169
-
170
-
171
-
172
-
173
-
174
-
175
-
176
-
177
-
178
-
179
-
180
-
181
-
182
-
183
-
184
-
185
-
186
-
187
-
188
-
189
-
190
-
191
-
192
-
193
-
194
-
195
-
196
-
197
-
198
-
199
-
200
-
201
-
202
-
203
-
204
-
205
-
206
-
207
-
208
-
209
-
210
-
211
-
212
-
213
-
214
-
215
-
216
-
217
-
218
-
219
-
220
-
221
-
222
-
223
-
224
-
225
-
226
-
227
-
228
-
229
-
230
-
231
-
232
-
233
-
234
-
235
-
236
-
237
-
238
-
239
-
240
-
241
-
242
-
243
-
244
-
245
-
246
-
247
-
248
-
249
-
250
-
251
-
252
 |
 |