Lexmark C540 Service Manual - Page 81
Print quality-insufficient fusing, Print quality-missing image at edge
 |
View all Lexmark C540 manuals
Add to My Manuals
Save this manual to your list of manuals |
Page 81 highlights
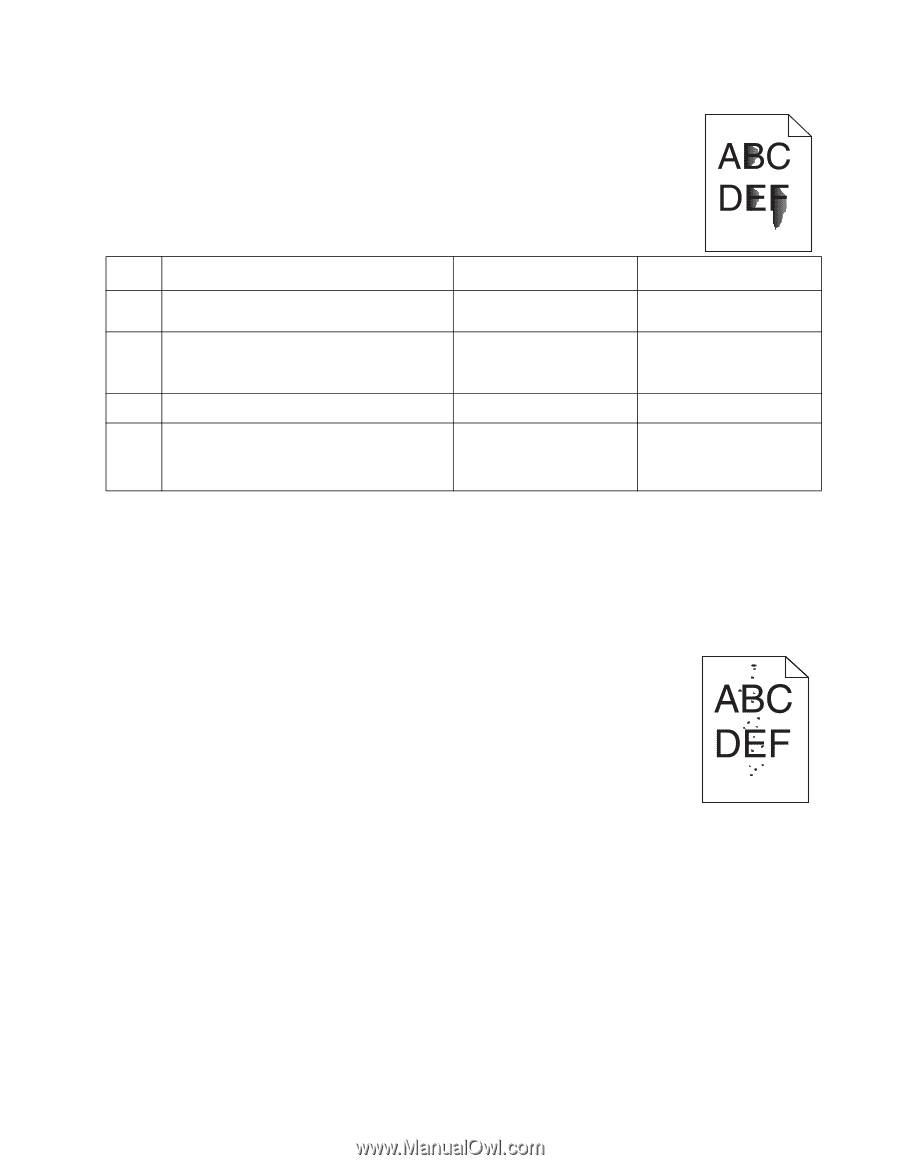
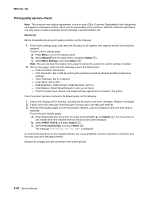
Print quality-insufficient fusing 5025-2xx, 4xx Step Questions / actions 1 Is the printer setup to use the correct media? Yes Go to step 2. 2 Check the fuser connections on the left and right side of the printer. Are the cables and connection correct? 3 Is the fuser properly installed? 4 Replace the fuser. See "Fuser assembly removal" on page 4-26. Does this fix the problem? Go to step 3. Go to step 4. Problem resolved. No Change the settings to indicate the correct media. Properly reconnect or replace the cables. Install the fuser properly. Replace the LVPS. See "Low-voltage power supply (LVPS) assembly removal" on page 4-37. Print quality-missing image at edge Remove and reseat the following: • Toner cartridge • Imaging unit • Developer units. Print quality-mottle (2-5mm speckles) Keep running prints through, and the problem normally clears up. If the problem persists, replace the developer. Diagnostic information 2-47
-
 1
1 -
2
-
3
-
4
-
5
-
6
-
7
-
8
-
9
-
10
-
11
-
12
-
13
-
14
-
15
-
16
-
17
-
18
-
19
-
20
-
21
-
22
-
23
-
24
-
25
-
26
-
27
-
28
-
29
-
30
-
31
-
32
-
33
-
34
-
35
-
36
-
37
-
38
-
39
-
40
-
41
-
42
-
43
-
44
-
45
-
46
-
47
-
48
-
49
-
50
-
51
-
52
-
53
-
54
-
55
-
56
-
57
-
58
-
59
-
60
-
61
-
62
-
63
-
64
-
65
-
66
-
67
-
68
-
69
-
70
-
71
-
72
-
73
-
74
-
75
-
 76
76 -
 77
77 -
 78
78 -
 79
79 -
 80
80 -
 81
81 -
 82
82 -
 83
83 -
 84
84 -
 85
85 -
 86
86 -
87
-
88
-
89
-
90
-
91
-
92
-
93
-
94
-
95
-
96
-
97
-
98
-
99
-
100
-
101
-
102
-
103
-
104
-
105
-
106
-
107
-
108
-
109
-
110
-
111
-
112
-
113
-
114
-
115
-
116
-
117
-
118
-
119
-
120
-
121
-
122
-
123
-
124
-
125
-
126
-
127
-
128
-
129
-
130
-
131
-
132
-
133
-
134
-
135
-
136
-
137
-
138
-
139
-
140
-
141
-
142
-
143
-
144
-
145
-
146
-
147
-
148
-
149
-
150
-
151
-
152
-
153
-
154
-
155
-
156
-
157
-
158
-
159
-
160
-
161
-
162
-
163
-
164
-
165
-
166
-
167
-
168
-
169
-
170
-
171
-
172
-
173
-
174
-
175
-
176
-
177
-
178
-
179
-
180
-
181
-
182
-
183
-
184
-
185
-
186
-
187
-
188
-
189
-
190
-
191
-
192
-
193
-
194
-
195
-
196
-
197
-
198
-
199
-
200
-
201
-
202
-
203
-
204
-
205
-
206
-
207
-
208
-
209
-
210
-
211
-
212
-
213
-
214
-
215
-
216
-
217
-
218
-
219
-
220
-
221
-
222
-
223
-
224
-
225
-
226
-
227
-
228
-
229
-
230
-
231
-
232
-
233
-
234
-
235
-
236
 |
 |