Lexmark C540 Service Manual - Page 82
ABCDE, Print quality-narrow vertical line, Print quality-random marks
 |
View all Lexmark C540 manuals
Add to My Manuals
Save this manual to your list of manuals |
Page 82 highlights
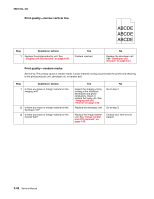
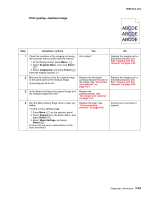
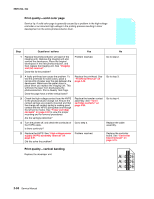
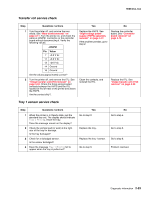
5025-2xx, 4xx Print quality-narrow vertical line ABCDE ABCDE ABCDE Step Questions / actions 1 Replace the photoconductor unit. See "Imaging unit (IU) removal" on page 4-35. Yes Problem resolved. No Replace the developer unit. See "Developer unit removal" on page 4-21. Print quality-random marks Service tip: The primary cause of random marks is loose material moving around inside the printer and attaching to the photoconductor unit, developer roll, or transfer belt. Step Questions / actions 1 Is there any loose or foreign material on the imaging unit? 2 Is there any loose or foreign material on the developer roll? 3 Is there any loose or foreign material on the transfer belt? Yes Inspect the imaging unit by looking at the individual developers and photo conductors. Clean or replace the faulty unit. See "Imaging unit (IU) removal" on page 4-35. Replace the developer unit. No Go to step 2. Go to step 3. Replace the image transfer unit. See "Image transfer unit (ITU) removal" on page 4-33. Contact your next level of support. 2-48 Service Manual
-
 1
1 -
2
-
3
-
4
-
5
-
6
-
7
-
8
-
9
-
10
-
11
-
12
-
13
-
14
-
15
-
16
-
17
-
18
-
19
-
20
-
21
-
22
-
23
-
24
-
25
-
26
-
27
-
28
-
29
-
30
-
31
-
32
-
33
-
34
-
35
-
36
-
37
-
38
-
39
-
40
-
41
-
42
-
43
-
44
-
45
-
46
-
47
-
48
-
49
-
50
-
51
-
52
-
53
-
54
-
55
-
56
-
57
-
58
-
59
-
60
-
61
-
62
-
63
-
64
-
65
-
66
-
67
-
68
-
69
-
70
-
71
-
72
-
73
-
74
-
75
-
76
-
 77
77 -
 78
78 -
 79
79 -
 80
80 -
 81
81 -
 82
82 -
 83
83 -
 84
84 -
 85
85 -
 86
86 -
 87
87 -
88
-
89
-
90
-
91
-
92
-
93
-
94
-
95
-
96
-
97
-
98
-
99
-
100
-
101
-
102
-
103
-
104
-
105
-
106
-
107
-
108
-
109
-
110
-
111
-
112
-
113
-
114
-
115
-
116
-
117
-
118
-
119
-
120
-
121
-
122
-
123
-
124
-
125
-
126
-
127
-
128
-
129
-
130
-
131
-
132
-
133
-
134
-
135
-
136
-
137
-
138
-
139
-
140
-
141
-
142
-
143
-
144
-
145
-
146
-
147
-
148
-
149
-
150
-
151
-
152
-
153
-
154
-
155
-
156
-
157
-
158
-
159
-
160
-
161
-
162
-
163
-
164
-
165
-
166
-
167
-
168
-
169
-
170
-
171
-
172
-
173
-
174
-
175
-
176
-
177
-
178
-
179
-
180
-
181
-
182
-
183
-
184
-
185
-
186
-
187
-
188
-
189
-
190
-
191
-
192
-
193
-
194
-
195
-
196
-
197
-
198
-
199
-
200
-
201
-
202
-
203
-
204
-
205
-
206
-
207
-
208
-
209
-
210
-
211
-
212
-
213
-
214
-
215
-
216
-
217
-
218
-
219
-
220
-
221
-
222
-
223
-
224
-
225
-
226
-
227
-
228
-
229
-
230
-
231
-
232
-
233
-
234
-
235
-
236
 |
 |
