Pioneer PRO 111FD Owner's Manual - Page 118
HMG Setup
 |
UPC - 012562887111
View all Pioneer PRO 111FD manuals
Add to My Manuals
Save this manual to your list of manuals |
Page 118 highlights
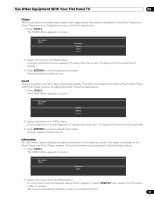
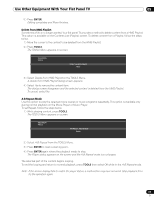
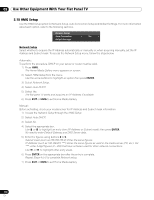
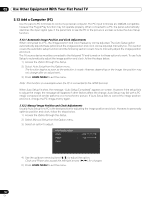
05 Use Other Equipment With Your Flat Panel TV 5.10 HMG Setup Use the HMG Setup option for Network Setup, Auto Connection Setup and Default Settings. For more information about each option, refer to the following sections. Network Setup Auto Connection On Default Settings Network Setup Select whether to acquire the IP Address automatically or manually or, when acquiring manually, set the IP Address and Subnet mask. To access the Network Setup menu, follow the steps below. Automatic: To perform the procedure, DHCP on your server or router must be valid. 1 ) Press HMG. The Home Media Gallery menu appears on screen. 2 ) Select HMG Setup from the menu. Use the arrow buttons to highlight an option then press ENTER. 3 ) Select Network Setup. 4 ) Select Auto DHCP. 5 ) Select Yes. The flat panel TV seeks and acquires an IP Address if available. 6 ) Press EXIT or HMG to exit Home Media Gallery. Manual: Before activating, check your media server for IP Address and Subnet mask information. 1 ) Access the Network Setup through the HMG Setup. 2 ) Select Auto DHCP. 3 ) Select No. 4 ) Select the appropriate box. Use or to highlight an entry item (IP Address or Subnet mask) then press ENTER. No need to enter Default Gateway and DNS Server data. 5 ) Enter the figures using buttons 0 to 9. Subnet mask (such as 255.255.255.0): Enter the same figures. IP Address (such as 192.168.201.***): Enter the same figures as used in the media server (PC, etc.). For ***, enter 3-digit figures (0 - 254) that have not been used for other network connections. Use or to highlight other entry areas. 6 ) Press ENTER on the appropriate box after the entry is complete. Repeat Steps 4 to 5 to complete Network setup. 7 ) Press EXIT or HMG to exit Home Media Gallery. 118 En
-
 1
1 -
2
-
3
-
4
-
5
-
6
-
7
-
8
-
9
-
10
-
11
-
12
-
13
-
14
-
15
-
16
-
17
-
18
-
19
-
20
-
21
-
22
-
23
-
24
-
25
-
26
-
27
-
28
-
29
-
30
-
31
-
32
-
33
-
34
-
35
-
36
-
37
-
38
-
39
-
40
-
41
-
42
-
43
-
44
-
45
-
46
-
47
-
48
-
49
-
50
-
51
-
52
-
53
-
54
-
55
-
56
-
57
-
58
-
59
-
60
-
61
-
62
-
63
-
64
-
65
-
66
-
67
-
68
-
69
-
70
-
71
-
72
-
73
-
74
-
75
-
76
-
77
-
78
-
79
-
80
-
81
-
82
-
83
-
84
-
85
-
86
-
87
-
88
-
89
-
90
-
91
-
92
-
93
-
94
-
95
-
96
-
97
-
98
-
99
-
100
-
101
-
102
-
103
-
104
-
105
-
106
-
107
-
108
-
109
-
110
-
111
-
112
-
 113
113 -
 114
114 -
 115
115 -
 116
116 -
 117
117 -
 118
118 -
 119
119 -
 120
120 -
 121
121 -
 122
122 -
 123
123 -
124
-
125
-
126
-
127
-
128
-
129
-
130
-
131
-
132
-
133
-
134
-
135
-
136
-
137
-
138
-
139
-
140
-
141
-
142
-
143
-
144
-
145
-
146
-
147
-
148
-
149
-
150
-
151
-
152
-
153
-
154
-
155
-
156
-
157
-
158
-
159
-
160
-
161
-
162
-
163
-
164
-
165
-
166
-
167
 |
 |