Pioneer PRO 111FD Owner's Manual - Page 67
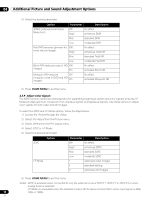
To adjust another item, press, then repeat Steps 5 and 6., Picture, Setup., Pro Adjust, Noise
 |
UPC - 012562887111
View all Pioneer PRO 111FD manuals
Add to My Manuals
Save this manual to your list of manuals |
Page 67 highlights
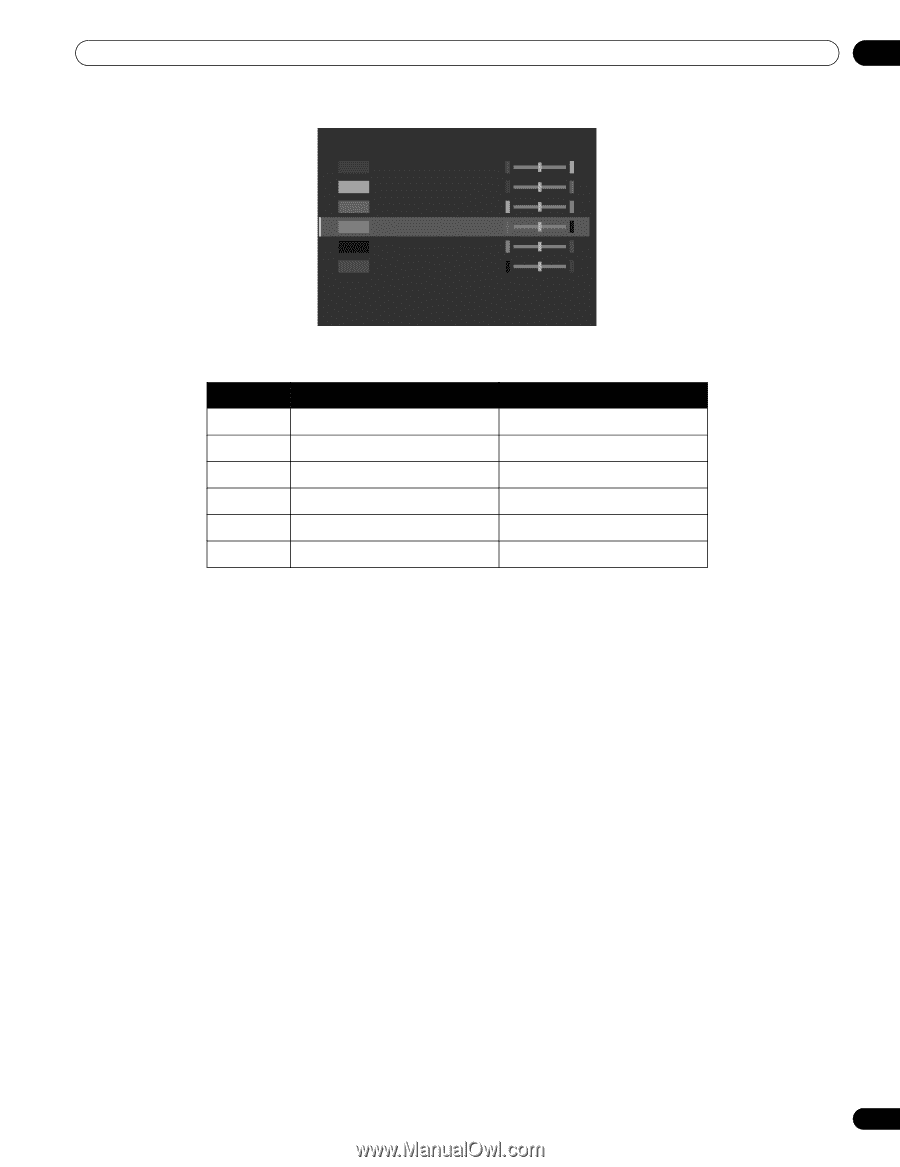
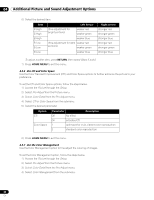
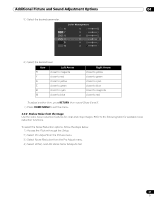
Additional Picture and Sound Adjustment Options 04 5 ) Select the desired parameter. Color Management R 0 Y 0 G 0 C 0 B 0 M 0 6 ) Select the desired level. Item R Y G C B M Left Arrow closer to magenta closer to red closer to yellow closer to green closer to cyan closer to blue Right Arrow closer to yellow closer to green closer to cyan closer to blue closer to magenta closer to red To adjust another item, press RETURN then repeat Steps 5 and 6. 7 ) Press HOME MENU to exit the menu. 4.3.8 Reduce Noise from the Image Use the video noise reduction features for clear and crisp images. Refer to the following table for available noise reduction functions. To select the Noise Reduction options, follow the steps below. 1 ) Access the Picture through the Setup. 2 ) Select Pro Adjust from the Picture menu. 3 ) Select Noise Reduction from the Pro Adjust menu. 4 ) Select 3DNR, Field NR, Block NR or Mosquito NR. 67 En
-
 1
1 -
2
-
3
-
4
-
5
-
6
-
7
-
8
-
9
-
10
-
11
-
12
-
13
-
14
-
15
-
16
-
17
-
18
-
19
-
20
-
21
-
22
-
23
-
24
-
25
-
26
-
27
-
28
-
29
-
30
-
31
-
32
-
33
-
34
-
35
-
36
-
37
-
38
-
39
-
40
-
41
-
42
-
43
-
44
-
45
-
46
-
47
-
48
-
49
-
50
-
51
-
52
-
53
-
54
-
55
-
56
-
57
-
58
-
59
-
60
-
61
-
 62
62 -
 63
63 -
 64
64 -
 65
65 -
 66
66 -
 67
67 -
 68
68 -
 69
69 -
 70
70 -
 71
71 -
 72
72 -
73
-
74
-
75
-
76
-
77
-
78
-
79
-
80
-
81
-
82
-
83
-
84
-
85
-
86
-
87
-
88
-
89
-
90
-
91
-
92
-
93
-
94
-
95
-
96
-
97
-
98
-
99
-
100
-
101
-
102
-
103
-
104
-
105
-
106
-
107
-
108
-
109
-
110
-
111
-
112
-
113
-
114
-
115
-
116
-
117
-
118
-
119
-
120
-
121
-
122
-
123
-
124
-
125
-
126
-
127
-
128
-
129
-
130
-
131
-
132
-
133
-
134
-
135
-
136
-
137
-
138
-
139
-
140
-
141
-
142
-
143
-
144
-
145
-
146
-
147
-
148
-
149
-
150
-
151
-
152
-
153
-
154
-
155
-
156
-
157
-
158
-
159
-
160
-
161
-
162
-
163
-
164
-
165
-
166
-
167
 |
 |