Epson PowerLite 735c User Manual - Page 69
whenever the projector is turned on with the memory card in
 |
View all Epson PowerLite 735c manuals
Add to My Manuals
Save this manual to your list of manuals |
Page 69 highlights
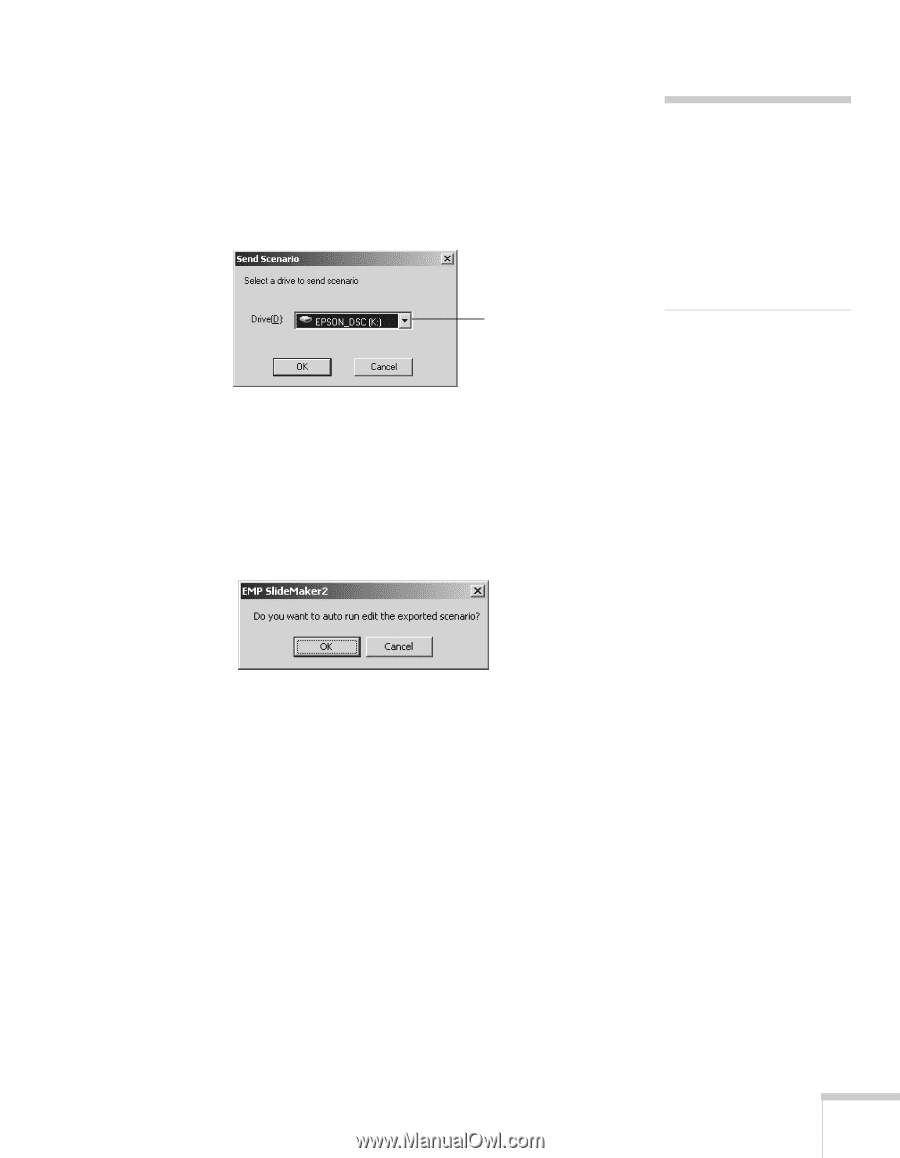
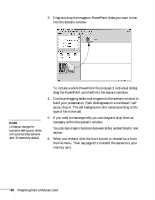
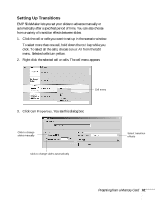
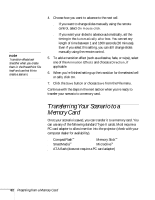
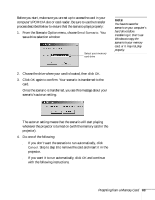
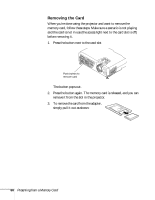
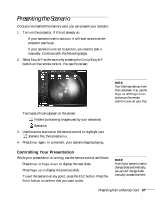
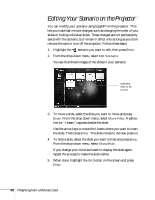
Before you start, make sure you are set up to access the card in your computer's PCMCIA slot or card reader. Be sure to use the transfer process described below to ensure that the scenario plays properly: 1. From the Scenario Option menu, choose Send Scenario. You see a drive selection window: Select your memory card drive note You have to save the scenario on your computer's hard drive before transferring it. Don't use Windows to copy the scenario to your memory card, or it may not play properly. 2. Choose the drive where your card is located, then click OK. 3. Click OK again to confirm. Your scenario is transferred to the card. Once the scenario is transferred, you see this message about your scenario's autorun setting: The autorun setting means that the scenario will start playing whenever the projector is turned on (with the memory card in the projector). 4. Do one of the following: ■ If you don't want the scenario to run automatically, click Cancel. Skip to step 8 to remove the card and insert it in the projector. ■ If you want it to run automatically, click OK and continue with the following instructions. Presenting from a Memory Card 63
-
 1
1 -
2
-
3
-
4
-
5
-
6
-
7
-
8
-
9
-
10
-
11
-
12
-
13
-
14
-
15
-
16
-
17
-
18
-
19
-
20
-
21
-
22
-
23
-
24
-
25
-
26
-
27
-
28
-
29
-
30
-
31
-
32
-
33
-
34
-
35
-
36
-
37
-
38
-
39
-
40
-
41
-
42
-
43
-
44
-
45
-
46
-
47
-
48
-
49
-
50
-
51
-
52
-
53
-
54
-
55
-
56
-
57
-
58
-
59
-
60
-
61
-
62
-
63
-
 64
64 -
 65
65 -
 66
66 -
 67
67 -
 68
68 -
 69
69 -
 70
70 -
 71
71 -
 72
72 -
 73
73 -
 74
74 -
75
-
76
-
77
-
78
-
79
-
80
-
81
-
82
-
83
-
84
-
85
-
86
-
87
-
88
-
89
-
90
-
91
-
92
-
93
-
94
-
95
-
96
-
97
-
98
-
99
-
100
-
101
-
102
-
103
-
104
-
105
-
106
-
107
-
108
-
109
-
110
-
111
-
112
-
113
-
114
-
115
-
116
-
117
-
118
-
119
-
120
-
121
-
122
-
123
-
124
-
125
-
126
-
127
-
128
-
129
-
130
-
131
-
132
-
133
-
134
-
135
-
136
-
137
-
138
-
139
-
140
-
141
-
142
-
143
-
144
 |
 |