HP Integrity rx2800 HP Integrity iLO 3 Operations Guide - Page 81
Virtual USB key, New Hardware Found wizard.
 |
View all HP Integrity rx2800 manuals
Add to My Manuals
Save this manual to your list of manuals |
Page 81 highlights
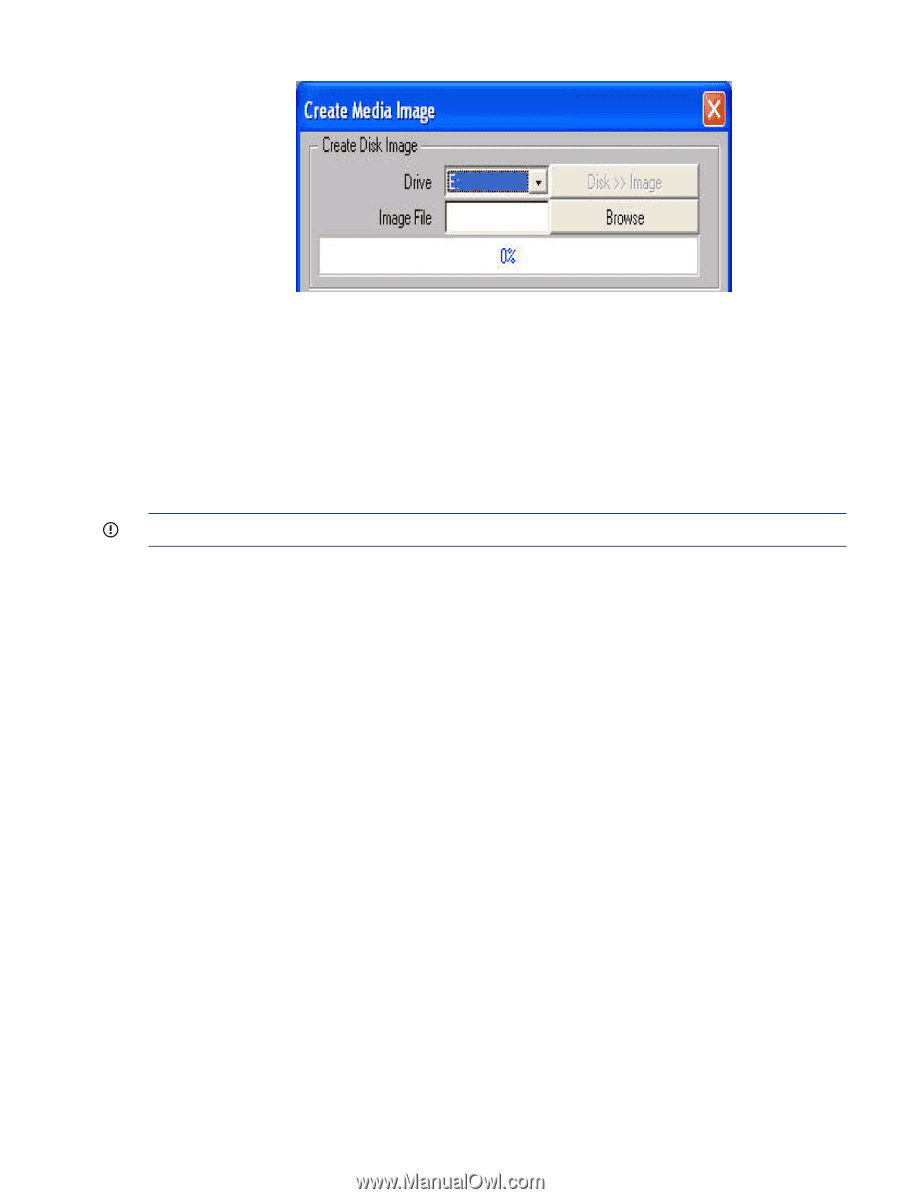
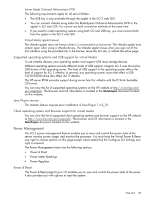
Figure 20 Create media image dialog box 4. Click Create Disk Image. The vMedia applet begins the process of creating the image file. This process creates a file that emulates a CD/DVD-ROM on the local system. The process is complete when the progress bar reaches 100%. To cancel the creation of an image file, click Cancel. To insert the next CD during an operating system installation or any application installation with multiple image files: 1. To select the next image file or to replace the CD/DVD-ROM with the next CD/DVD-ROM, click Browse 2. To continue the installation, click OK on the host server. IMPORTANT: Do not click Disconnect to select the next CD/DVD-ROM image file. The connected drive icon and LED change states to reflect the current status of the virtual CD/DVD-ROM. After you are connected, virtual devices are available to the host server until you close the vMedia applet. When you are finished using the virtual CD/DVD-ROM, you can disconnect the device from the host server or close the applet. The vMedia applet must remain open when you use a vMedia device. The iLO 3 vMedia CD/DVD-ROM appears like any other CD/DVD-ROM to your operating system. When you use iLO 3 for the first time, the host operating system might prompt you to complete a New Hardware Found wizard. Virtual USB key The iLO 3 vMedia devices connect to the host server using USB technology. Using USB also enables new capabilities for the iLO 3 vMedia devices when connected to USB-supported operating systems. Integrity iLO 3 v1.00 supports Virtual USB flash as a read-only device for use only with EFI, not with a client operating system. The USB key can be the physical USB key drive on which you are running the web browser, or an image file stored on your local hard drive or network drive. For maximum performance, HP recommends using the local image files stored either on the hard drive of your client PC or on a network drive accessible through a high-speed network link. To use the USB key drive in your client PC: 1. Click Launch. 2. Select Local Media Drive in the correct virtual media section. 3. Select the drive letter of the desired USB key drive on your client PC from the menu. To ensure the source diskette or image file is not modified during use, select the Force read-only access option. 4. Click Connect. The connected drive icon and LED change state to reflect the current status of the virtual Drive. Web GUI 81
-
 1
1 -
2
-
3
-
4
-
5
-
6
-
7
-
8
-
9
-
10
-
11
-
12
-
13
-
14
-
15
-
16
-
17
-
18
-
19
-
20
-
21
-
22
-
23
-
24
-
25
-
26
-
27
-
28
-
29
-
30
-
31
-
32
-
33
-
34
-
35
-
36
-
37
-
38
-
39
-
40
-
41
-
42
-
43
-
44
-
45
-
46
-
47
-
48
-
49
-
50
-
51
-
52
-
53
-
54
-
55
-
56
-
57
-
58
-
59
-
60
-
61
-
62
-
63
-
64
-
65
-
66
-
67
-
68
-
69
-
70
-
71
-
72
-
73
-
74
-
75
-
 76
76 -
 77
77 -
 78
78 -
 79
79 -
 80
80 -
 81
81 -
 82
82 -
 83
83 -
 84
84 -
 85
85 -
 86
86 -
87
-
88
-
89
-
90
-
91
-
92
-
93
-
94
-
95
-
96
-
97
-
98
-
99
-
100
-
101
-
102
-
103
-
104
-
105
-
106
-
107
-
108
-
109
-
110
-
111
-
112
-
113
-
114
-
115
-
116
-
117
-
118
-
119
-
120
-
121
-
122
-
123
-
124
-
125
-
126
-
127
-
128
-
129
-
130
-
131
-
132
-
133
-
134
-
135
-
136
-
137
-
138
-
139
-
140
-
141
-
142
-
143
-
144
-
145
-
146
-
147
-
148
-
149
-
150
-
151
-
152
 |
 |