HP LX195 HP LX195 MediaSmart Server - User Guide - Page 34
Congratulations! Start Using Your Server - restore
 |
UPC - 884420857396
View all HP LX195 manuals
Add to My Manuals
Save this manual to your list of manuals |
Page 34 highlights
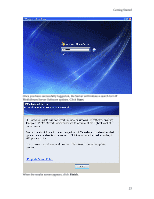
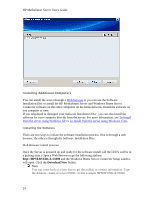
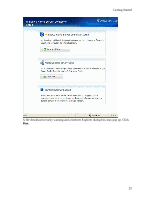
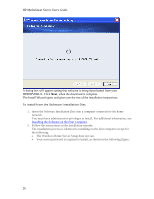
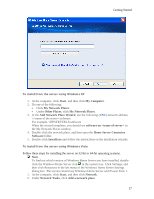
HP MediaSmart Server User's Guide 3. In the Network Place Wizard, use the following UNC network address: \\\software For example, \\HPSERVERLX\software When the wizard completes, you should see the name you chose for the network place in the window. 4. Double-click the network place, and then open the Home Server Connector Software folder. 5. Double-click Install.exe and follow the instructions on the installation wizards. Note Network discovery must be turned on to access the server. See To ensure that Network Discovery is turned on. Setting up Additional Computers After installing the software on the Software Installation Disc, there are a few setup options for you to consider. • The home computer is automatically set up to be backed up each night. If you want to customize back up settings for this computer, see Backing up and restoring a computer. • If you created individual user accounts in Windows Home Server for one or more family members that use this computer, you also need to set up computer user accounts for them if you want them to be able to access features on the server without logging on. For additional information, see User Accounts in the Windows Home Server help. • If there is an iTunes library on this computer that you want to include in an aggregated iTunes library on the server, set up this computer to copy its iTunes library to the server. For additional information, see Set up iTunes. Congratulations! Start Using Your Server Some HP MediaSmart Server features, such as backups and shared folders, are preconfigured and ready to go as soon as the first software installation is complete. Other features require some set up before you can use them. Backups After running the Software Installation Disc on your first home computer it is automatically added to the list of computers that are backed up by the HP MediaSmart Server each night. Run the Software Installation Disc on additional home computers to enable them to communicate with the server and to add them to nightly backups. To customize the hard-drive volumes to back up, or to exclude folders from the backup 1. At the computer, double-click the Windows Home Server icon in the task tray and log on. 2. Click the Backups & Computers tab. 28
-
 1
1 -
2
-
3
-
4
-
5
-
6
-
7
-
8
-
9
-
10
-
11
-
12
-
13
-
14
-
15
-
16
-
17
-
18
-
19
-
20
-
21
-
22
-
23
-
24
-
25
-
26
-
27
-
28
-
 29
29 -
 30
30 -
 31
31 -
 32
32 -
 33
33 -
 34
34 -
 35
35 -
 36
36 -
 37
37 -
 38
38 -
 39
39 -
40
-
41
-
42
-
43
-
44
-
45
-
46
-
47
-
48
-
49
-
50
-
51
-
52
-
53
-
54
-
55
-
56
-
57
-
58
-
59
-
60
-
61
-
62
-
63
-
64
-
65
-
66
-
67
-
68
-
69
-
70
-
71
-
72
-
73
-
74
-
75
-
76
-
77
-
78
-
79
-
80
-
81
-
82
-
83
-
84
-
85
-
86
-
87
-
88
-
89
-
90
-
91
-
92
-
93
-
94
-
95
-
96
-
97
-
98
-
99
-
100
-
101
-
102
-
103
-
104
-
105
-
106
-
107
-
108
-
109
-
110
-
111
-
112
-
113
-
114
-
115
-
116
-
117
-
118
-
119
-
120
-
121
-
122
-
123
-
124
-
125
-
126
-
127
-
128
-
129
-
130
-
131
-
132
-
133
-
134
-
135
-
136
-
137
-
138
-
139
-
140
-
141
-
142
-
143
-
144
-
145
-
146
-
147
-
148
-
149
-
150
-
151
-
152
-
153
-
154
-
155
-
156
-
157
-
158
-
159
-
160
-
161
-
162
-
163
-
164
-
165
-
166
-
167
-
168
-
169
-
170
-
171
-
172
-
173
-
174
-
175
-
176
-
177
-
178
-
179
-
180
-
181
-
182
-
183
-
184
-
185
-
186
-
187
-
188
-
189
-
190
-
191
-
192
-
193
-
194
-
195
-
196
-
197
-
198
-
199
-
200
-
201
-
202
-
203
-
204
-
205
-
206
-
207
-
208
-
209
-
210
-
211
-
212
-
213
-
214
-
215
-
216
-
217
-
218
-
219
-
220
-
221
-
222
-
223
-
224
-
225
-
226
-
227
-
228
-
229
-
230
-
231
-
232
-
233
-
234
-
235
-
236
 |
 |