Lenovo NetVista X40 Quick Reference for NetVista 2179 and 6643 systems (Dutch) - Page 62
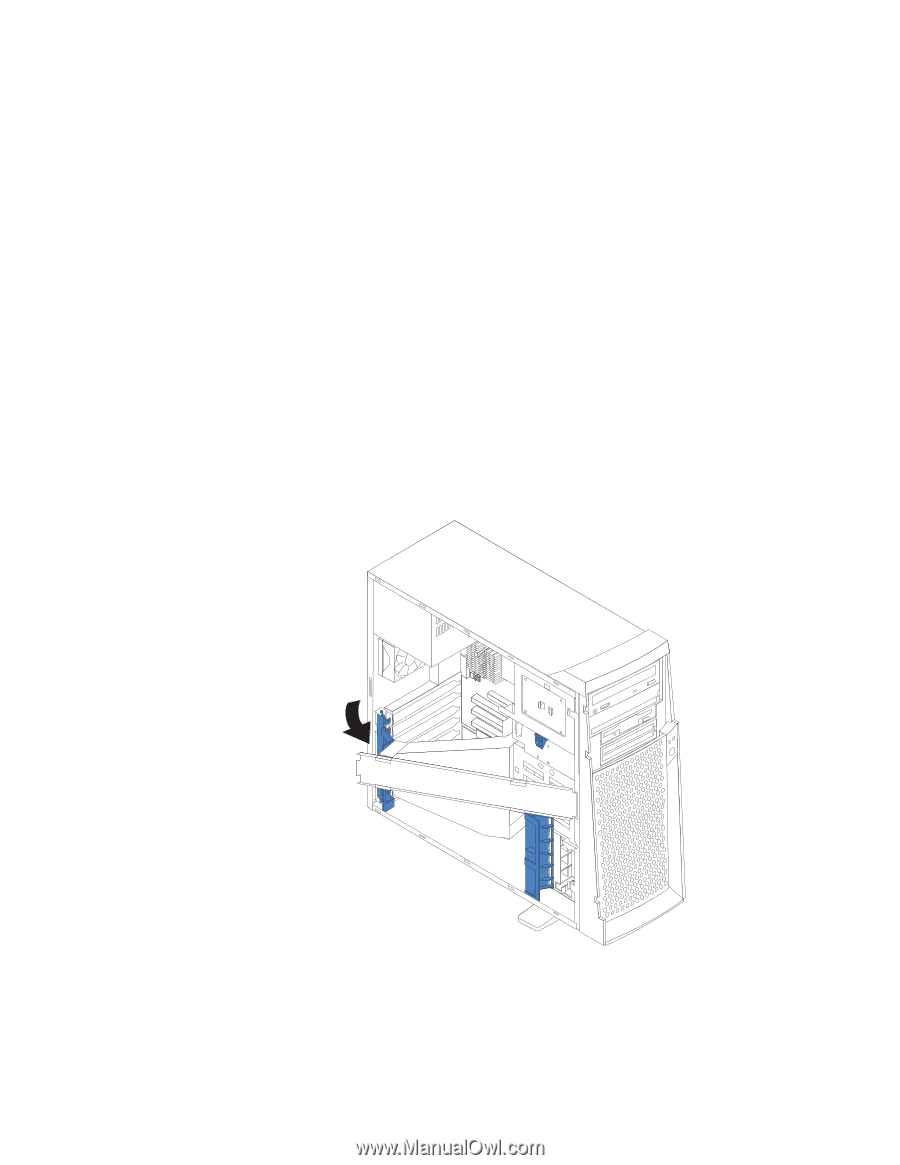
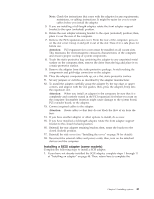
Removing the support bracket assembly
 |
View all Lenovo NetVista X40 manuals
Add to My Manuals
Save this manual to your list of manuals |
Page 62 highlights
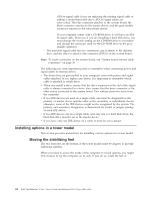
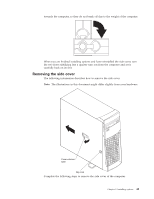
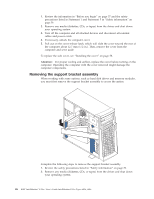
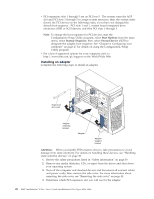
1. Review the information in "Before you begin" on page 37 and the safety precautions listed in Statement 1 and Statement 5 in "Safety information" on page 39. 2. Remove any media (diskettes, CDs, or tapes) from the drives and shut down your operating system. 3. Turn off the computer and all attached devices and disconnect all external cables and power cords. 4. If necessary, unlock the computer cover. 5. Pull out on the cover-release latch, which will slide the cover toward the rear of the computer about 12.7 mm (1/2 in.). Then, remove the cover from the computer and set it aside. To replace the side cover, see "Installing the cover" on page 58. Attention: For proper cooling and airflow, replace the cover before turning on the computer. Operating the computer with the cover removed might damage the computer components. Removing the support bracket assembly When working with some options, such as hard disk drives and memory modules, you must first remove the support bracket assembly to access the option. Complete the following steps to remove the support bracket assembly. 1. Review the safety precautions listed in "Safety information" on page 39. 2. Remove any media (diskettes, CDs, or tapes) from the drives and shut down your operating system. 46 IBM® IntelliStation® E Pro: User's Guide IntelliStation E Pro Types 6836, 6846
-
 1
1 -
2
-
3
-
4
-
5
-
6
-
7
-
8
-
9
-
10
-
11
-
12
-
13
-
14
-
15
-
16
-
17
-
18
-
19
-
20
-
21
-
22
-
23
-
24
-
25
-
26
-
27
-
28
-
29
-
30
-
31
-
32
-
33
-
34
-
35
-
36
-
37
-
38
-
39
-
40
-
41
-
42
-
43
-
44
-
45
-
46
-
47
-
48
-
49
-
50
-
51
-
52
-
53
-
54
-
55
-
56
-
 57
57 -
 58
58 -
 59
59 -
 60
60 -
 61
61 -
 62
62 -
 63
63 -
 64
64 -
 65
65 -
 66
66 -
 67
67 -
68
-
69
-
70
-
71
-
72
-
73
-
74
-
75
-
76
-
77
-
78
-
79
-
80
-
81
-
82
-
83
-
84
-
85
-
86
-
87
-
88
-
89
-
90
-
91
-
92
-
93
-
94
-
95
-
96
-
97
-
98
-
99
-
100
-
101
-
102
-
103
-
104
-
105
-
106
-
107
-
108
-
109
-
110
-
111
-
112
-
113
-
114
-
115
-
116
-
117
-
118
-
119
-
120
-
121
-
122
-
123
-
124
-
125
-
126
-
127
-
128
-
129
-
130
-
131
-
132
-
133
-
134
-
135
-
136
-
137
-
138
-
139
-
140
-
141
-
142
-
143
-
144
-
145
-
146
-
147
-
148
-
149
-
150
-
151
-
152
-
153
-
154
-
155
-
156
 |
 |