Lenovo NetVista X40 Quick Reference for NetVista 2179 and 6643 systems (Dutch) - Page 75
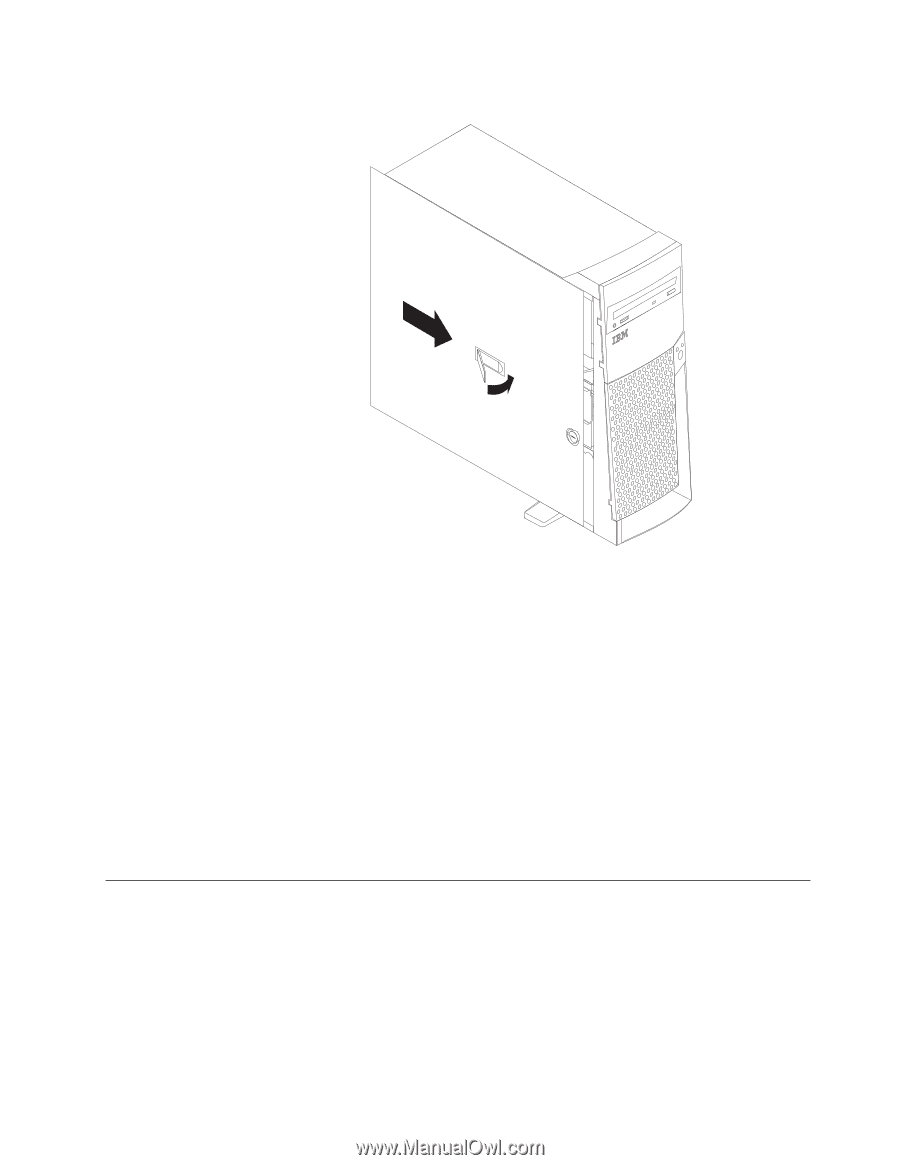
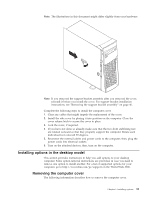
Installing options in the desktop model, Removing the computer cover
 |
View all Lenovo NetVista X40 manuals
Add to My Manuals
Save this manual to your list of manuals |
Page 75 highlights
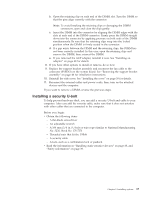
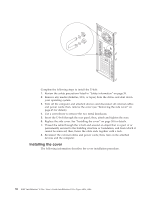
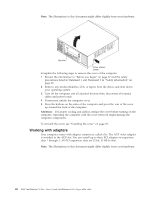
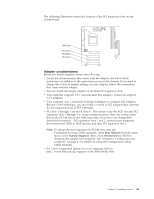
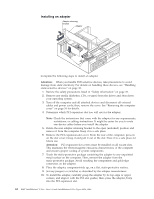
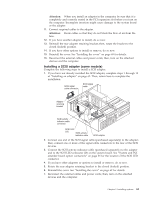
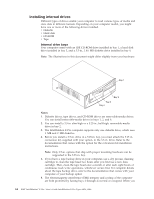
Note: The illustrations in this document might differ slightly from your hardware. Note: If you removed the support bracket assembly after you removed the cover, reinstall it before you install the cover. For support bracket installation instructions, see "Removing the support bracket assembly" on page 46. Complete the following steps to install the computer cover. 1. Clear any cables that might impede the replacement of the cover. 2. Install the side cover by placing it into position on the computer. Close the cover release latch to secure the cover in place. 3. Lock the cover, if required. 4. If you have not done so already, make sure that the two front stabilizing feet are rotated outward so that they properly support the computer. Rotate each individual foot outward 90 degrees. 5. Reconnect the external cables and power cords to the computer; then, plug the power cords into electrical outlets. 6. Turn on the attached devices; then, turn on the computer. Installing options in the desktop model This section provides instructions to help you add options to your desktop computer. Some option-removal instructions are provided, in case you need to remove one option to install another. For a list of supported options for your computer, go to http://www.ibm.com/pc/support on the World Wide Web. Removing the computer cover The following information describes how to remove the computer cover. Chapter 5. Installing options 59
-
 1
1 -
2
-
3
-
4
-
5
-
6
-
7
-
8
-
9
-
10
-
11
-
12
-
13
-
14
-
15
-
16
-
17
-
18
-
19
-
20
-
21
-
22
-
23
-
24
-
25
-
26
-
27
-
28
-
29
-
30
-
31
-
32
-
33
-
34
-
35
-
36
-
37
-
38
-
39
-
40
-
41
-
42
-
43
-
44
-
45
-
46
-
47
-
48
-
49
-
50
-
51
-
52
-
53
-
54
-
55
-
56
-
57
-
58
-
59
-
60
-
61
-
62
-
63
-
64
-
65
-
66
-
67
-
68
-
69
-
 70
70 -
 71
71 -
 72
72 -
 73
73 -
 74
74 -
 75
75 -
 76
76 -
 77
77 -
 78
78 -
 79
79 -
 80
80 -
81
-
82
-
83
-
84
-
85
-
86
-
87
-
88
-
89
-
90
-
91
-
92
-
93
-
94
-
95
-
96
-
97
-
98
-
99
-
100
-
101
-
102
-
103
-
104
-
105
-
106
-
107
-
108
-
109
-
110
-
111
-
112
-
113
-
114
-
115
-
116
-
117
-
118
-
119
-
120
-
121
-
122
-
123
-
124
-
125
-
126
-
127
-
128
-
129
-
130
-
131
-
132
-
133
-
134
-
135
-
136
-
137
-
138
-
139
-
140
-
141
-
142
-
143
-
144
-
145
-
146
-
147
-
148
-
149
-
150
-
151
-
152
-
153
-
154
-
155
-
156
 |
 |