Lenovo NetVista X40 Quick Reference for NetVista 2179 and 6643 systems (Dutch) - Page 74
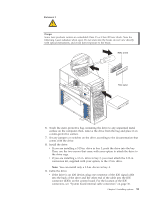
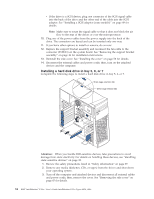
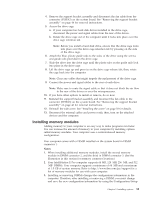
Installing the cover, on for details.
 |
View all Lenovo NetVista X40 manuals
Add to My Manuals
Save this manual to your list of manuals |
Page 74 highlights
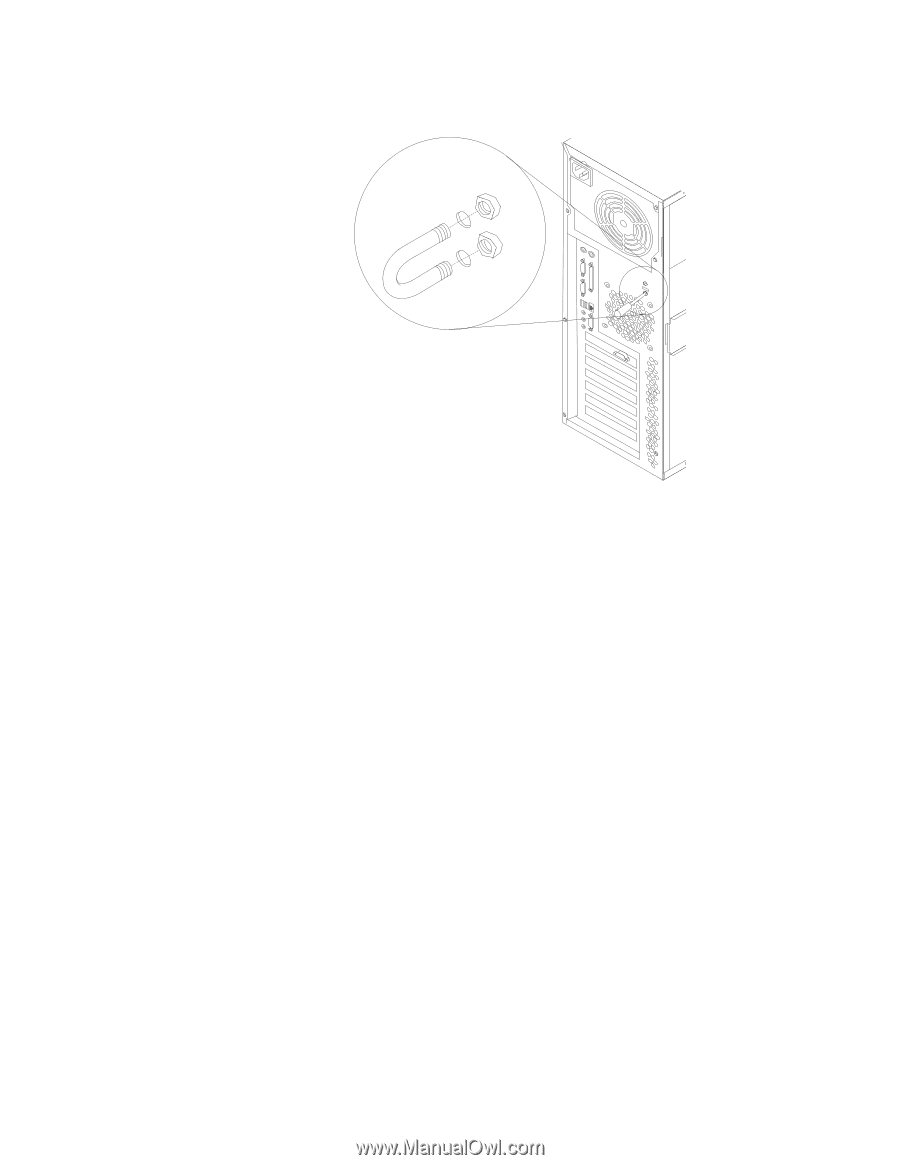
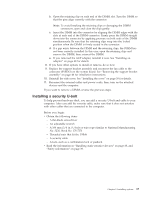
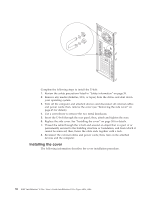
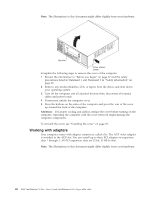
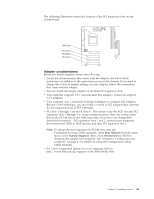
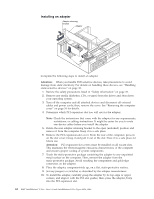
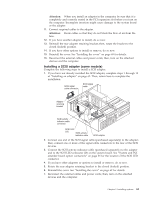
Complete the following steps to install the U-bolt. 1. Review the safety precautions listed in "Safety information" on page 39. 2. Remove any media (diskettes, CDs, or tapes) from the drives and shut down your operating system. 3. Turn off the computer and attached devices and disconnect all external cables and power cords; then, remove the cover (see "Removing the side cover" on page 45 for details). 4. Use a screwdriver to remove the two metal knockouts. 5. Insert the U-bolt through the rear panel; then, attach and tighten the nuts. 6. Replace the side cover. See "Installing the cover" on page 58 for details. 7. Thread the cable through the U-bolt and around an object that is a part of or permanently secured to the building structure or foundation, and from which it cannot be removed; then, fasten the cable ends together with a lock. 8. Reconnect the external cables and power cords; then, turn on the attached devices and the computer. Installing the cover The following information describes the cover installation procedure. 58 IBM® IntelliStation® E Pro: User's Guide IntelliStation E Pro Types 6836, 6846
-
 1
1 -
2
-
3
-
4
-
5
-
6
-
7
-
8
-
9
-
10
-
11
-
12
-
13
-
14
-
15
-
16
-
17
-
18
-
19
-
20
-
21
-
22
-
23
-
24
-
25
-
26
-
27
-
28
-
29
-
30
-
31
-
32
-
33
-
34
-
35
-
36
-
37
-
38
-
39
-
40
-
41
-
42
-
43
-
44
-
45
-
46
-
47
-
48
-
49
-
50
-
51
-
52
-
53
-
54
-
55
-
56
-
57
-
58
-
59
-
60
-
61
-
62
-
63
-
64
-
65
-
66
-
67
-
68
-
 69
69 -
 70
70 -
 71
71 -
 72
72 -
 73
73 -
 74
74 -
 75
75 -
 76
76 -
 77
77 -
 78
78 -
 79
79 -
80
-
81
-
82
-
83
-
84
-
85
-
86
-
87
-
88
-
89
-
90
-
91
-
92
-
93
-
94
-
95
-
96
-
97
-
98
-
99
-
100
-
101
-
102
-
103
-
104
-
105
-
106
-
107
-
108
-
109
-
110
-
111
-
112
-
113
-
114
-
115
-
116
-
117
-
118
-
119
-
120
-
121
-
122
-
123
-
124
-
125
-
126
-
127
-
128
-
129
-
130
-
131
-
132
-
133
-
134
-
135
-
136
-
137
-
138
-
139
-
140
-
141
-
142
-
143
-
144
-
145
-
146
-
147
-
148
-
149
-
150
-
151
-
152
-
153
-
154
-
155
-
156
 |
 |