Pioneer AVIC-D3 Owner's Manual - Page 26
Inserting/Ejecting a Disc, Inserting a disc, Ejecting a disc, Flow from Startup to Termina - reading error
 |
UPC - 012562844169
View all Pioneer AVIC-D3 manuals
Add to My Manuals
Save this manual to your list of manuals |
Page 26 highlights
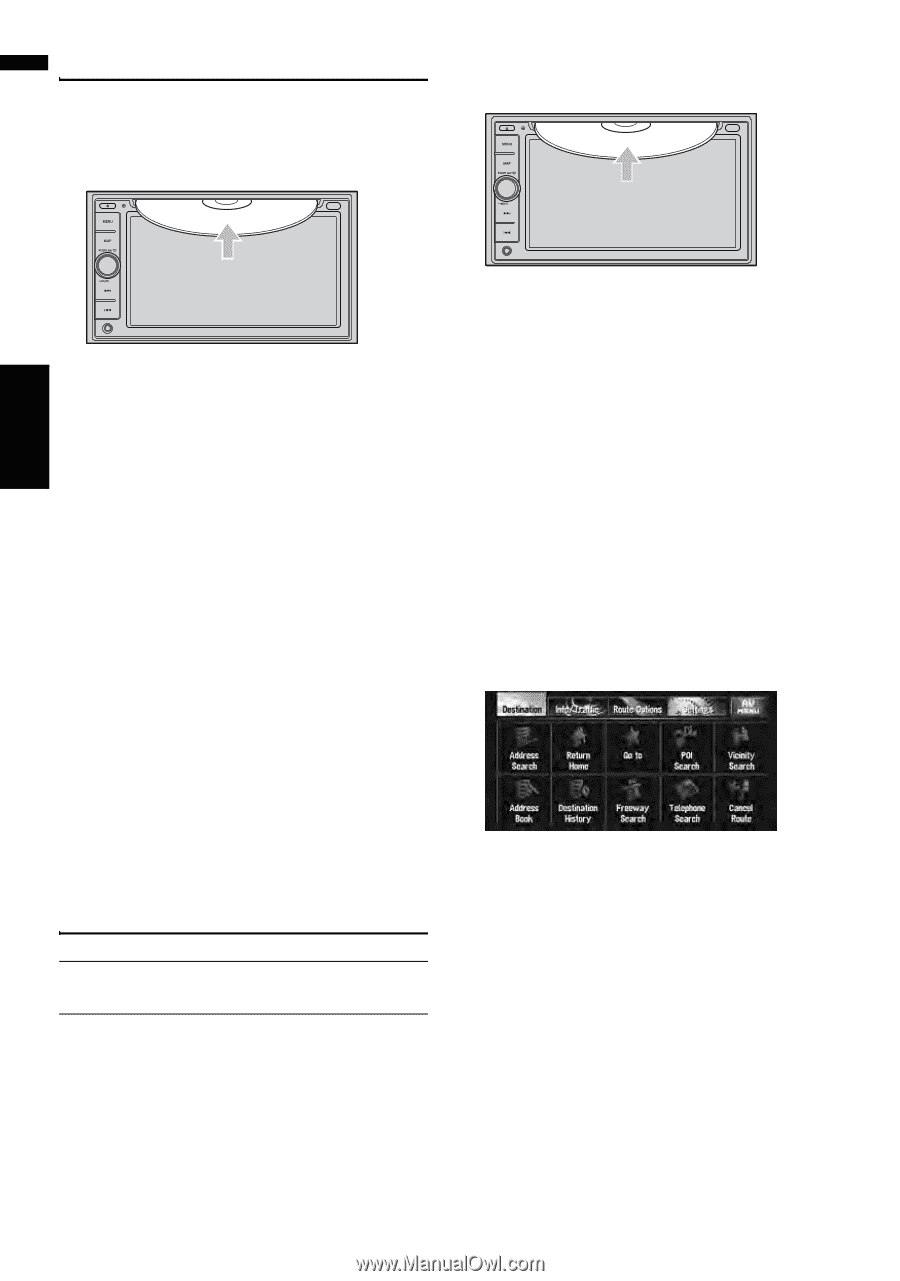
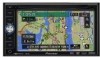
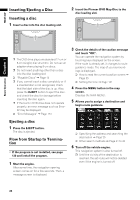
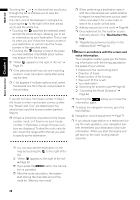
NAVI/AV Inserting/Ejecting a Disc Inserting a disc 1 Insert a disc into the disc loading slot. 2 Insert the Pioneer DVD Map Disc to the disc loading slot. Basic Operation Chapter 1 ❒ The DVD drive plays one standard 12-cm or 8-cm (single) disc at a time. Do not use an adapter when playing 8-cm discs. ❒ Do not insert anything other than a disc into the disc loading slot. ➲ "Playable Discs" ➞ Page 14 ❒ If you cannot insert a disc completely or if a inserted disc is not recognized, check that the label side of the disc is up. Also, press the EJECT button to eject the disc, and check the disc for damage before inserting the disc again. ❒ If the built-in DVD drive does not operate properly, an error message such as Error02 may be displayed. ➲ "Error Messages" ➞ Page 151 3 Check the details of the caution message and touch "OK". You can operate the navigation system by touching keys displayed on the screen. If the route is already set, it changes to route guidance mode. The map of your surroundings is displayed. ➲ How to read the current position screen ➞ Page 35 ➲ Setting the time ➞ Page 131 4 Press the MENU button in the map screen. Displays the NAVI MENU. 5 Allows you to assign a destination and begin route guidance. Ejecting a disc 1 Press the EJECT button. The disc is ejected. Flow from Startup to Termination • If the program is not installed, see page 130 and install the program. 1 Start the engine. After some time, the navigation opening screen comes on for a few seconds. Then, a message screen is displayed. ➲ Specifying the address and searching the destination ➞ Page 25 ➲ Other search methods ➞ Page 41 to 43 6 Turn off the vehicle engine. This navigation system is also turned off. ❒ Until the vicinity of the destination is reached, the set route will not be deleted even if the engine is turned off. 24
-
 1
1 -
2
-
3
-
4
-
5
-
6
-
7
-
8
-
9
-
10
-
11
-
12
-
13
-
14
-
15
-
16
-
17
-
18
-
19
-
20
-
 21
21 -
 22
22 -
 23
23 -
 24
24 -
 25
25 -
 26
26 -
 27
27 -
 28
28 -
 29
29 -
 30
30 -
 31
31 -
32
-
33
-
34
-
35
-
36
-
37
-
38
-
39
-
40
-
41
-
42
-
43
-
44
-
45
-
46
-
47
-
48
-
49
-
50
-
51
-
52
-
53
-
54
-
55
-
56
-
57
-
58
-
59
-
60
-
61
-
62
-
63
-
64
-
65
-
66
-
67
-
68
-
69
-
70
-
71
-
72
-
73
-
74
-
75
-
76
-
77
-
78
-
79
-
80
-
81
-
82
-
83
-
84
-
85
-
86
-
87
-
88
-
89
-
90
-
91
-
92
-
93
-
94
-
95
-
96
-
97
-
98
-
99
-
100
-
101
-
102
-
103
-
104
-
105
-
106
-
107
-
108
-
109
-
110
-
111
-
112
-
113
-
114
-
115
-
116
-
117
-
118
-
119
-
120
-
121
-
122
-
123
-
124
-
125
-
126
-
127
-
128
-
129
-
130
-
131
-
132
-
133
-
134
-
135
-
136
-
137
-
138
-
139
-
140
-
141
-
142
-
143
-
144
-
145
-
146
-
147
-
148
-
149
-
150
-
151
-
152
-
153
-
154
-
155
-
156
-
157
-
158
-
159
-
160
-
161
-
162
-
163
-
164
-
165
-
166
-
167
-
168
-
169
-
170
-
171
-
172
-
173
 |
 |