Brother International EM550 Owners Manual - English - Page 62
Processor
 |
View all Brother International EM550 manuals
Add to My Manuals
Save this manual to your list of manuals |
Page 62 highlights
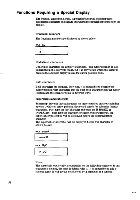
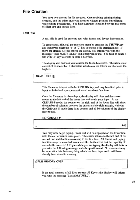
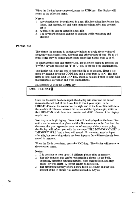
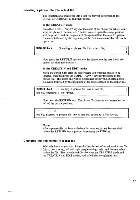
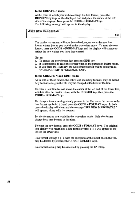
Chapter 7 WORD PROCESSOR First, place your typewriter in the word processor mode by pressing the TW/WP key. A selection menu will now appear on the display, consisting of the following 5 items: Ad PRESS 1 TO 5 FOR SELECTION 1:CREATE-P 2:CREATE-N 3:EDIT 4:PRINT 5:DELETE Starting a file There are two ways to create a new file: 1. CREATE-P: "Create and Print" for the creation of a file to be stored in memory and printed in the line by line mode. This allows you to make changes only one line at a time in the text. 2. CREATE-N: "Create and No-print" for the creation of a file to be stored in memory for later printing. This mode is the same as the edit mode that you can make changes anywhere in the text. Changing a file 3. EDIT: To edit your stored files to be changed to fit your present purpose. In this mode you can add, delete, move, and copy to a file already stored in memory. Printing a file 4. PRINT: To print a file stored in memory. While printing a file, you can still change a word, add or skip text by pressing the CODE + S CODE keys during file preparation (printing is automatically interrupted at their position), or the CODE + STEP keys to stop printing temporarily. Deleting a file 5. DELETE: To delete a file stored in memory. Status line In the word processor mode, the status line is not constantly displayed, so press the CODE + STATUS keys to display the current set up of your typewriter. Notes: 1. You can store up to 63 files including the text and phrase files in the memory. 2. A maximum capacity of each file is 15 Kbytes. 54 CEA
-
 1
1 -
2
-
3
-
4
-
5
-
6
-
7
-
8
-
9
-
10
-
11
-
12
-
13
-
14
-
15
-
16
-
17
-
18
-
19
-
20
-
21
-
22
-
23
-
24
-
25
-
26
-
27
-
28
-
29
-
30
-
31
-
32
-
33
-
34
-
35
-
36
-
37
-
38
-
39
-
40
-
41
-
42
-
43
-
44
-
45
-
46
-
47
-
48
-
49
-
50
-
51
-
52
-
53
-
54
-
55
-
56
-
 57
57 -
 58
58 -
 59
59 -
 60
60 -
 61
61 -
 62
62 -
 63
63 -
 64
64 -
 65
65 -
 66
66 -
 67
67 -
68
-
69
-
70
-
71
-
72
-
73
-
74
-
75
-
76
-
77
-
78
-
79
-
80
-
81
-
82
-
83
-
84
-
85
-
86
-
87
-
88
-
89
-
90
-
91
-
92
-
93
-
94
-
95
-
96
-
97
-
98
-
99
-
100
-
101
-
102
-
103
-
104
 |
 |