Brother International EM550 Owners Manual - English - Page 66
Create
 |
View all Brother International EM550 manuals
Add to My Manuals
Save this manual to your list of manuals |
Page 66 highlights
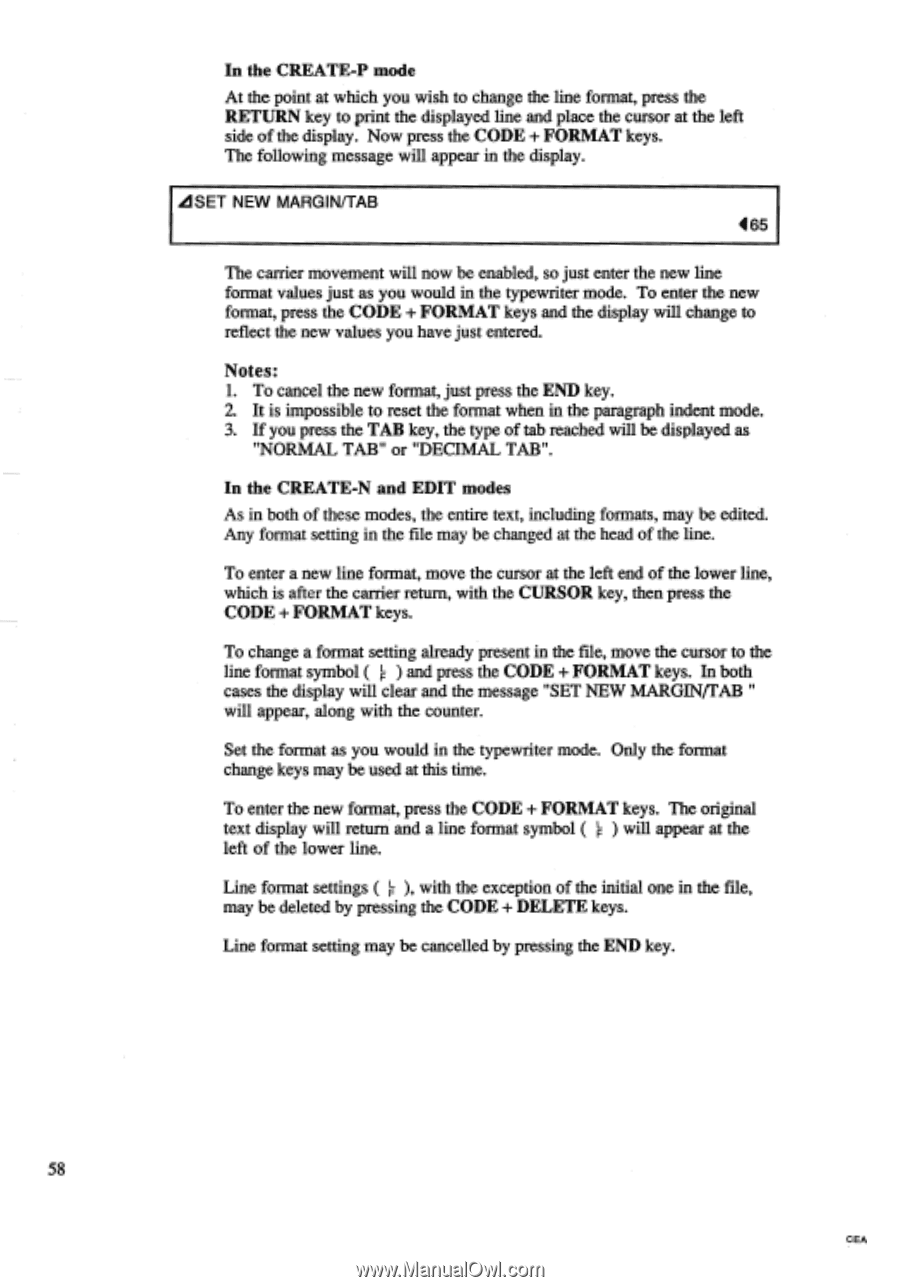
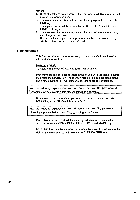
In the CREATE-P mode At the point at which you wish to change the line format, press the RETURN key to print the displayed line and place the cursor at the left side of the display. Now press the CODE + FORMAT keys. The following message will appear in the display. it SET NEW MARGIN/TAB 465 The carrier movement will now be enabled, so just enter the new line format values just as you would in the typewriter mode. To enter the new format, press the CODE + FORMAT keys and the display will change to reflect the new values you have just entered. Notes: 1. To cancel the new format, just press the END key. 2. It is impossible to reset the format when in the paragraph indent mode. 3. If you press the TAB key, the type of tab reached will be displayed as "NORMAL TAB" or "DECIMAL TAB". In the CREATE-N and EDIT modes As in both of these modes, the entire text, including formats, may be edited. Any format setting in the file may be changed at the head of the line. To enter a new line format, move the cursor at the left end of the lower line, which is after the carrier return, with the CURSOR key, then press the CODE + FORMAT keys. To change a format setting already present in the file, move the cursor to the line format symbol ( F ) and press the CODE + FORMAT keys. In both cases the display will clear and the message "SET NEW MARGIN/TAB " will appear, along with the counter. Set the format as you would in the typewriter mode. Only the format change keys may be used at this time. To enter the new format, press the CODE + FORMAT keys. The original text display will return and a line format symbol ( F ) will appear at the left of the lower line. Line format settings ( F ), with the exception of the initial one in the file, may be deleted by pressing the CODE + DELETE keys. Line format setting may be cancelled by pressing the END key. 58 CEA
-
 1
1 -
2
-
3
-
4
-
5
-
6
-
7
-
8
-
9
-
10
-
11
-
12
-
13
-
14
-
15
-
16
-
17
-
18
-
19
-
20
-
21
-
22
-
23
-
24
-
25
-
26
-
27
-
28
-
29
-
30
-
31
-
32
-
33
-
34
-
35
-
36
-
37
-
38
-
39
-
40
-
41
-
42
-
43
-
44
-
45
-
46
-
47
-
48
-
49
-
50
-
51
-
52
-
53
-
54
-
55
-
56
-
57
-
58
-
59
-
60
-
 61
61 -
 62
62 -
 63
63 -
 64
64 -
 65
65 -
 66
66 -
 67
67 -
 68
68 -
 69
69 -
 70
70 -
 71
71 -
72
-
73
-
74
-
75
-
76
-
77
-
78
-
79
-
80
-
81
-
82
-
83
-
84
-
85
-
86
-
87
-
88
-
89
-
90
-
91
-
92
-
93
-
94
-
95
-
96
-
97
-
98
-
99
-
100
-
101
-
102
-
103
-
104
 |
 |