Epson FX-880 User Manual - Page 72
If the first line on your appears too high or low, you can, to remove your printed document.
 |
View all Epson FX-880 manuals
Add to My Manuals
Save this manual to your list of manuals |
Page 72 highlights
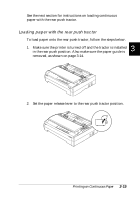
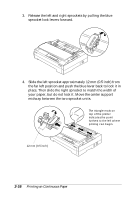
10. Attach the front cover with the continuous paper positioned as shown below. 3 11. Make sure that the paper guide is lying flat on the printer and the edge guides are open all the way to the left and right. Then raise the continuous paper support. 12. Turn on the printer. When the printer receives data, it automatically loads the paper and starts printing. 13. After you finish printing, follow the steps in the next section to remove your printed document. If the first line on your page appears too high or low, you can change its position by using the micro adjust feature as described in "Adjusting the Top-of-Form Position" on page 3-35. Printing on Continuous Paper 3-11
-
 1
1 -
2
-
3
-
4
-
5
-
6
-
7
-
8
-
9
-
10
-
11
-
12
-
13
-
14
-
15
-
16
-
17
-
18
-
19
-
20
-
21
-
22
-
23
-
24
-
25
-
26
-
27
-
28
-
29
-
30
-
31
-
32
-
33
-
34
-
35
-
36
-
37
-
38
-
39
-
40
-
41
-
42
-
43
-
44
-
45
-
46
-
47
-
48
-
49
-
50
-
51
-
52
-
53
-
54
-
55
-
56
-
57
-
58
-
59
-
60
-
61
-
62
-
63
-
64
-
65
-
66
-
 67
67 -
 68
68 -
 69
69 -
 70
70 -
 71
71 -
 72
72 -
 73
73 -
 74
74 -
 75
75 -
 76
76 -
 77
77 -
78
-
79
-
80
-
81
-
82
-
83
-
84
-
85
-
86
-
87
-
88
-
89
-
90
-
91
-
92
-
93
-
94
-
95
-
96
-
97
-
98
-
99
-
100
-
101
-
102
-
103
-
104
-
105
-
106
-
107
-
108
-
109
-
110
-
111
-
112
-
113
-
114
-
115
-
116
-
117
-
118
-
119
-
120
-
121
-
122
-
123
-
124
-
125
-
126
-
127
-
128
-
129
-
130
-
131
-
132
-
133
-
134
-
135
-
136
-
137
-
138
-
139
-
140
-
141
-
142
-
143
-
144
-
145
-
146
-
147
-
148
-
149
-
150
-
151
-
152
-
153
-
154
-
155
-
156
-
157
-
158
-
159
-
160
-
161
-
162
-
163
-
164
-
165
-
166
-
167
-
168
-
169
-
170
-
171
-
172
-
173
-
174
-
175
-
176
-
177
-
178
-
179
-
180
-
181
-
182
-
183
-
184
-
185
-
186
-
187
-
188
-
189
-
190
-
191
-
192
-
193
-
194
-
195
-
196
-
197
-
198
-
199
-
200
-
201
-
202
-
203
-
204
-
205
-
206
-
207
-
208
-
209
-
210
-
211
-
212
-
213
-
214
-
215
-
216
-
217
-
218
-
219
-
220
-
221
 |
 |
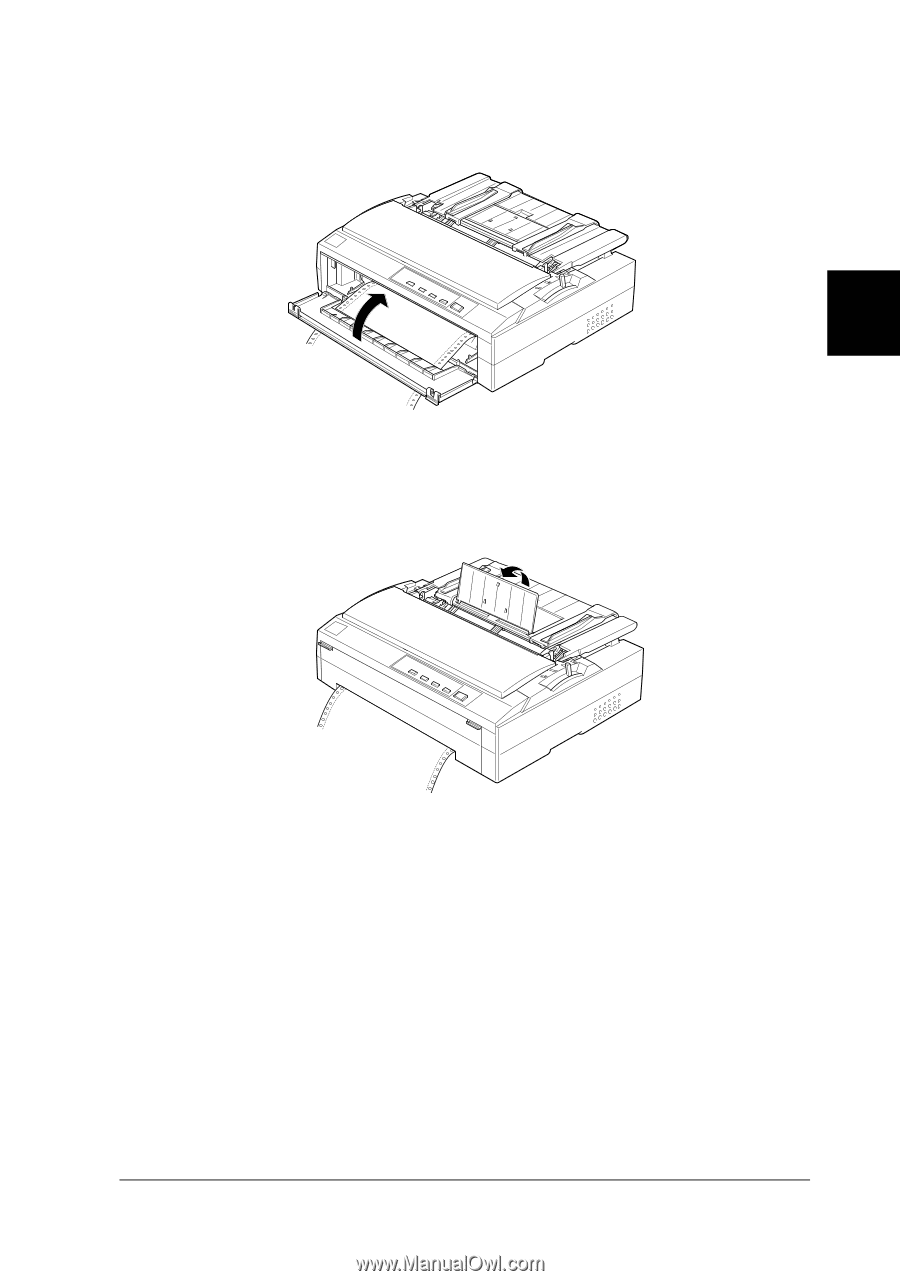
10.
Attach the front cover with the continuous paper positioned
as shown below.
11.
Make sure that the paper guide is lying flat on the printer
and the edge guides are open all the way to the left and
right. Then raise the continuous paper support.
12.
Turn on the printer. When the printer receives data, it
automatically loads the paper and starts printing.
13.
After you finish printing, follow the steps in the next section
to remove your printed document.
If the first line on your page appears too high or low, you can
change its position by using the micro adjust feature as
described in “Adjusting the Top-of-Form Position” on
page 3-35.
3
Printing on Continuous Paper
3-11