Epson Stylus Pro 4800 Portrait Edition Printer Guide - Page 138
Solving Operational Problems
 |
View all Epson Stylus Pro 4800 Portrait Edition manuals
Add to My Manuals
Save this manual to your list of manuals |
Page 138 highlights
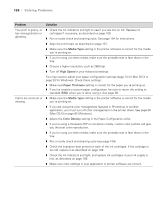
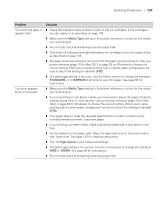
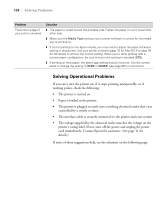
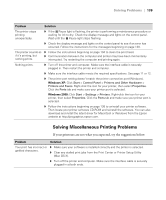
138 | Solving Problems Problem The bottom edge of your print is smeared. Solution ◗ The paper is curled toward the printable side. Flatten the paper or curl it toward the other side. ◗ Make sure the Media Type setting in your printer software is correct for the media you're printing on. ◗ If you're printing on non-Epson media, you may need to adjust the paper thickness setting or drying time. Use your printer software (page 70 for Mac OS X or page 93 for Windows) to choose the correct setting. When you're done printing with a custom paper configuration, be sure to return the setting to standard (STD). ◗ If printing on thick paper, the platen gap setting may be incorrect. Use the control panel to change the setting to WIDE or WIDER. See page 56 for instructions. Solving Operational Problems If you can't turn the printer on, if it stops printing unexpectedly, or if nothing prints, check the following: • The printer is turned on. • Paper is loaded in the printer. • The printer is plugged securely into a working electrical outlet that's not controlled by a switch or timer. • The interface cable is securely connected to the printer and your system. • The voltage supplied by the electrical outlet matches the voltage on the printer's rating label. If not, turn off the power and unplug the power cord immediately. Contact Epson for assistance. (See page 11 for details.) If none of these suggestions help, try the solutions on the following page. 6-138
-
 1
1 -
2
-
3
-
4
-
5
-
6
-
7
-
8
-
9
-
10
-
11
-
12
-
13
-
14
-
15
-
16
-
17
-
18
-
19
-
20
-
21
-
22
-
23
-
24
-
25
-
26
-
27
-
28
-
29
-
30
-
31
-
32
-
33
-
34
-
35
-
36
-
37
-
38
-
39
-
40
-
41
-
42
-
43
-
44
-
45
-
46
-
47
-
48
-
49
-
50
-
51
-
52
-
53
-
54
-
55
-
56
-
57
-
58
-
59
-
60
-
61
-
62
-
63
-
64
-
65
-
66
-
67
-
68
-
69
-
70
-
71
-
72
-
73
-
74
-
75
-
76
-
77
-
78
-
79
-
80
-
81
-
82
-
83
-
84
-
85
-
86
-
87
-
88
-
89
-
90
-
91
-
92
-
93
-
94
-
95
-
96
-
97
-
98
-
99
-
100
-
101
-
102
-
103
-
104
-
105
-
106
-
107
-
108
-
109
-
110
-
111
-
112
-
113
-
114
-
115
-
116
-
117
-
118
-
119
-
120
-
121
-
122
-
123
-
124
-
125
-
126
-
127
-
128
-
129
-
130
-
131
-
132
-
 133
133 -
 134
134 -
 135
135 -
 136
136 -
 137
137 -
 138
138 -
 139
139 -
 140
140 -
 141
141 -
 142
142 -
 143
143 -
144
-
145
-
146
-
147
-
148
-
149
-
150
-
151
-
152
-
153
-
154
-
155
-
156
-
157
-
158
-
159
-
160
 |
 |