HP Latex 110 Users Guide - Page 130
Clean the encoder strip, Cleaning procedure
 |
View all HP Latex 110 manuals
Add to My Manuals
Save this manual to your list of manuals |
Page 130 highlights
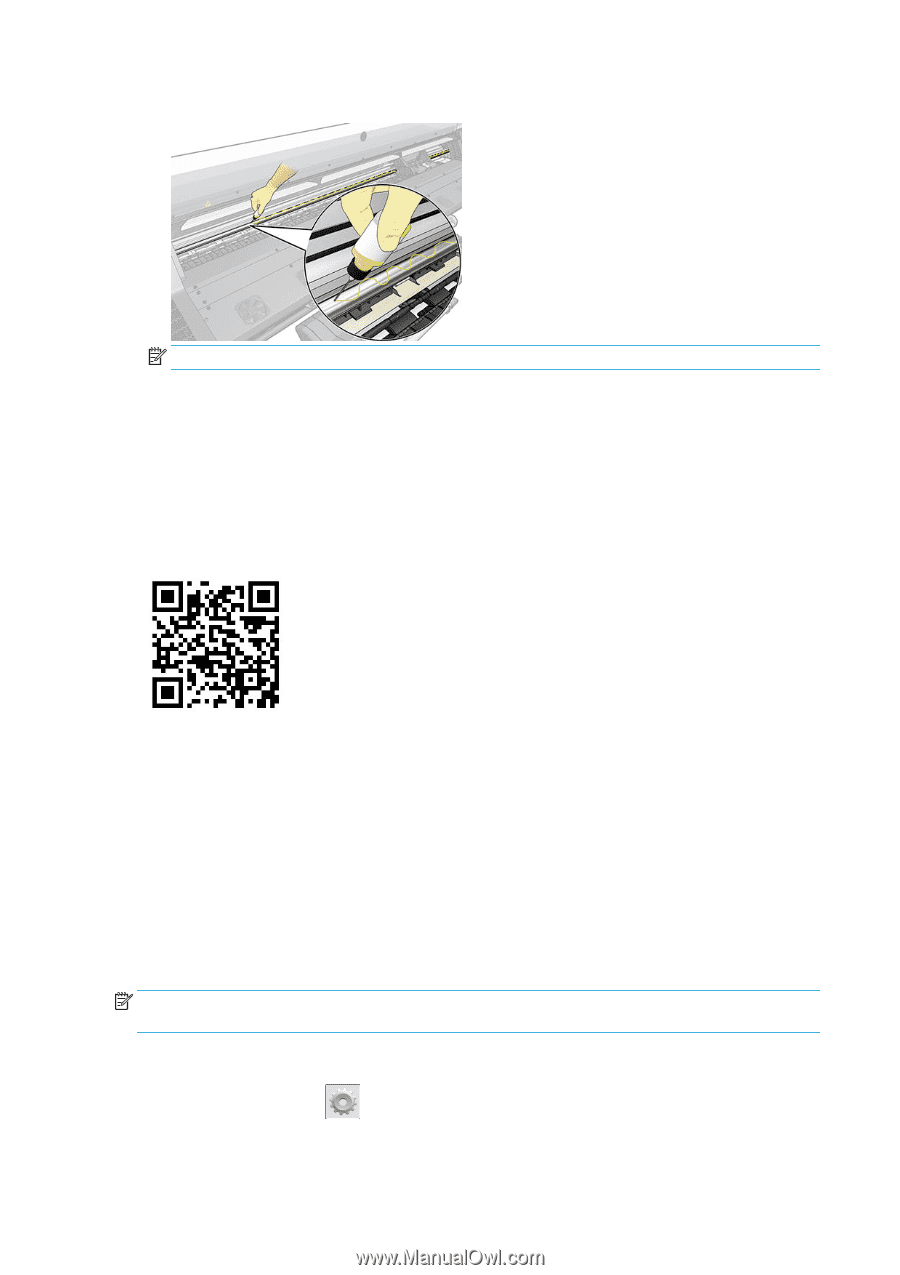
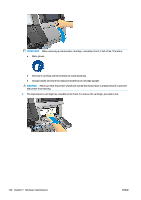
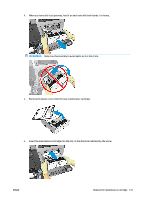
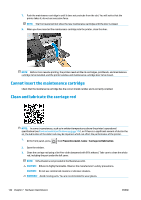
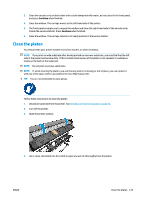
8. Deposit a very thin zig-zag trickle of oil along the rod. NOTE: While lubricating, be careful not to drop oil on the encoder strip located on top of the rod. 9. Press OK at the front panel. 10. Close the window. 11. The carriage moves from one side of the printer to the other to distribute the oil along the rod. 12. The front panel asks you to confirm that lubrication has been completed. Press OK to confirm. Clean the encoder strip Cleaning the encoder strip is a vital part of the printer's maintenance and can clear a variety of system errors: ● 86:01 or 87:01 system errors and related mispositioning of the carriage assembly errors, such as the carriage bumping into the side of the printer. ● 42:10 system errors, related to failures starting and homing the carriage on the scan axis. ● 29:01 system errors that cannot be cleared even after installing new maintenance cartridges. ● There are occasions when a dirty encoder strip can cause substrate loading issues, as the carriage cannot correctly detect the position of the substrate. The encoder strip should be cleaned when requested by the printer. The front panel displays a message when cleaning is required: For optimal printer performance follow the Clean the encoder strip process as described in the User's Guide. NOTE: When the message is displayed on the front panel, a silent warning message is added within the system error log '8:01'. This helps when reviewing the error log history. Cleaning procedure 1. At the front panel, press , then Preventive maintenance tasks > Clean scan axis encoder. 2. Open the window. 124 Chapter 7 Hardware maintenance ENWW
-
 1
1 -
2
-
3
-
4
-
5
-
6
-
7
-
8
-
9
-
10
-
11
-
12
-
13
-
14
-
15
-
16
-
17
-
18
-
19
-
20
-
21
-
22
-
23
-
24
-
25
-
26
-
27
-
28
-
29
-
30
-
31
-
32
-
33
-
34
-
35
-
36
-
37
-
38
-
39
-
40
-
41
-
42
-
43
-
44
-
45
-
46
-
47
-
48
-
49
-
50
-
51
-
52
-
53
-
54
-
55
-
56
-
57
-
58
-
59
-
60
-
61
-
62
-
63
-
64
-
65
-
66
-
67
-
68
-
69
-
70
-
71
-
72
-
73
-
74
-
75
-
76
-
77
-
78
-
79
-
80
-
81
-
82
-
83
-
84
-
85
-
86
-
87
-
88
-
89
-
90
-
91
-
92
-
93
-
94
-
95
-
96
-
97
-
98
-
99
-
100
-
101
-
102
-
103
-
104
-
105
-
106
-
107
-
108
-
109
-
110
-
111
-
112
-
113
-
114
-
115
-
116
-
117
-
118
-
119
-
120
-
121
-
122
-
123
-
124
-
 125
125 -
 126
126 -
 127
127 -
 128
128 -
 129
129 -
 130
130 -
 131
131 -
 132
132 -
 133
133 -
 134
134 -
 135
135 -
136
-
137
-
138
-
139
-
140
-
141
-
142
-
143
-
144
-
145
-
146
-
147
-
148
-
149
-
150
-
151
-
152
-
153
-
154
-
155
-
156
-
157
-
158
-
159
-
160
 |
 |