HP Scanjet 7450c HP Scanjet 7400C Series Scanner Windows - (English) User Manu - Page 88
Zoom In, Resize, Adjust Exposure, Advanced
 |
View all HP Scanjet 7450c manuals
Add to My Manuals
Save this manual to your list of manuals |
Page 88 highlights
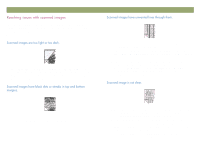
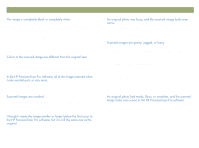
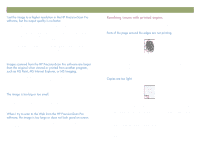
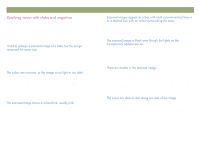
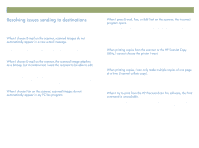
88 Troubleshooting usage and maintaining Use the following section to help resolve issues with slides, negatives, and other transparent media scanned using the XPA. All actions must be performed in the HP PrecisionScan Pro software, because you must scan slides, negatives, and other transparent items using this software. See also "Resolving issues with the XPA" on page 95. You might have used the Zoom In command, which only changes the view on the screen. Use the Resize command to change the size of the final scanned image. See "Resizing (output dimensions)" on page 38. The software might be setting exposure for the entire area instead of one slide or negative. Create a selection area around the slide or negative you want to use to ensure it is exposed correctly. The template is not placed completely on the scanner glass. Make sure the template is completely on the scanner glass. The slide was probably scanned without using the slide template, or the template was placed incorrectly. Use the included slide template to scan slides. Turn the template so the wording "Hewlett Packard" is at the top, or closest to the hinged portion of the lid. Back to TOC The template might be placed incorrectly on the scanner bed. Turn the template so the wording "Hewlett Packard" is at the top, or closest to the hinged portion of the lid. The template might be placed incorrectly on the scanner bed. Turn the template so the wording "Hewlett Packard" is at the top, or closest to the hinged portion of the lid. Check the Adjust Exposure command in the Advanced menu. Check the original slide or negative for damage. The calibration area at the top of the large template might be scratched or blemished. If there are scratches or blemishes, turn the template over and scan again to see if the streak moves to the other side of the scan. If the streaks move, then the template needs to be replaced. One of the two bulbs in the XPA might be broken or not working. With the XPA connected to the scanner, hold the XPA up and look for even illumination on both sides of the XPA. If a bulb is broken, service is required.
-
 1
1 -
2
-
3
-
4
-
5
-
6
-
7
-
8
-
9
-
10
-
11
-
12
-
13
-
14
-
15
-
16
-
17
-
18
-
19
-
20
-
21
-
22
-
23
-
24
-
25
-
26
-
27
-
28
-
29
-
30
-
31
-
32
-
33
-
34
-
35
-
36
-
37
-
38
-
39
-
40
-
41
-
42
-
43
-
44
-
45
-
46
-
47
-
48
-
49
-
50
-
51
-
52
-
53
-
54
-
55
-
56
-
57
-
58
-
59
-
60
-
61
-
62
-
63
-
64
-
65
-
66
-
67
-
68
-
69
-
70
-
71
-
72
-
73
-
74
-
75
-
76
-
77
-
78
-
79
-
80
-
81
-
82
-
 83
83 -
 84
84 -
 85
85 -
 86
86 -
 87
87 -
 88
88 -
 89
89 -
 90
90 -
 91
91 -
 92
92 -
 93
93 -
94
-
95
-
96
-
97
-
98
-
99
-
100
-
101
-
102
-
103
-
104
-
105
-
106
-
107
-
108
-
109
-
110
-
111
-
112
-
113
-
114
-
115
-
116
-
117
-
118
-
119
-
120
-
121
-
122
-
123
-
124
-
125
-
126
-
127
-
128
-
129
-
130
-
131
-
132
-
133
-
134
-
135
-
136
 |
 |