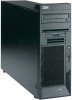
IBM 84885BU User Manual - Page 94
screwdriver
 |
View all IBM 84885BU manuals
Add to My Manuals
Save this manual to your list of manuals |
Page 94 highlights
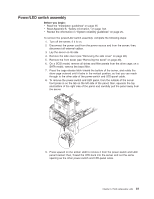
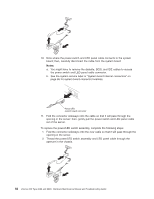
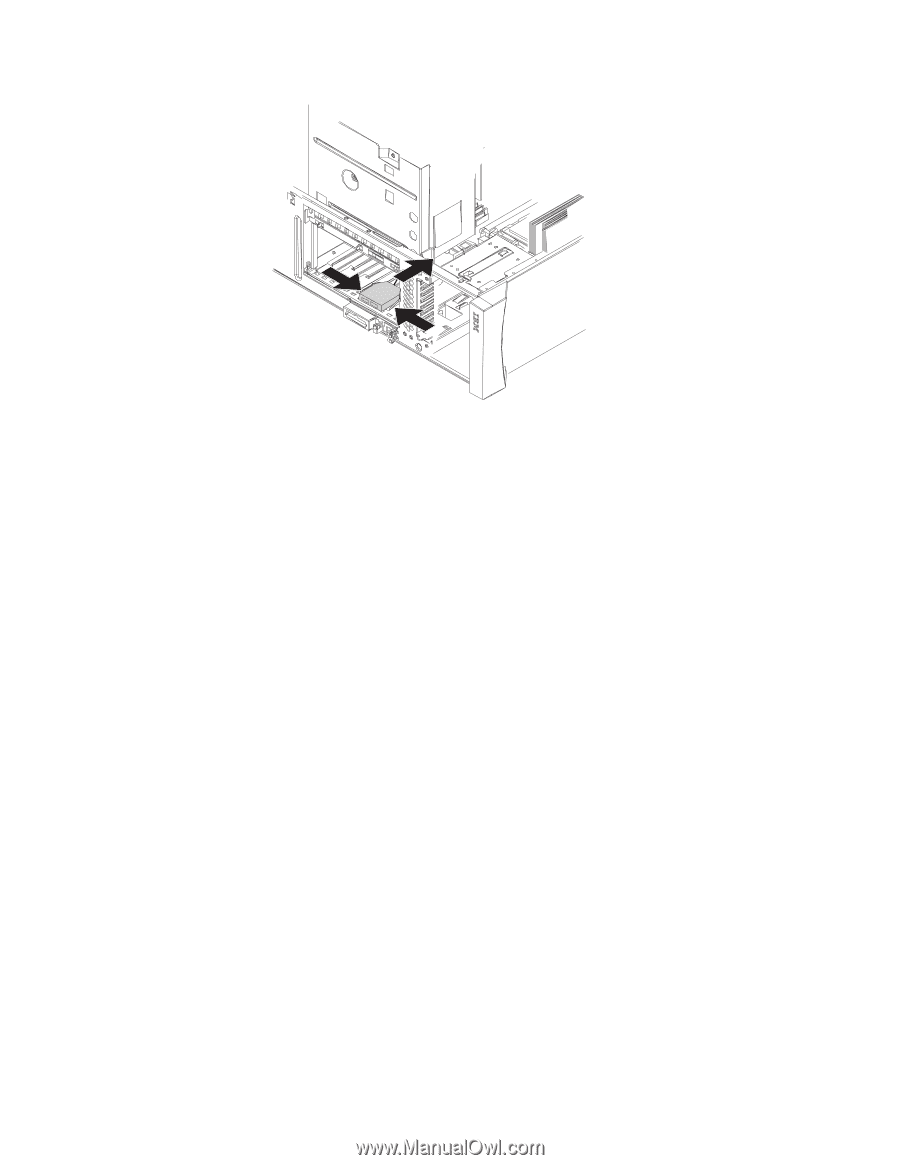
10. From the inside of the chassis, place your fingers on the two tabs on the front USB connector assembly and squeeze them together to detach the assembly from the server; then, pull the assembly toward the inside of the chassis and remove it. To install the front USB connector assembly, reverse the previous steps, routing the cable correctly and snapping the front USB connector assembly into place. Note: When replacing the USB front connector assembly: v Route the cable so that it does not impede movement of the drive cage. v It might be helpful to use a flat-blade screwdriver from the outside to help snap the connector into place. 84 xSeries 226 Type 8488 and 8648: Hardware Maintenance Manual and Troubleshooting Guide
-
 1
1 -
2
-
3
-
4
-
5
-
6
-
7
-
8
-
9
-
10
-
11
-
12
-
13
-
14
-
15
-
16
-
17
-
18
-
19
-
20
-
21
-
22
-
23
-
24
-
25
-
26
-
27
-
28
-
29
-
30
-
31
-
32
-
33
-
34
-
35
-
36
-
37
-
38
-
39
-
40
-
41
-
42
-
43
-
44
-
45
-
46
-
47
-
48
-
49
-
50
-
51
-
52
-
53
-
54
-
55
-
56
-
57
-
58
-
59
-
60
-
61
-
62
-
63
-
64
-
65
-
66
-
67
-
68
-
69
-
70
-
71
-
72
-
73
-
74
-
75
-
76
-
77
-
78
-
79
-
80
-
81
-
82
-
83
-
84
-
85
-
86
-
87
-
88
-
 89
89 -
 90
90 -
 91
91 -
 92
92 -
 93
93 -
 94
94 -
 95
95 -
 96
96 -
 97
97 -
 98
98 -
 99
99 -
100
-
101
-
102
-
103
-
104
-
105
-
106
-
107
-
108
-
109
-
110
-
111
-
112
-
113
-
114
-
115
-
116
-
117
-
118
-
119
-
120
-
121
-
122
-
123
-
124
-
125
-
126
-
127
-
128
-
129
-
130
-
131
-
132
-
133
-
134
-
135
-
136
-
137
-
138
-
139
-
140
-
141
-
142
-
143
-
144
-
145
-
146
-
147
-
148
-
149
-
150
-
151
-
152
-
153
-
154
-
155
-
156
-
157
-
158
-
159
-
160
-
161
-
162
-
163
-
164
-
165
-
166
-
167
-
168
-
169
-
170
-
171
-
172
-
173
-
174
-
175
-
176
-
177
-
178
-
179
-
180
-
181
-
182
-
183
-
184
-
185
-
186
-
187
-
188
-
189
-
190
-
191
-
192
-
193
-
194
-
195
-
196
-
197
-
198
-
199
-
200
 |
 |
10.
From
the
inside
of
the
chassis,
place
your
fingers
on
the
two
tabs
on
the
front
USB
connector
assembly
and
squeeze
them
together
to
detach
the
assembly
from
the
server;
then,
pull
the
assembly
toward
the
inside
of
the
chassis
and
remove
it.
To
install
the
front
USB
connector
assembly,
reverse
the
previous
steps,
routing
the
cable
correctly
and
snapping
the
front
USB
connector
assembly
into
place.
Note:
When
replacing
the
USB
front
connector
assembly:
v
Route
the
cable
so
that
it
does
not
impede
movement
of
the
drive
cage.
v
It
might
be
helpful
to
use
a
flat-blade
screwdriver
from
the
outside
to
help
snap
the
connector
into
place.
84
xSeries
226
Type
8488
and
8648:
Hardware
Maintenance
Manual
and
Troubleshooting
Guide