Epson Stylus Pro 5500 User Manual - Page 44
Macintosh, Windows, rows 1
 |
View all Epson Stylus Pro 5500 manuals
Add to My Manuals
Save this manual to your list of manuals |
Page 44 highlights
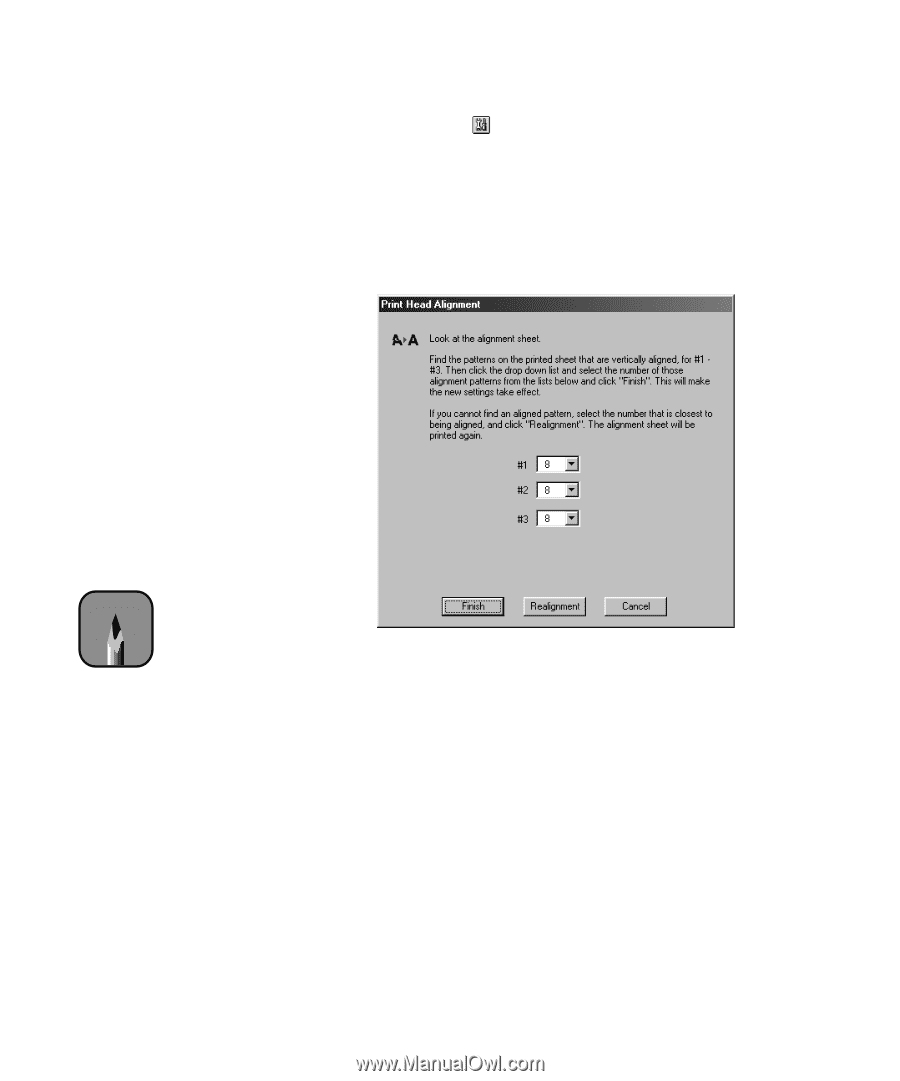
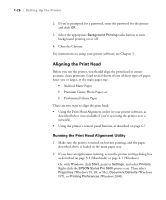
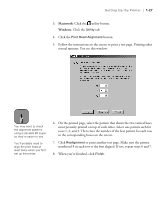
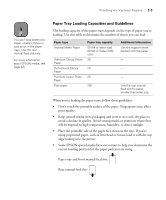
Setting Up the Printer | 1-27 3. Macintosh: Click the utility button. Windows: Click the Utility tab. 4. Click the Print Head Alignment button. 5. Follow the instructions on the screen to print a test page. Printing takes several minutes. You see this window: Note You may want to check the alignment patterns using a standard 8X loupe so they're easier to see. You'll probably need to align the print head at least twice when you first set up the printer. 6. On the printed page, select the pattern that shows the two vertical lines most precisely printed on top of each other. Select one pattern each for rows 1, 2, and 3. Then enter the number of the best pattern for each row in the corresponding boxes on the screen. 7. Click Realignment to print another test page. Make sure the pattern numbered 8 in each row is the best aligned. If not, repeat steps 6 and 7. 8. When you're finished, click Finish. 1-27
-
 1
1 -
2
-
3
-
4
-
5
-
6
-
7
-
8
-
9
-
10
-
11
-
12
-
13
-
14
-
15
-
16
-
17
-
18
-
19
-
20
-
21
-
22
-
23
-
24
-
25
-
26
-
27
-
28
-
29
-
30
-
31
-
32
-
33
-
34
-
35
-
36
-
37
-
38
-
 39
39 -
 40
40 -
 41
41 -
 42
42 -
 43
43 -
 44
44 -
 45
45 -
 46
46 -
 47
47 -
 48
48 -
 49
49 -
50
-
51
-
52
-
53
-
54
-
55
-
56
-
57
-
58
-
59
-
60
-
61
-
62
-
63
-
64
-
65
-
66
-
67
-
68
-
69
-
70
-
71
-
72
-
73
-
74
-
75
-
76
-
77
-
78
-
79
-
80
-
81
-
82
-
83
-
84
-
85
-
86
-
87
-
88
-
89
-
90
-
91
-
92
-
93
-
94
-
95
-
96
-
97
-
98
-
99
-
100
-
101
-
102
-
103
-
104
-
105
-
106
-
107
-
108
-
109
-
110
-
111
-
112
-
113
-
114
-
115
-
116
-
117
-
118
-
119
-
120
 |
 |