Epson SureColor S50670 User Manual - Page 101
Correcting Print Misalignment (Head Alignment), Additional Dryer, Head Alignment, Media Setup
 |
View all Epson SureColor S50670 manuals
Add to My Manuals
Save this manual to your list of manuals |
Page 101 highlights
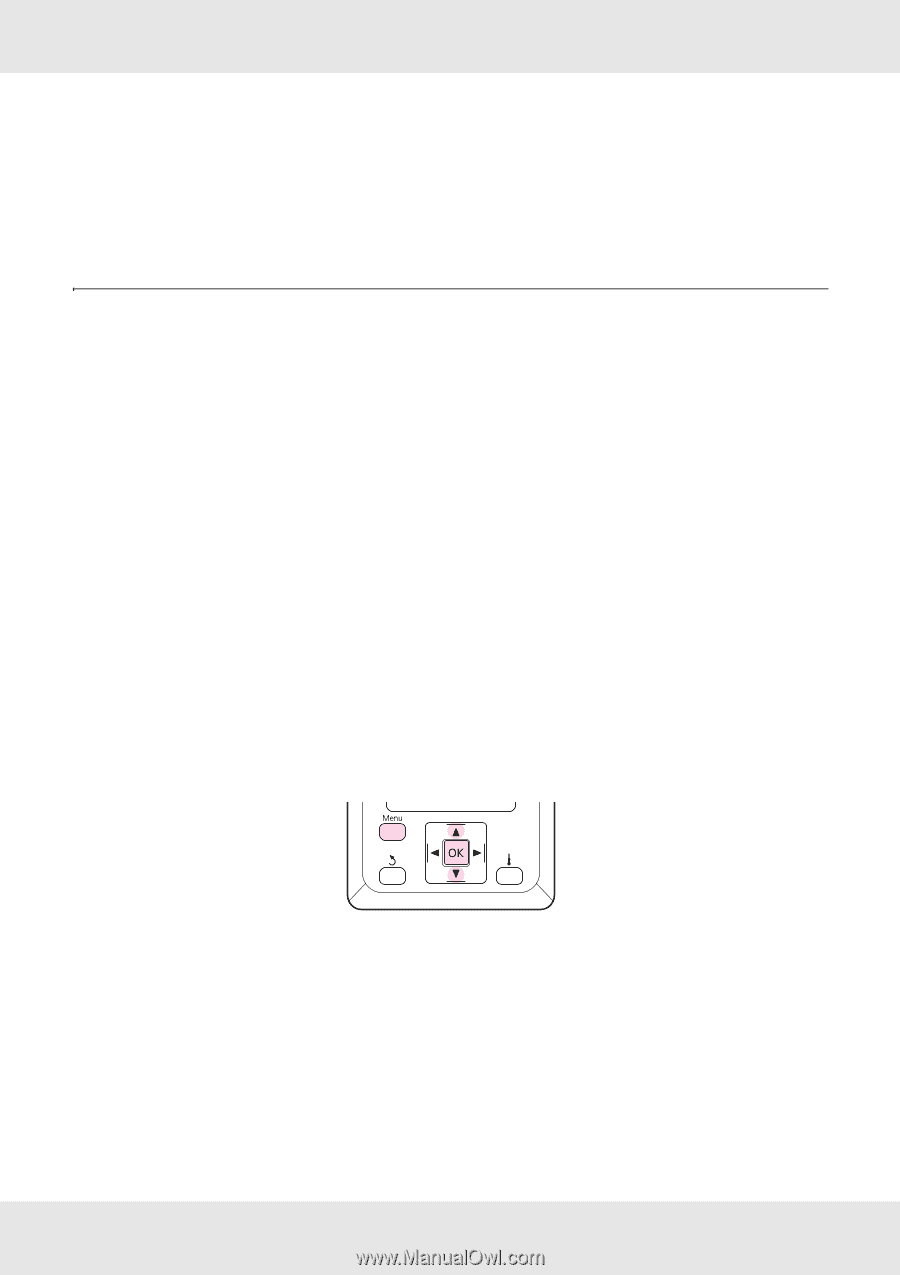
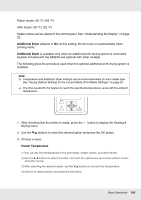
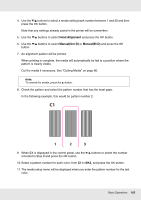
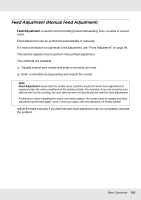
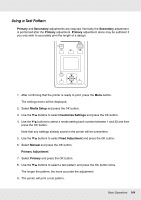
Additional Dryer (1) Use the d/u buttons to select On or Off. (2) Press the Z button. Correcting Print Misalignment (Head Alignment) Given that there is a slight gap between the print head and the media, the landing sites for the different colors of ink may be affected by humidity, temperature, inertial forces imparted by the print head, or the direction of the print head as it moves from right to left or left to right, or the use of two print heads (all models except S30670). As a result, print results may appear grainy or out of focus. When this happens, perform Head Alignment to correct the print misalignment. The thickness of the media determines the distance between the media and the print head. Head Alignment values can be stored separately for each type of media. Stored values can be recalled instantly the next time the media is used. Head Alignment can be performed automatically or manually. For more information on automatic head alignment, see "Head Alignment" on page 96. In manual adjustment, you need to check the pattern and enter the optimum adjustment value for alignment. Align the head manually if you feel that auto head alignment has not completely resolved the problem. 1. After confirming that the printer is ready to print, press the Menu button. The settings menu will be displayed. 2. Select Media Setup and press the Z button. 3. Use the d/u buttons to select Customize Settings and press the Z button. Basic Operations 101
-
 1
1 -
2
-
3
-
4
-
5
-
6
-
7
-
8
-
9
-
10
-
11
-
12
-
13
-
14
-
15
-
16
-
17
-
18
-
19
-
20
-
21
-
22
-
23
-
24
-
25
-
26
-
27
-
28
-
29
-
30
-
31
-
32
-
33
-
34
-
35
-
36
-
37
-
38
-
39
-
40
-
41
-
42
-
43
-
44
-
45
-
46
-
47
-
48
-
49
-
50
-
51
-
52
-
53
-
54
-
55
-
56
-
57
-
58
-
59
-
60
-
61
-
62
-
63
-
64
-
65
-
66
-
67
-
68
-
69
-
70
-
71
-
72
-
73
-
74
-
75
-
76
-
77
-
78
-
79
-
80
-
81
-
82
-
83
-
84
-
85
-
86
-
87
-
88
-
89
-
90
-
91
-
92
-
93
-
94
-
95
-
 96
96 -
 97
97 -
 98
98 -
 99
99 -
 100
100 -
 101
101 -
 102
102 -
 103
103 -
 104
104 -
 105
105 -
 106
106 -
107
-
108
-
109
-
110
-
111
-
112
-
113
-
114
-
115
-
116
-
117
-
118
-
119
-
120
-
121
-
122
-
123
-
124
-
125
-
126
-
127
-
128
-
129
-
130
-
131
-
132
-
133
-
134
-
135
-
136
-
137
-
138
-
139
-
140
-
141
-
142
-
143
-
144
-
145
-
146
-
147
-
148
-
149
-
150
-
151
-
152
-
153
-
154
-
155
-
156
-
157
-
158
-
159
-
160
-
161
-
162
-
163
-
164
-
165
-
166
-
167
-
168
-
169
-
170
-
171
-
172
-
173
-
174
-
175
-
176
-
177
-
178
-
179
-
180
-
181
-
182
-
183
-
184
-
185
-
186
-
187
-
188
-
189
-
190
-
191
-
192
 |
 |