Epson SureColor S50670 User Manual - Page 139
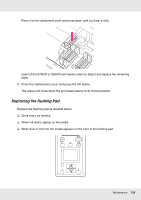
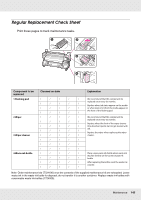
Head Maintenance, Immediately transfer the used flushing pad to a tray. Ink may leak from the pad.
 |
View all Epson SureColor S50670 manuals
Add to My Manuals
Save this manual to your list of manuals |
Page 139 highlights
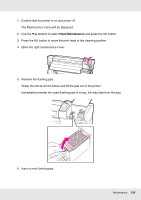
1. Confirm that the printer is on and press #. The Maintenance menu will be displayed. 2. Use the d/u buttons to select Head Maintenance and press the Z button. 3. Press the Z button to move the print head to the cleaning position. 4. Open the right maintenance cover. 5. Remove the flushing pad. Grasp the tab as shown below and lift the pad out of the printer. Immediately transfer the used flushing pad to a tray. Ink may leak from the pad. 6. Insert a new flushing pad. Maintenance 139
-
 1
1 -
2
-
3
-
4
-
5
-
6
-
7
-
8
-
9
-
10
-
11
-
12
-
13
-
14
-
15
-
16
-
17
-
18
-
19
-
20
-
21
-
22
-
23
-
24
-
25
-
26
-
27
-
28
-
29
-
30
-
31
-
32
-
33
-
34
-
35
-
36
-
37
-
38
-
39
-
40
-
41
-
42
-
43
-
44
-
45
-
46
-
47
-
48
-
49
-
50
-
51
-
52
-
53
-
54
-
55
-
56
-
57
-
58
-
59
-
60
-
61
-
62
-
63
-
64
-
65
-
66
-
67
-
68
-
69
-
70
-
71
-
72
-
73
-
74
-
75
-
76
-
77
-
78
-
79
-
80
-
81
-
82
-
83
-
84
-
85
-
86
-
87
-
88
-
89
-
90
-
91
-
92
-
93
-
94
-
95
-
96
-
97
-
98
-
99
-
100
-
101
-
102
-
103
-
104
-
105
-
106
-
107
-
108
-
109
-
110
-
111
-
112
-
113
-
114
-
115
-
116
-
117
-
118
-
119
-
120
-
121
-
122
-
123
-
124
-
125
-
126
-
127
-
128
-
129
-
130
-
131
-
132
-
133
-
 134
134 -
 135
135 -
 136
136 -
 137
137 -
 138
138 -
 139
139 -
 140
140 -
 141
141 -
 142
142 -
 143
143 -
 144
144 -
145
-
146
-
147
-
148
-
149
-
150
-
151
-
152
-
153
-
154
-
155
-
156
-
157
-
158
-
159
-
160
-
161
-
162
-
163
-
164
-
165
-
166
-
167
-
168
-
169
-
170
-
171
-
172
-
173
-
174
-
175
-
176
-
177
-
178
-
179
-
180
-
181
-
182
-
183
-
184
-
185
-
186
-
187
-
188
-
189
-
190
-
191
-
192
 |
 |
Maintenance
139
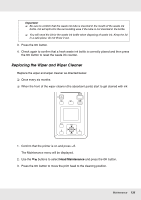
1.
Confirm that the printer is on and press
#
.
The Maintenance menu will be displayed.
2.
Use the
d
/
u
buttons to select
Head Maintenance
and press the
Z
button.
3.
Press the
Z
button to move the print head to the cleaning position.
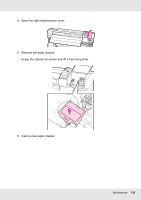
4.
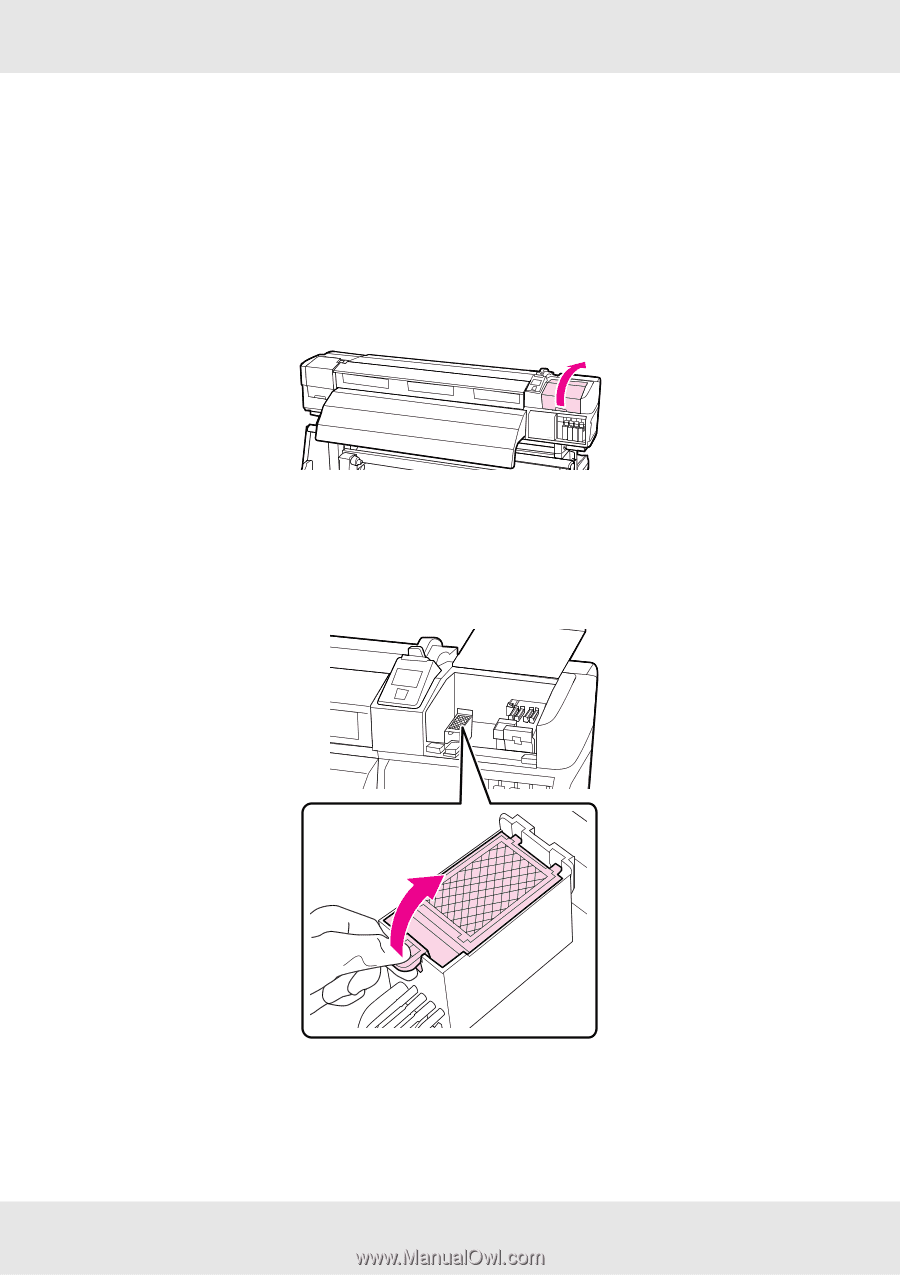
Open the right maintenance cover.
5.
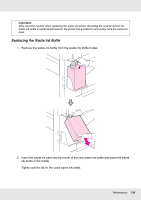
Remove the flushing pad.
Grasp the tab as shown below and lift the pad out of the printer.
Immediately transfer the used flushing pad to a tray. Ink may leak from the pad.
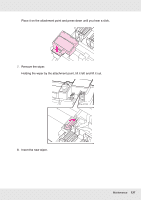
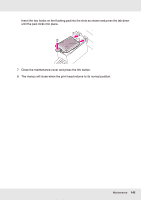
6.
Insert a new flushing pad.