Nokia 9000i Nokia 9000i User Guide in English - Page 43
Fax directory, Fax cover and send, options
 |
View all Nokia 9000i manuals
Add to My Manuals
Save this manual to your list of manuals |
Page 43 highlights
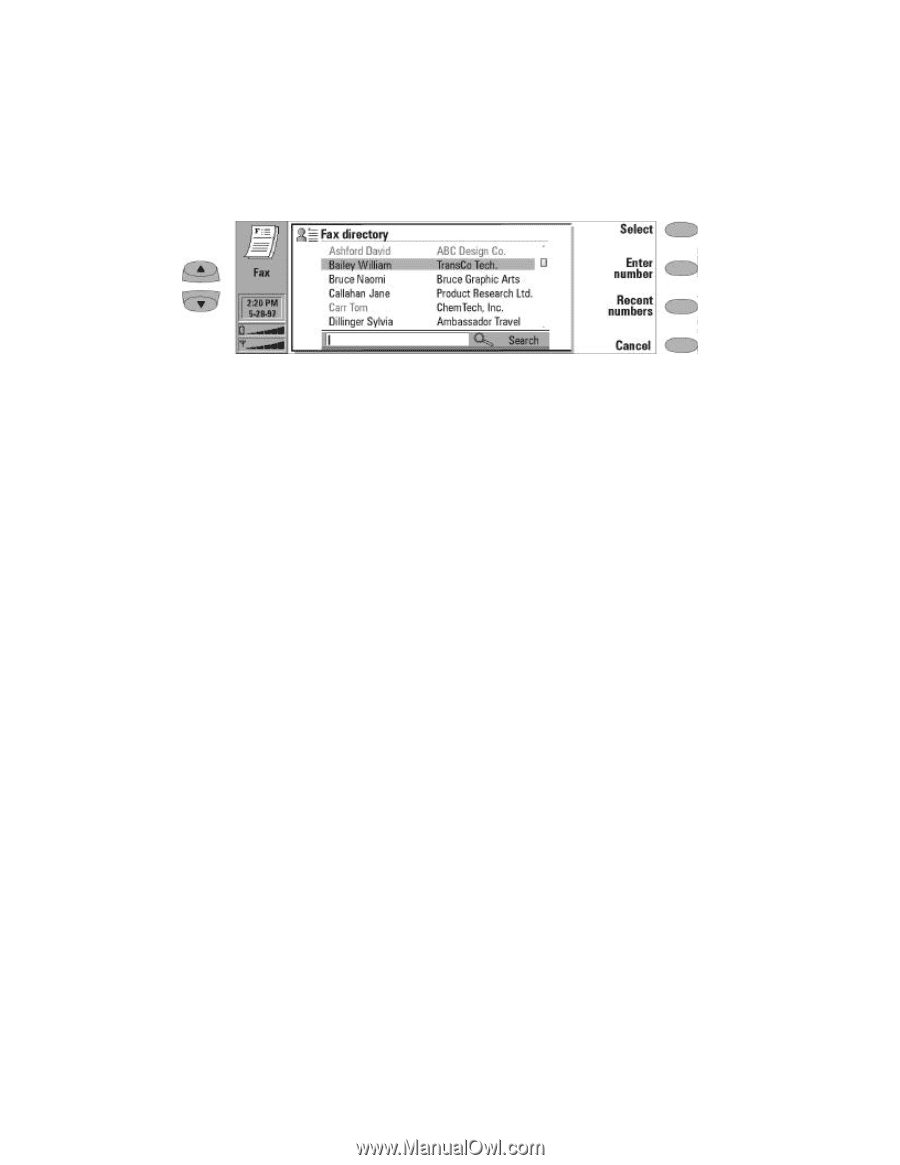
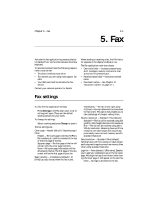
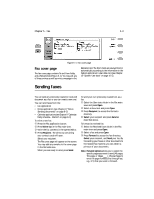
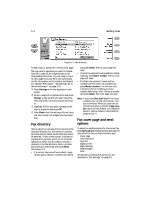
5-4 Sending faxes Figure 5-2: Fax directory To add a logo or signature to the fax cover page: The logo and/or signature you want to include must be in JPEG or GIF image format in the Downloaded files folder. You will need to transfer the image from your PC to the communicator. For information on file transfer, see Chapter 10, "System: File transfer - Transferring files to the communicator" on page 10-8. • Press Settings in the Fax application main screen. , Scroll to Logo file or Signature file and press Change. A pop-up box will open listing the files contained in the Downloaded files folder. ƒ Highlight the file you want included as the logo or signature and press OK. „ Press Close to exit the settings. All your faxes will now contain the images you have specified. Fax directory The Fax directory contains all the contacts of the Contacts directory, but the names of contacts who have no fax number are dimmed and cannot be selected. To edit stored contact information and add a fax number, switch to the Contacts application. When you are ready to choose a recipient in the Fax directory, select a contact (by scrolling or searching) and press Select (see Figure 5-2). • If a contact has several fax numbers, a popup box opens. Choose a number from the list and press Select. The fax cover page will open. • To enter the recipient's name and fax number manually, press Enter number. The fax cover page will open. • To obtain the recipient's name and fax number from the recent fax numbers list, press Recent numbers. You will see a list containing the fax numbers you have recently had contact with. Choose a number and press Select. The cover page will open. Note: If you press Clear both lists in the recent numbers view, all the information in the lists is removed. When you open one of the lists and select a contact, Copy number copies the fax number to a clipboard where it can be copied to documents by pressing Ctrl+V. Fax cover page and send options To adjust fax sending options for the current fax, press Send options. Changing these settings will only affect the fax you have currently open. Cover page Send resolution Logo file Signature file Begin sending Resend pages ECM All options for sending the current fax are described in "Fax settings" on page 5-1.
-
 1
1 -
2
-
3
-
4
-
5
-
6
-
7
-
8
-
9
-
10
-
11
-
12
-
13
-
14
-
15
-
16
-
17
-
18
-
19
-
20
-
21
-
22
-
23
-
24
-
25
-
26
-
27
-
28
-
29
-
30
-
31
-
32
-
33
-
34
-
35
-
36
-
37
-
 38
38 -
 39
39 -
 40
40 -
 41
41 -
 42
42 -
 43
43 -
 44
44 -
 45
45 -
 46
46 -
 47
47 -
 48
48 -
49
-
50
-
51
-
52
-
53
-
54
-
55
-
56
-
57
-
58
-
59
-
60
-
61
-
62
-
63
-
64
-
65
-
66
-
67
-
68
-
69
-
70
-
71
-
72
-
73
-
74
-
75
-
76
-
77
-
78
-
79
-
80
-
81
-
82
-
83
-
84
-
85
-
86
-
87
-
88
-
89
-
90
-
91
-
92
-
93
-
94
-
95
-
96
-
97
-
98
-
99
-
100
-
101
-
102
-
103
-
104
-
105
-
106
-
107
-
108
-
109
-
110
-
111
-
112
-
113
-
114
-
115
-
116
-
117
-
118
-
119
-
120
-
121
-
122
-
123
-
124
-
125
-
126
-
127
-
128
-
129
-
130
-
131
 |
 |