Nokia 9000i Nokia 9000i User Guide in English - Page 44
Received faxes
 |
View all Nokia 9000i manuals
Add to My Manuals
Save this manual to your list of manuals |
Page 44 highlights
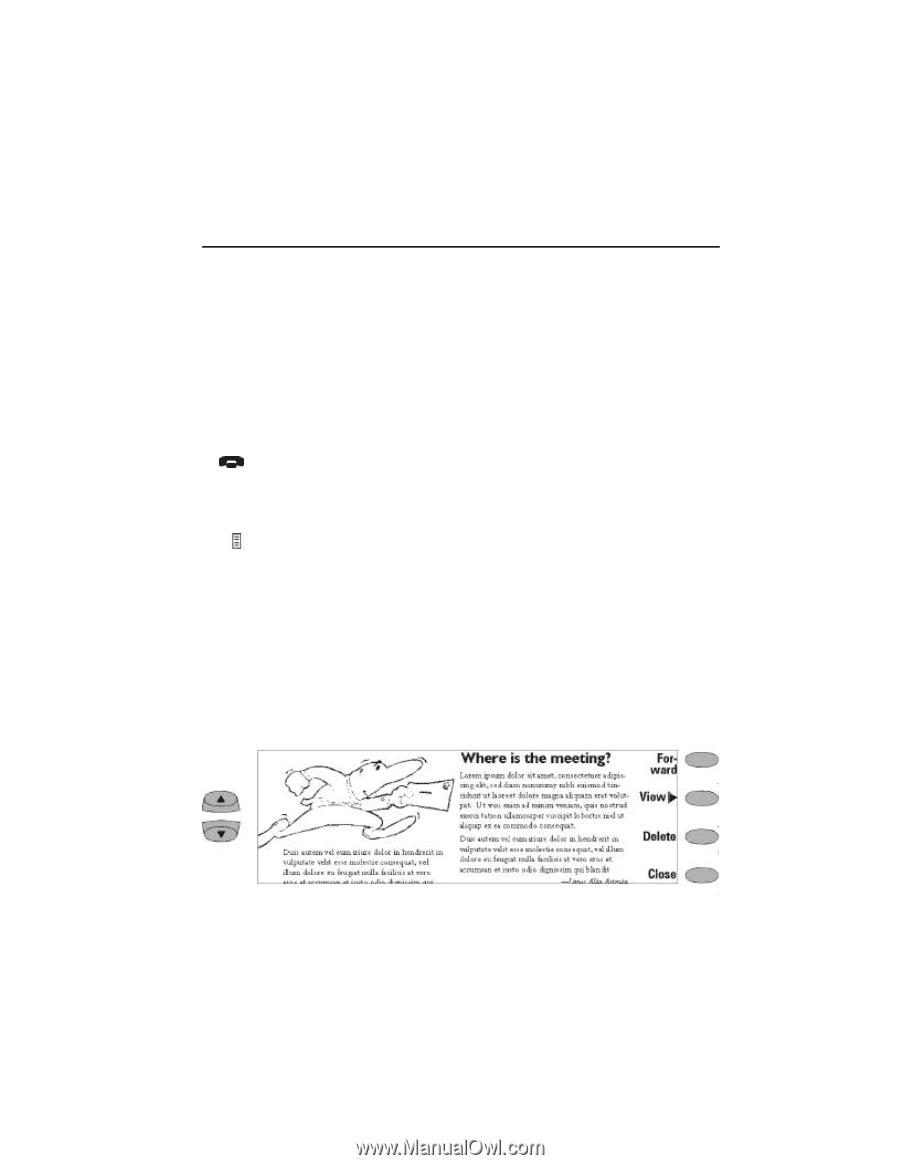
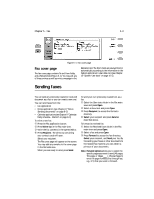
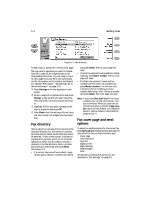
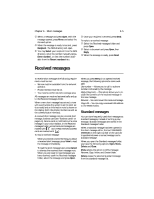
Chapter 5 - Fax 5-5 Received faxes To receive a fax, the following requirements must be met: • You must have subscribed to fax service with your network operator. • The phone must be on. • You must have adequate signal strength. All faxes will be received automatically, and will go to the Received faxes folder. While a fax is being received, the FAX indicator appears on the indicator row. If you do not wish to receive the fax, close the cover and press on the phone interface. When a new fax has been received, you will hear a tone (unless the system is set to silent service mode) and a note is shown on the screen. Unread faxes in the Received faxes folder are marked with . To rename the selected fax, open the Received faxes folder, press Menu and choose Rename. To delete the selected fax, open the Received faxes folder and press Delete. There are two ways to read a received fax: 1. When you receive a note informing that you have received a fax, press View. To read the fax later, press Cancel. or 2. Select the Received faxes folder and press Open. Select the fax and press Open. The fax viewer opens (Figure 5-3). You can use the scroll or the keypad arrow keys to scroll the fax up or down. The left and right arrow keys can be used for horizontal scrolling when the fax page is being zoomed. To delete the viewed fax, press Delete. To zoom the viewed fax, press View. A new set of commands will appear. Pressing Zoom in enlarges the view of the document on the screen. The view can be scrolled horizontally with the left and right arrow keys. Pressing Zoom out reduces the image. Pressing Rotate rotates the viewed fax 90 degrees clockwise with each press of the command button. To return the previous commands, press Back. Note: A list of shortcuts for viewing faxes (and other operations) can be found in Chapter 2 "Getting started: Special features - Settings and Menus" on page 2-13. Figure 5-3: Example of a received fax
-
 1
1 -
2
-
3
-
4
-
5
-
6
-
7
-
8
-
9
-
10
-
11
-
12
-
13
-
14
-
15
-
16
-
17
-
18
-
19
-
20
-
21
-
22
-
23
-
24
-
25
-
26
-
27
-
28
-
29
-
30
-
31
-
32
-
33
-
34
-
35
-
36
-
37
-
38
-
 39
39 -
 40
40 -
 41
41 -
 42
42 -
 43
43 -
 44
44 -
 45
45 -
 46
46 -
 47
47 -
 48
48 -
 49
49 -
50
-
51
-
52
-
53
-
54
-
55
-
56
-
57
-
58
-
59
-
60
-
61
-
62
-
63
-
64
-
65
-
66
-
67
-
68
-
69
-
70
-
71
-
72
-
73
-
74
-
75
-
76
-
77
-
78
-
79
-
80
-
81
-
82
-
83
-
84
-
85
-
86
-
87
-
88
-
89
-
90
-
91
-
92
-
93
-
94
-
95
-
96
-
97
-
98
-
99
-
100
-
101
-
102
-
103
-
104
-
105
-
106
-
107
-
108
-
109
-
110
-
111
-
112
-
113
-
114
-
115
-
116
-
117
-
118
-
119
-
120
-
121
-
122
-
123
-
124
-
125
-
126
-
127
-
128
-
129
-
130
-
131
 |
 |