Ricoh Aficio SP 8300DN Manuals - Page 25
Logging Out Using the Control Panel, For User Code Authentication
 |
View all Ricoh Aficio SP 8300DN manuals
Add to My Manuals
Save this manual to your list of manuals |
Page 25 highlights
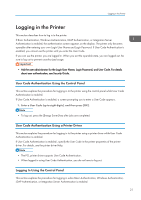
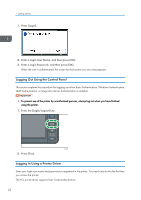
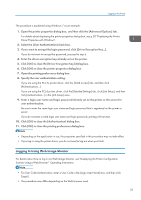
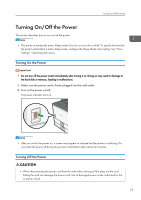
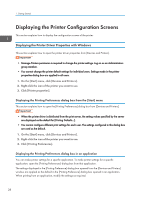
Logging in the Printer The procedure is explained using Windows 7 as an example. 1. Open the printer properties dialog box, and then click the [Advanced Options] tab. For details about displaying the printer properties dialog box, see p.28 "Displaying the Printer Driver Properties with Windows". 2. Select the [User Authentication] check box. 3. If you want to encrypt the login password, click [Driver Encryption Key...]. If you do not want to encrypt the password, proceed to step 6. 4. Enter the driver encryption key already set on the printer. 5. Click [OK] to close the [Driver Encryption Key] dialog box. 6. Click [OK] to close the printer properties dialog box. 7. Open the printing preferences dialog box. 8. Specify the user authentication setting. If you are using the PCL 5e printer driver, click the [Valid Access] tab, and then click [Authentications...]. If you are using the PCL 6 printer driver, click the [Detailed Settings] tab, click [Job Setup], and then click [Authentication...] in the [Job Setup] area. 9. Enter a login user name and login password already set on the printer or the server for user authentication. Be sure to enter the same login user name and login password that is registered on the printer or server. If you do not enter a valid login user name and login password, printing will not start. 10. Click [OK] to close the [Authentication] dialog box. 11. Click [OK] to close the printing preferences dialog box. • Depending on the application in use, the properties specified in this procedure may not take effect. • If you log in using the printer driver, you do not need to log out when you finish. Logging In Using Web Image Monitor For details about how to log in via Web Image Monitor, see "Displaying the Printer Configuration Screens Using a Web Browser", Operating Instructions. • For User Code Authentication, enter a User Code in the [Login User Name] box, and then click [Login]. • The procedure may differ depending on the Web browser used. 23
-
 1
1 -
2
-
3
-
4
-
5
-
6
-
7
-
8
-
9
-
10
-
11
-
12
-
13
-
14
-
15
-
16
-
17
-
18
-
19
-
 20
20 -
 21
21 -
 22
22 -
 23
23 -
 24
24 -
 25
25 -
 26
26 -
 27
27 -
 28
28 -
 29
29 -
 30
30 -
31
-
32
-
33
-
34
-
35
-
36
-
37
-
38
-
39
-
40
-
41
-
42
-
43
-
44
-
45
-
46
-
47
-
48
-
49
-
50
-
51
-
52
-
53
-
54
-
55
-
56
-
57
-
58
-
59
-
60
-
61
-
62
-
63
-
64
-
65
-
66
-
67
-
68
-
69
-
70
-
71
-
72
-
73
-
74
-
75
-
76
-
77
-
78
-
79
-
80
-
81
-
82
-
83
-
84
-
85
-
86
-
87
-
88
-
89
-
90
-
91
-
92
-
93
-
94
-
95
-
96
-
97
-
98
-
99
-
100
-
101
-
102
-
103
-
104
-
105
-
106
-
107
-
108
-
109
-
110
-
111
-
112
-
113
-
114
-
115
-
116
-
117
-
118
-
119
-
120
-
121
-
122
-
123
-
124
-
125
-
126
-
127
-
128
-
129
-
130
-
131
-
132
 |
 |