Samsung SCX-5935NX Quick Guide Easy Manual Ver.1.0 (English) - Page 47
Understanding Printing Preferences, Basic tab
 |
View all Samsung SCX-5935NX manuals
Add to My Manuals
Save this manual to your list of manuals |
Page 47 highlights
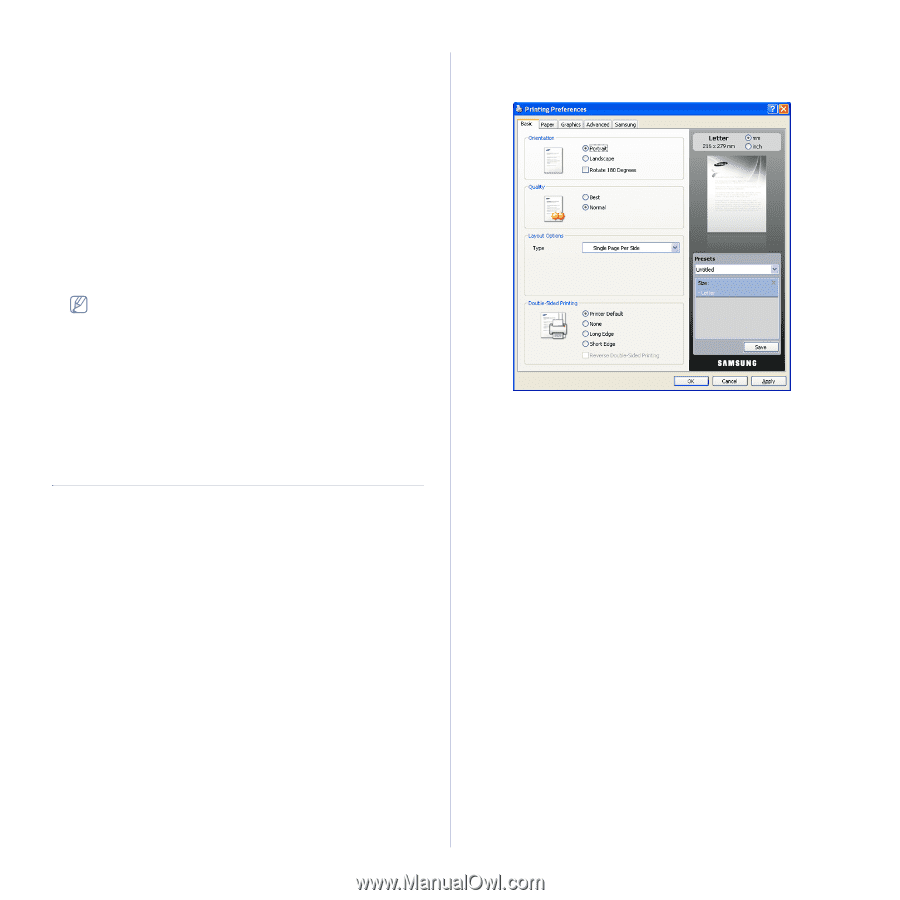
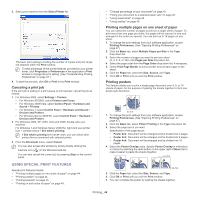
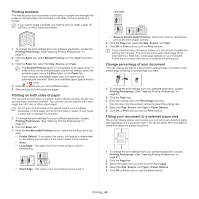
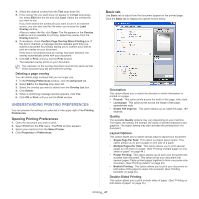
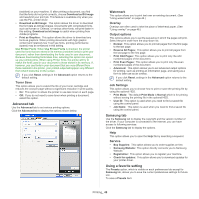
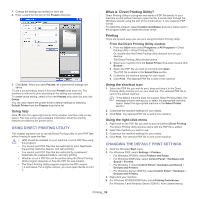
4. Select the desired overlay from the Text drop-down list. 5. If the overlay file you want does not appear in theText drop-down list, select Edit from the list and click Load. Select the overlay file you want to use. If you have stored the overlay file you want to use in an external source, you can also load the file when you access the Load Overlay window. After you select the file, click Open. The file appears in the Overlay List box and is available for printing. Select the overlay from the Overlay List box. 6. If necessary, check Confirm Page Overlay When Printing box. If this box is checked, a message window appears each time you submit a document for printing, asking you to confirm your wish to print an overlay on your document. If this box is not checked and an overlay has been selected, the overlay automatically prints with your document. 7. Click OK or Print until you exit the Print window. The selected overlay prints on your document. The resolution of the overlay document must be the same as that of the document you will print with the overlay. Deleting a page overlay You can delete page overlays that you no longer use. 1. In the Printing Preferences window, click the Advanced tab. 2. Select Edit in the Overlay drop down list. 3. Select the overlay you want to delete from the Overlay List box. 4. Click Delete. 5. When a confirming message window appears, click Yes. 6. Click OK or Print until you exit the Print window. UNDERSTANDING PRINTING PREFERENCES You can preview the settings you selected on the upper right of the Printing Preferences. Opening Printing Preferences 1. Open the document you want to print. 2. Select Print from the File menu. The Print window appears. 3. Select your machine from the Select Printer. 4. Click Properties or Preferences. Basic tab Use Basic tab to adjust how the document appear on the printed page. Click the Basic tab to display the options shown below. Orientation This option allows you to select the direction in which information is printed on a page. • Portrait: This option prints across the width of the page, letter style. • Landscape: This option prints across the length of the page, spreadsheet style. • Rotate 180 Degrees: This option allows you to rotate the page, 180 degrees. Quality The available Quality options may vary depending on your machine. The higher the setting, the sharper the clarity of printed characters and graphics. The higher setting may also increase the printing time of a document. Layout Options This option allows you to select various ways to layout your document. • Single Page Per Side: This option is a basic layout option. This option allows you to print a page on one side of a paper. • Multiple Pages Per Side: This option allows you to print several pages on one side of a paper. (See "Printing multiple pages on one sheet of paper" on page 44.) • Poster Printing: This option allows you to print your document into a poster-size document. This option prints your document into several pages. Paste printed pages together to form one poster-size document. (See "Printing posters" on page 44) • Booklet Printing: This option allows you to print your document on both sides of the paper to make into a booklet. (See "Printing booklets" on page 45.) Double-Sided Printing This option allows you to print on both sides of paper. (See "Printing on both sides of paper" on page 45.) Printing_ 47
-
 1
1 -
2
-
3
-
4
-
5
-
6
-
7
-
8
-
9
-
10
-
11
-
12
-
13
-
14
-
15
-
16
-
17
-
18
-
19
-
20
-
21
-
22
-
23
-
24
-
25
-
26
-
27
-
28
-
29
-
30
-
31
-
32
-
33
-
34
-
35
-
36
-
37
-
38
-
39
-
40
-
41
-
 42
42 -
 43
43 -
 44
44 -
 45
45 -
 46
46 -
 47
47 -
 48
48 -
 49
49 -
 50
50 -
 51
51 -
 52
52 -
53
-
54
-
55
-
56
-
57
-
58
-
59
-
60
-
61
-
62
-
63
-
64
-
65
-
66
-
67
-
68
-
69
-
70
-
71
-
72
-
73
-
74
-
75
-
76
-
77
-
78
-
79
-
80
-
81
-
82
-
83
-
84
-
85
-
86
-
87
-
88
-
89
-
90
-
91
-
92
-
93
-
94
-
95
-
96
-
97
-
98
-
99
-
100
-
101
-
102
-
103
-
104
-
105
-
106
-
107
-
108
-
109
-
110
-
111
-
112
-
113
-
114
-
115
-
116
-
117
-
118
-
119
-
120
-
121
-
122
-
123
-
124
-
125
-
126
-
127
-
128
-
129
-
130
-
131
-
132
-
133
 |
 |