Samsung SCX-5935NX Quick Guide Easy Manual Ver.1.0 (English) - Page 72
Scanning originals and sending through email (Scan to Email), Output tab, Setting up an email account
 |
View all Samsung SCX-5935NX manuals
Add to My Manuals
Save this manual to your list of manuals |
Page 72 highlights
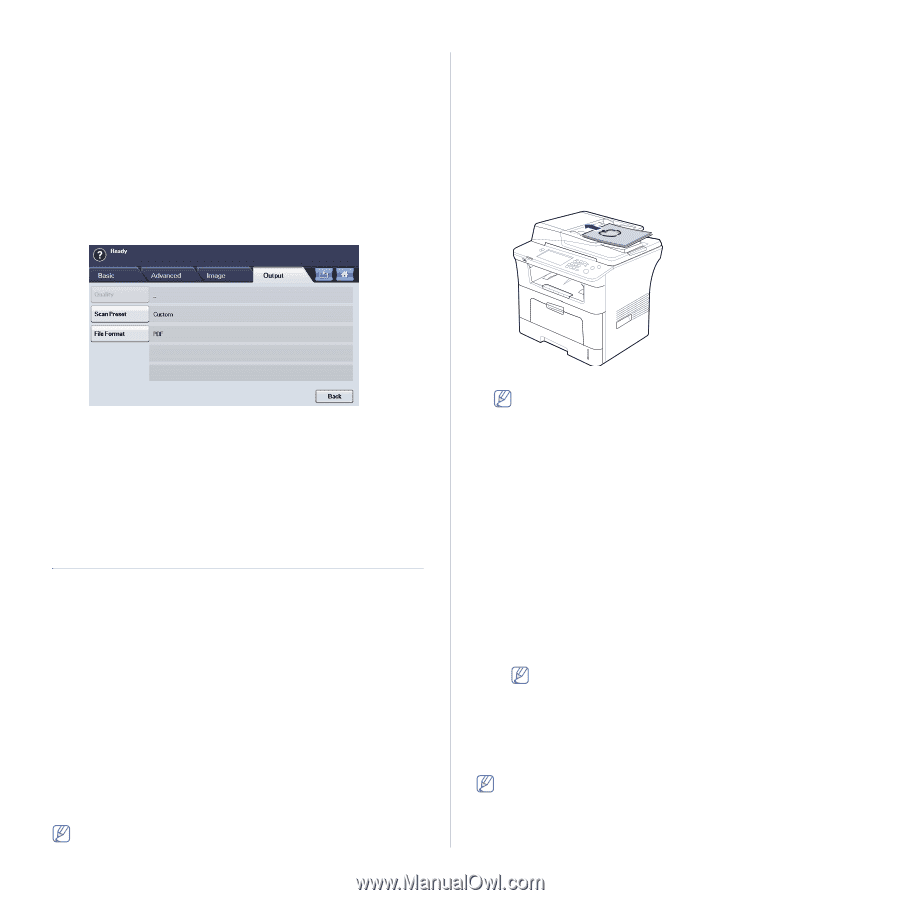
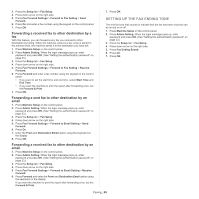
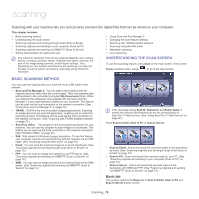
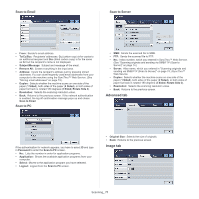
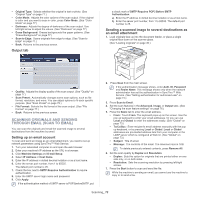
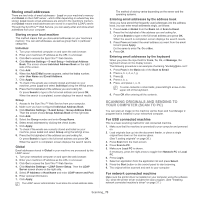
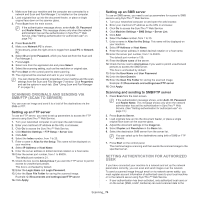
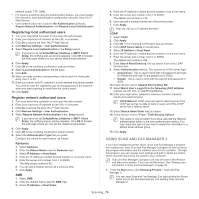
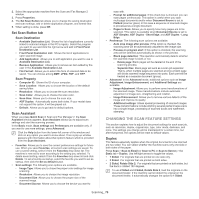
• Original Type: Selects whether the original is text or photo. (See "Original Type" on page 77.) • Color Mode: Adjusts the color options of the scan output. If the original is color and you want to scan in color, press Color Mode. (See "Color Mode" on page 77.) • Darkness: Adjusts the degree of darkness of the scan output. Use left/right arrow to adjust the values. (See "Darkness" on page 77.) • Erase Background: Erases backgrounds like paper patterns. (See "Erase Background" on page 77.) • Scan to Edge: Scans originals from edge-to-edge. (See "Scan to Edge" on page 77.) • Back: Returns to the previous screen. Output tab a check mark of SMTP Requires POP3 Before SMTP Authentication. a) Enter the IP address in dotted decimal notation or as a host name. b) Enter the server port number, from 1 to 65535. The default port number is 25. Sending a scanned image to several destinations as an email attachment 1. Load originals face up into the document feeder, or place a single original face down on the scanner glass. (See "Loading originals" on page 36.) • Quality: Adjusts the display quality of the scan output. (See "Quality" on page 77.) • Scan Preset: Automatically changes some scan options, such as file format, resolution, and more. You can adjust options to fit each specific purpose. (See "Scan Preset" on page 78.) • File Format: Selects the file format of the scan output. (See "File Format" on page 77.) • Back: Returns to the previous screen. SCANNING ORIGINALS AND SENDING THROUGH EMAIL (SCAN TO EMAIL) You can scan the originals and email the scanned image to several destinations from the machine by email. Setting up an email account To scan and send an image as an email attachment, you need to set up network parameters using SyncThru™ Web Service. 1. Turn your networked computer on and open the web browser. 2. Enter your machine's IP address as the URL in a browser. 3. Click Machine Settings and E-mail Setup. 4. Select IP Address or Host Name. 5. Enter the IP address in dotted decimal notation or as a host name. 6. Enter the server port number, from 1 to 65535. The default port number is 25. 7. Check the box next to SMTP Requires Authentication to require authentication. 8. Enter the SMTP server login name and password. 9. Click Apply. If the authentication method of SMTP server is POP3beforeSMTP, put 2. Press Scan from the main screen. If the authentication message shows, enter Auth. ID, Password and Realm Name. This message shows only when the network administrator has set the authentication in SyncThru™ Web Service. (See "Setting authentication for authorized user" on page 74.) 3. Press Scan to Email. 4. Set the scan features in the Advanced, Image, or Output tabs. (See "Changing the scan feature settings" on page 76.) 5. Press the Basic tab to enter the email address. • From: Touch From. The keyboard pops up on the screen. Use the pop up keyboard to enter your email addresses. Or you can use Local and Global to enter the addresses easily. (See "Global" on page 73.) • To/Cc/Bcc: Enter recipient's email address manually with the pop up keyboard, or by pressing Local or Global. Local or Global addresses are pre-loaded address lists from your computer or the LDAP server which is configured at Web UI. (See "Global" on page 73.) • Subject: Title of email. • Message: The contents of the email. The maximum size is 1KB. To delete previously entered contents, press Remove All. 6. Set the scan quality by Duplex and Resolution. • Duplex: Sets this option for originals that are printed either on one side only, or on both sides. • Resolution: Sets the scanning resolution by pressing left/right arrows. 7. Press the Start button to scan and send the file. While the machine is sending an email, you cannot use the machine to copy or to send a fax. Scanning_ 72
-
 1
1 -
2
-
3
-
4
-
5
-
6
-
7
-
8
-
9
-
10
-
11
-
12
-
13
-
14
-
15
-
16
-
17
-
18
-
19
-
20
-
21
-
22
-
23
-
24
-
25
-
26
-
27
-
28
-
29
-
30
-
31
-
32
-
33
-
34
-
35
-
36
-
37
-
38
-
39
-
40
-
41
-
42
-
43
-
44
-
45
-
46
-
47
-
48
-
49
-
50
-
51
-
52
-
53
-
54
-
55
-
56
-
57
-
58
-
59
-
60
-
61
-
62
-
63
-
64
-
65
-
66
-
 67
67 -
 68
68 -
 69
69 -
 70
70 -
 71
71 -
 72
72 -
 73
73 -
 74
74 -
 75
75 -
 76
76 -
 77
77 -
78
-
79
-
80
-
81
-
82
-
83
-
84
-
85
-
86
-
87
-
88
-
89
-
90
-
91
-
92
-
93
-
94
-
95
-
96
-
97
-
98
-
99
-
100
-
101
-
102
-
103
-
104
-
105
-
106
-
107
-
108
-
109
-
110
-
111
-
112
-
113
-
114
-
115
-
116
-
117
-
118
-
119
-
120
-
121
-
122
-
123
-
124
-
125
-
126
-
127
-
128
-
129
-
130
-
131
-
132
-
133
 |
 |