HP Color LaserJet Enterprise CM4540 HP Color LaserJet Enterprise CM4540 MFP - - Page 64
Scan Setup Wizard
 |
View all HP Color LaserJet Enterprise CM4540 manuals
Add to My Manuals
Save this manual to your list of manuals |
Page 64 highlights
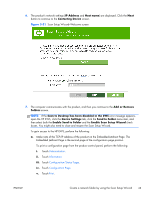
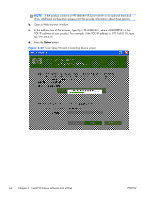
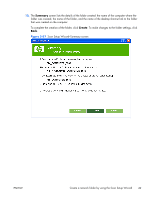
9. Specify the folder name and location of the folder, and then click the Next button. Once the folder has been created, you will continue to the Authentication screen. ● You can either type a folder name in the Enter the folder name here: text box, or use the default folder name. ● You can either click the Browse... button and navigate to the path where scanned documents will be stored, or enter the path in the Location text box. ● To create a shortcut, select the Create a shortcut to this folder on my desktop check box. Figure 3-24 Scan Setup Wizard-Folder Name screen 46 Chapter 3 Install Windows software and utilities ENWW
-
 1
1 -
2
-
3
-
4
-
5
-
6
-
7
-
8
-
9
-
10
-
11
-
12
-
13
-
14
-
15
-
16
-
17
-
18
-
19
-
20
-
21
-
22
-
23
-
24
-
25
-
26
-
27
-
28
-
29
-
30
-
31
-
32
-
33
-
34
-
35
-
36
-
37
-
38
-
39
-
40
-
41
-
42
-
43
-
44
-
45
-
46
-
47
-
48
-
49
-
50
-
51
-
52
-
53
-
54
-
55
-
56
-
57
-
58
-
 59
59 -
 60
60 -
 61
61 -
 62
62 -
 63
63 -
 64
64 -
 65
65 -
 66
66 -
 67
67 -
 68
68 -
 69
69 -
70
-
71
-
72
-
73
-
74
-
75
-
76
-
77
-
78
-
79
-
80
-
81
-
82
-
83
-
84
-
85
-
86
-
87
-
88
-
89
-
90
-
91
-
92
-
93
-
94
-
95
-
96
-
97
-
98
-
99
-
100
-
101
-
102
-
103
-
104
-
105
-
106
-
107
-
108
-
109
-
110
-
111
-
112
-
113
-
114
-
115
-
116
-
117
-
118
-
119
-
120
-
121
-
122
-
123
-
124
-
125
-
126
-
127
-
128
-
129
-
130
-
131
-
132
-
133
-
134
-
135
-
136
-
137
-
138
-
139
-
140
-
141
-
142
-
143
-
144
-
145
-
146
-
147
-
148
-
149
-
150
-
151
-
152
-
153
-
154
-
155
-
156
-
157
-
158
-
159
-
160
-
161
-
162
-
163
-
164
-
165
-
166
-
167
-
168
-
169
-
170
-
171
-
172
-
173
-
174
-
175
-
176
-
177
-
178
-
179
-
180
-
181
-
182
-
183
-
184
-
185
-
186
-
187
-
188
-
189
-
190
-
191
-
192
-
193
-
194
-
195
-
196
-
197
-
198
-
199
-
200
-
201
-
202
-
203
-
204
-
205
-
206
-
207
-
208
-
209
-
210
-
211
-
212
-
213
-
214
-
215
-
216
 |
 |
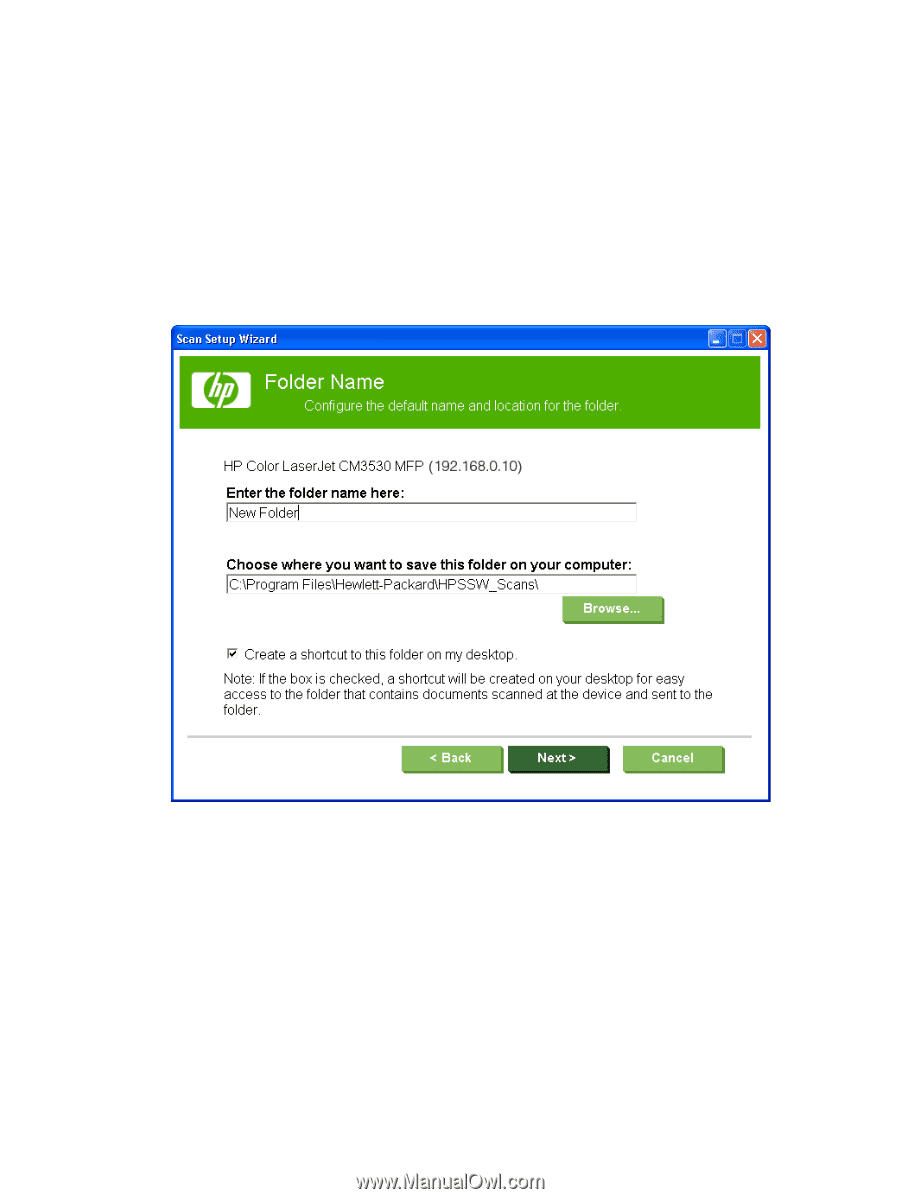
9.
Specify the folder name and location of the folder, and then click the
Next
button. Once the
folder has been created, you will continue to the
Authentication
screen.
●
You can either type a folder name in the
Enter the folder name here:
text box, or use
the default folder name.
●
You can either click the
Browse...
button and navigate to the path where scanned
documents will be stored, or enter the path in the Location text box.
●
To create a shortcut, select the
Create a shortcut to this folder on my desktop
check
box.
Figure 3-24
Scan Setup Wizard–
Folder Name
screen
46
Chapter 3
Install Windows software and utilities
ENWW