Kyocera KM-C2030 FieryX3e+ User Software Install Guide - Page 19
Configuring installed options, After you have completed the printer driver installation
 |
View all Kyocera KM-C2030 manuals
Add to My Manuals
Save this manual to your list of manuals |
Page 19 highlights
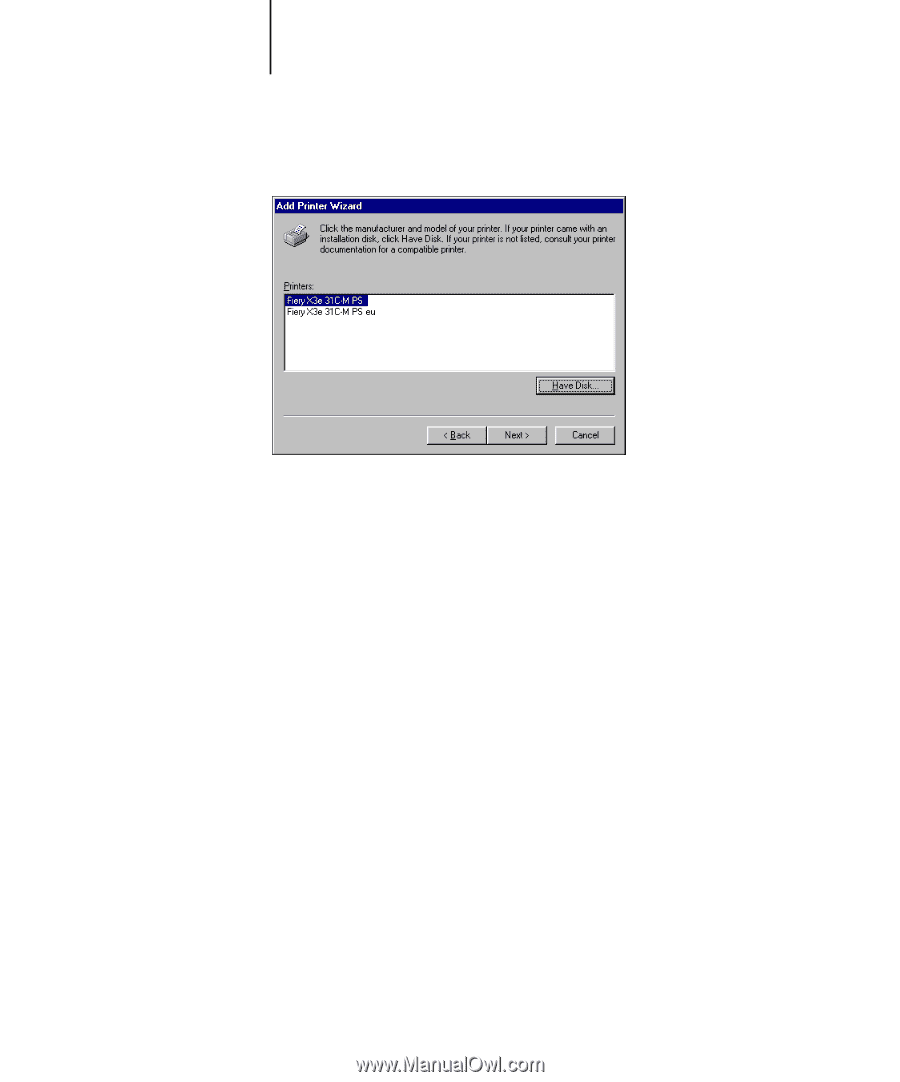
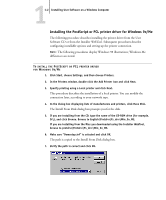
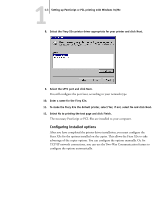
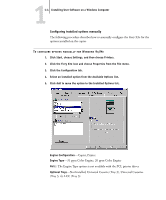
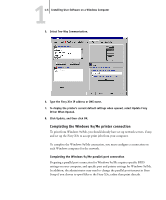
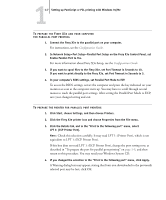
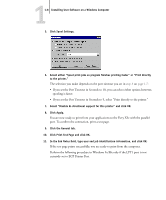
11-3 Setting up PostScript or PCL printing with Windows 9x/Me 8. Select the Fiery X3e printer driver appropriate for your printer and click Next. 9. Select the LPT1 port and click Next. You will configure the port later, according to your network type. 10. Enter a name for the Fiery X3e. 11. To make the Fiery X3e the default printer, select Yes; if not, select No and click Next. 12. Select No to printing the test page and click Finish. The necessary PostScript or PCL files are installed to your computer. Configuring installed options After you have completed the printer driver installation, you must configure the Fiery X3e for the options installed on the copier. This allows the Fiery X3e to take advantage of the copier options. You can configure the options manually. Or, for TCP/IP network connections, you can use the Two-Way Communication feature to configure the options automatically.
-
 1
1 -
2
-
3
-
4
-
5
-
6
-
7
-
8
-
9
-
10
-
11
-
12
-
13
-
 14
14 -
 15
15 -
 16
16 -
 17
17 -
 18
18 -
 19
19 -
 20
20 -
 21
21 -
 22
22 -
 23
23 -
 24
24 -
25
-
26
-
27
-
28
-
29
-
30
-
31
-
32
-
33
-
34
-
35
-
36
-
37
-
38
-
39
-
40
-
41
-
42
-
43
-
44
-
45
-
46
-
47
-
48
-
49
-
50
-
51
-
52
-
53
-
54
-
55
-
56
-
57
-
58
-
59
-
60
-
61
-
62
-
63
-
64
-
65
-
66
-
67
-
68
-
69
-
70
-
71
-
72
-
73
-
74
-
75
-
76
-
77
-
78
-
79
-
80
-
81
-
82
-
83
-
84
-
85
-
86
-
87
-
88
-
89
-
90
-
91
-
92
-
93
-
94
-
95
-
96
-
97
-
98
-
99
-
100
-
101
-
102
-
103
-
104
-
105
-
106
-
107
-
108
-
109
-
110
-
111
-
112
-
113
-
114
-
115
-
116
 |
 |