Kyocera KM-C2030 FieryX3e+ User Software Install Guide - Page 34
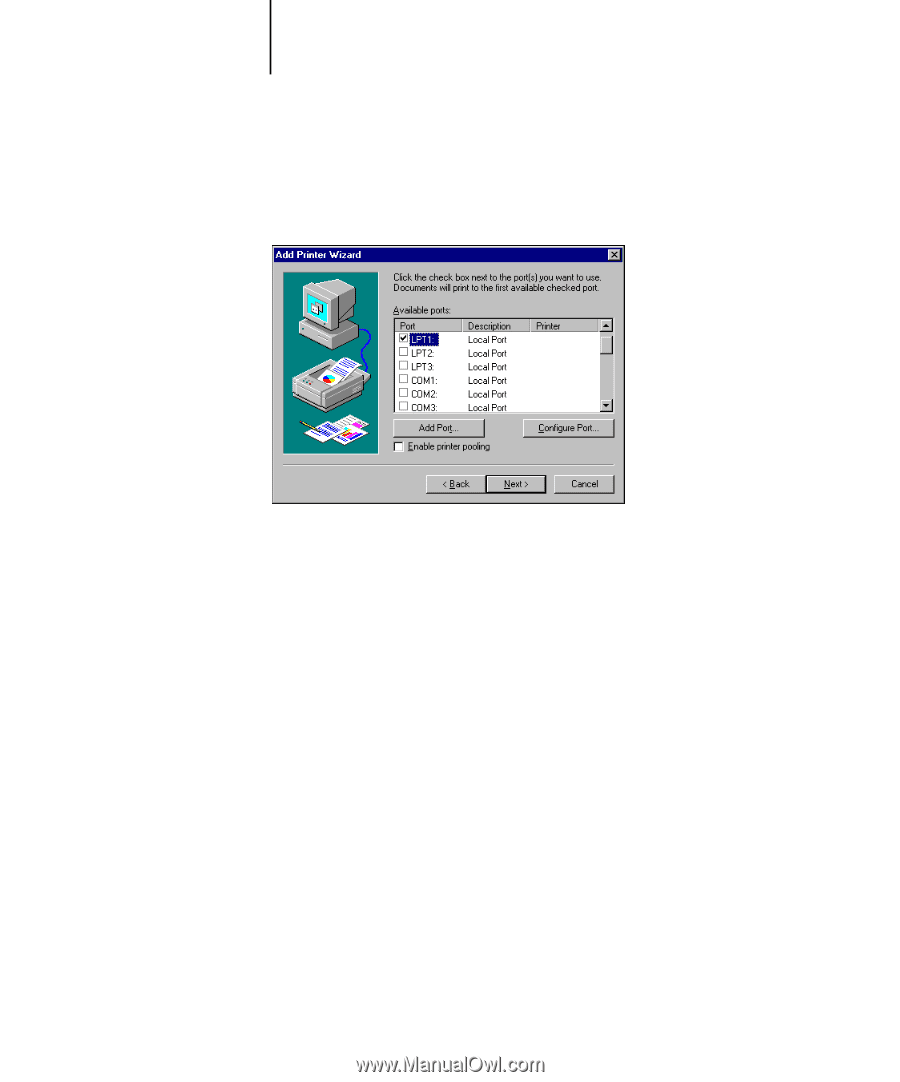
Select LPT1: and click Next.
 |
View all Kyocera KM-C2030 manuals
Add to My Manuals
Save this manual to your list of manuals |
Page 34 highlights
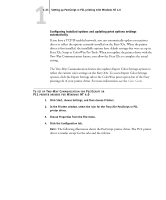
11-18 Installing User Software on a Windows Computer 5. Select LPT1: and click Next. This is a general installation that works for the parallel port connection. You can add a network port later, according to your network type. 6. In the dialog box displaying lists of manufacturers and printers, click Have Disk. The Install From Disk dialog box prompts you for the disk. 7. If you are installing from the CD, type the name of the CD-ROM drive (for example, D:\) and click Browse. If you are installing from files you downloaded using the Installer WebTool, type the name of your hard disk drive (for example, C:\) and click Browse. 8. If you are installing from the CD, browse to the English\Prntdrvr\Ps_drvr\Win_NT4x folder and click Open. If you are installing from files you downloaded using the Installer WebTool, browse to the prntdrvr\Prntdrvr\Ps_drvr\Win_NT4x folder and click Open. Make sure "Oemsetup.inf " or "Oemsetup" is selected. The path is copied to the Install From Disk dialog box.
-
 1
1 -
2
-
3
-
4
-
5
-
6
-
7
-
8
-
9
-
10
-
11
-
12
-
13
-
14
-
15
-
16
-
17
-
18
-
19
-
20
-
21
-
22
-
23
-
24
-
25
-
26
-
27
-
28
-
 29
29 -
 30
30 -
 31
31 -
 32
32 -
 33
33 -
 34
34 -
 35
35 -
 36
36 -
 37
37 -
 38
38 -
 39
39 -
40
-
41
-
42
-
43
-
44
-
45
-
46
-
47
-
48
-
49
-
50
-
51
-
52
-
53
-
54
-
55
-
56
-
57
-
58
-
59
-
60
-
61
-
62
-
63
-
64
-
65
-
66
-
67
-
68
-
69
-
70
-
71
-
72
-
73
-
74
-
75
-
76
-
77
-
78
-
79
-
80
-
81
-
82
-
83
-
84
-
85
-
86
-
87
-
88
-
89
-
90
-
91
-
92
-
93
-
94
-
95
-
96
-
97
-
98
-
99
-
100
-
101
-
102
-
103
-
104
-
105
-
106
-
107
-
108
-
109
-
110
-
111
-
112
-
113
-
114
-
115
-
116
 |
 |