Kyocera KM-C2030 FieryX3e+ User Software Install Guide - Page 43
Microsoft TCP/IP printing software. See your Windows documentation.
 |
View all Kyocera KM-C2030 manuals
Add to My Manuals
Save this manual to your list of manuals |
Page 43 highlights
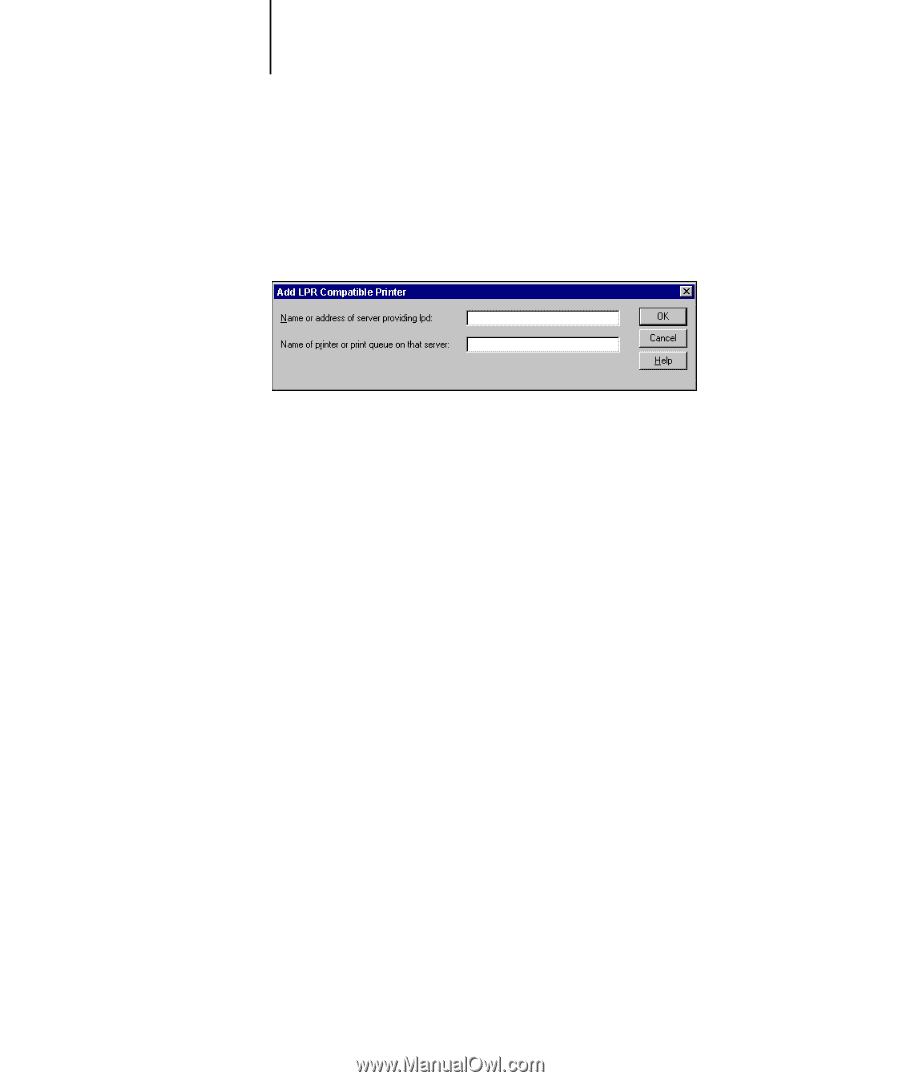
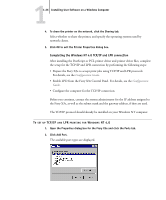
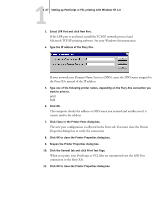
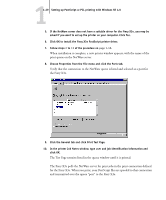
11-27 Setting up PostScript or PCL printing with Windows NT 4.0 3. Select LPR Port and click New Port. If the LPR port is not listed, install the TCP/IP network protocol and Microsoft TCP/IP printing software. See your Windows documentation. 4. Type the IP address of the Fiery X3e. If your network uses Domain Name Services (DNS), enter the DNS name assigned to the Fiery X3e instead of the IP address. 5. Type one of the following printer names, depending on the Fiery X3e connection you want to print to. print hold 6. Click OK. The computer checks the address or DNS name you entered and notifies you if it cannot resolve the address. 7. Click Close in the Printer Ports dialog box. The new port configuration is reflected in the Ports tab. You must close the Printer Properties dialog box to verify the connection. 8. Click OK to close the Printer Properties dialog box. 9. Reopen the Printer Properties dialog box. 10. Click the General tab and click Print Test Page. When you print, your PostScript or PCL files are transmitted over the LPR Port connection to the Fiery X3e. 11. Click OK to close the Printer Properties dialog box.
-
 1
1 -
2
-
3
-
4
-
5
-
6
-
7
-
8
-
9
-
10
-
11
-
12
-
13
-
14
-
15
-
16
-
17
-
18
-
19
-
20
-
21
-
22
-
23
-
24
-
25
-
26
-
27
-
28
-
29
-
30
-
31
-
32
-
33
-
34
-
35
-
36
-
37
-
 38
38 -
 39
39 -
 40
40 -
 41
41 -
 42
42 -
 43
43 -
 44
44 -
 45
45 -
 46
46 -
 47
47 -
 48
48 -
49
-
50
-
51
-
52
-
53
-
54
-
55
-
56
-
57
-
58
-
59
-
60
-
61
-
62
-
63
-
64
-
65
-
66
-
67
-
68
-
69
-
70
-
71
-
72
-
73
-
74
-
75
-
76
-
77
-
78
-
79
-
80
-
81
-
82
-
83
-
84
-
85
-
86
-
87
-
88
-
89
-
90
-
91
-
92
-
93
-
94
-
95
-
96
-
97
-
98
-
99
-
100
-
101
-
102
-
103
-
104
-
105
-
106
-
107
-
108
-
109
-
110
-
111
-
112
-
113
-
114
-
115
-
116
 |
 |