Kyocera KM-C2030 FieryX3e+ User Software Install Guide - Page 89
You must set up each print connection separately. Repeat this step for all, enabled connections.
 |
View all Kyocera KM-C2030 manuals
Add to My Manuals
Save this manual to your list of manuals |
Page 89 highlights
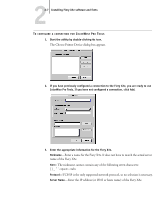
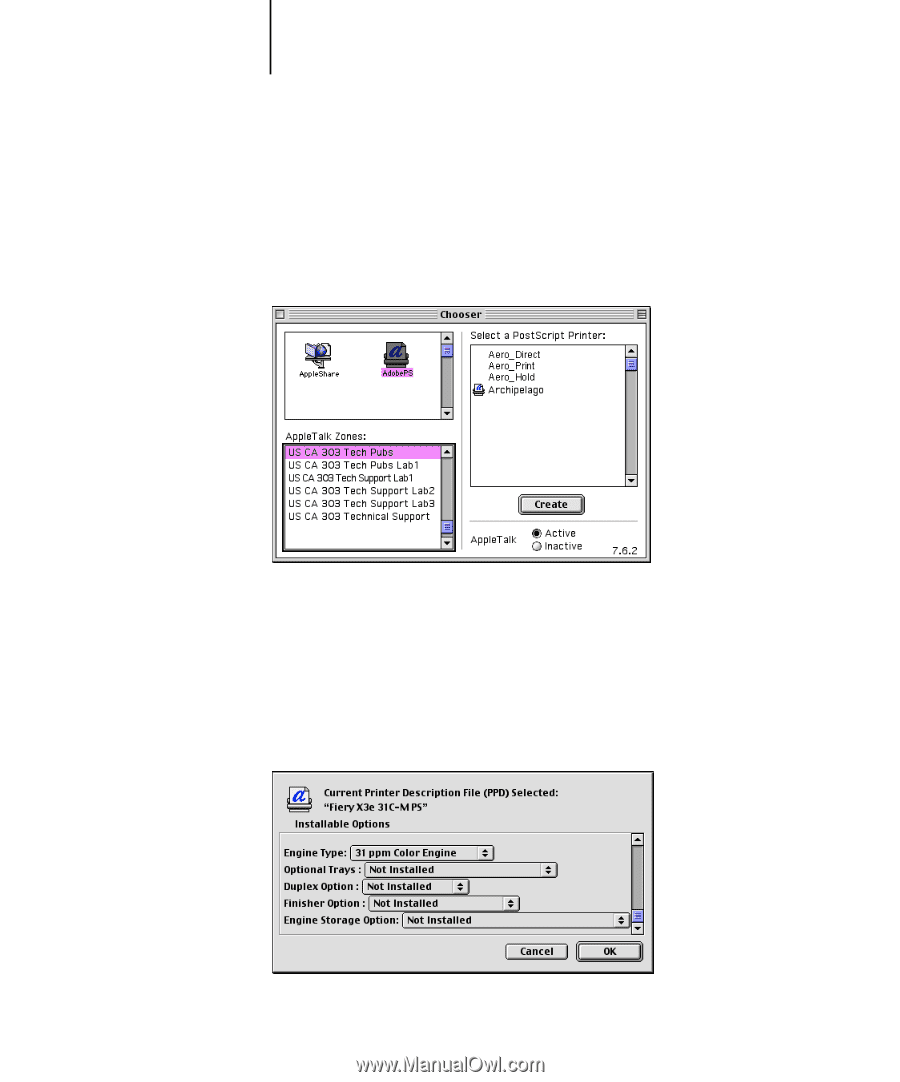
22-3 Setting up the Fiery X3e as a PostScript printer 3. Click the AdobePS icon. The Fiery X3e appears in the Select a PostScript Printer list in the form of _. NOTE: Only the print connections (Direct, Hold, and Print) that have been enabled in Setup appear in the Chooser. 4. Select a Fiery X3e connection from the "Select a PostScript Printer" list and click Create. Select the correct printer description file for your printer. NOTE: You must set up each print connection separately. Repeat this step for all enabled connections. 5. In the Installable Options dialog box, select the appropriate settings from the menus and click OK.
-
 1
1 -
2
-
3
-
4
-
5
-
6
-
7
-
8
-
9
-
10
-
11
-
12
-
13
-
14
-
15
-
16
-
17
-
18
-
19
-
20
-
21
-
22
-
23
-
24
-
25
-
26
-
27
-
28
-
29
-
30
-
31
-
32
-
33
-
34
-
35
-
36
-
37
-
38
-
39
-
40
-
41
-
42
-
43
-
44
-
45
-
46
-
47
-
48
-
49
-
50
-
51
-
52
-
53
-
54
-
55
-
56
-
57
-
58
-
59
-
60
-
61
-
62
-
63
-
64
-
65
-
66
-
67
-
68
-
69
-
70
-
71
-
72
-
73
-
74
-
75
-
76
-
77
-
78
-
79
-
80
-
81
-
82
-
83
-
 84
84 -
 85
85 -
 86
86 -
 87
87 -
 88
88 -
 89
89 -
 90
90 -
 91
91 -
 92
92 -
 93
93 -
 94
94 -
95
-
96
-
97
-
98
-
99
-
100
-
101
-
102
-
103
-
104
-
105
-
106
-
107
-
108
-
109
-
110
-
111
-
112
-
113
-
114
-
115
-
116
 |
 |
2
2-3
Setting up the Fiery X3e as a PostScript printer
3.
Click the AdobePS icon.
The Fiery X3e appears in the Select a PostScript Printer list in the form of
<server name>_<print connection>.
N
OTE
:
Only the print connections (Direct, Hold, and Print) that have been enabled
in Setup appear in the Chooser.
4.
Select a Fiery X3e connection from the “Select a PostScript Printer” list
and click Create.
Select the correct printer description file for your printer.
N
OTE
:
You must set up each print connection separately. Repeat this step for all
enabled connections.
5.
In the Installable Options dialog box, select the appropriate settings from the menus
and click OK.