Ricoh SP4100N User Manual - Page 155
Choice: None, Local, HTTP, LDAP, SMTP
 |
UPC - 026649027994
View all Ricoh SP4100N manuals
Add to My Manuals
Save this manual to your list of manuals |
Page 155 highlights
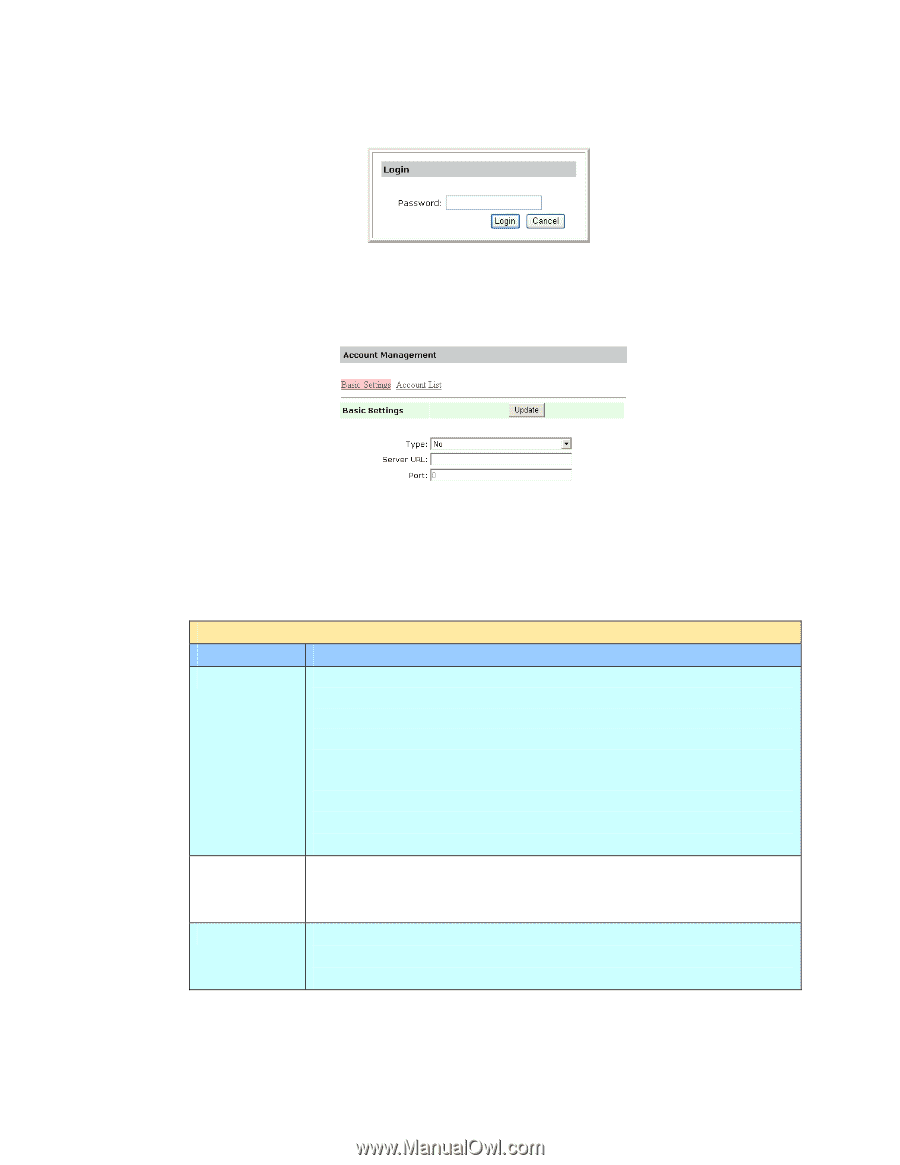
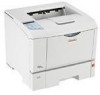
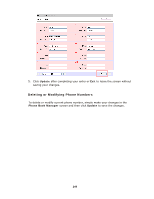
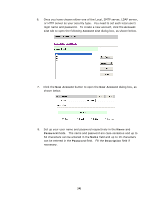
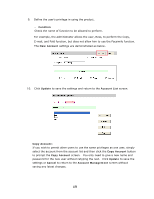
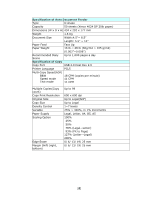
3. Click Account Management and you will be prompted to enter a password. 4. Click Login since the machine is shipped with no specific login name and password to prompt the Account Management dialog box. (It is suggested to assign a password later for effective management.) 5. In the Basic Settings tab, select your security type and then enter the server's URL in the Server URL field, type in your server port in the Port field. Finally click Update to save your settings. You may refer to the following table for the details of each setting: Basic Settings Item Description Type Choose your preferable authentication type for account management. Choice: None, Local, HTTP, LDAP, SMTP "None" means no account management will be applied. "Local" means using the product as the authentication type, and the name and password entered in the Account management are saved in the product memory. "HTTP, LDAP, or SMTP" means using a HTTP, LDAP, or SMTP server as the authentication type. Server Assign the URL of authenticating SMTP, HTTP or LDAP server. Information Touch anywhere on the URL field to bring up the soft keyboard IP or URL to enter the text. Port # Enter the port number if you choose HTTP, LDAP, or SMTP as your authenticating server. Default value: http:80, CIFS:139, https:443 148
-
 1
1 -
2
-
3
-
4
-
5
-
6
-
7
-
8
-
9
-
10
-
11
-
12
-
13
-
14
-
15
-
16
-
17
-
18
-
19
-
20
-
21
-
22
-
23
-
24
-
25
-
26
-
27
-
28
-
29
-
30
-
31
-
32
-
33
-
34
-
35
-
36
-
37
-
38
-
39
-
40
-
41
-
42
-
43
-
44
-
45
-
46
-
47
-
48
-
49
-
50
-
51
-
52
-
53
-
54
-
55
-
56
-
57
-
58
-
59
-
60
-
61
-
62
-
63
-
64
-
65
-
66
-
67
-
68
-
69
-
70
-
71
-
72
-
73
-
74
-
75
-
76
-
77
-
78
-
79
-
80
-
81
-
82
-
83
-
84
-
85
-
86
-
87
-
88
-
89
-
90
-
91
-
92
-
93
-
94
-
95
-
96
-
97
-
98
-
99
-
100
-
101
-
102
-
103
-
104
-
105
-
106
-
107
-
108
-
109
-
110
-
111
-
112
-
113
-
114
-
115
-
116
-
117
-
118
-
119
-
120
-
121
-
122
-
123
-
124
-
125
-
126
-
127
-
128
-
129
-
130
-
131
-
132
-
133
-
134
-
135
-
136
-
137
-
138
-
139
-
140
-
141
-
142
-
143
-
144
-
145
-
146
-
147
-
148
-
149
-
 150
150 -
 151
151 -
 152
152 -
 153
153 -
 154
154 -
 155
155 -
 156
156 -
 157
157 -
 158
158 -
 159
159 -
 160
160 -
161
-
162
-
163
-
164
 |
 |