Epson 9880 Printer Guide - Page 100
Choosing Cut Sheet Paper Options, rotated 90 degrees and printed crosswise. Be sure to click
 |
UPC - 010343866843
View all Epson 9880 manuals
Add to My Manuals
Save this manual to your list of manuals |
Page 100 highlights
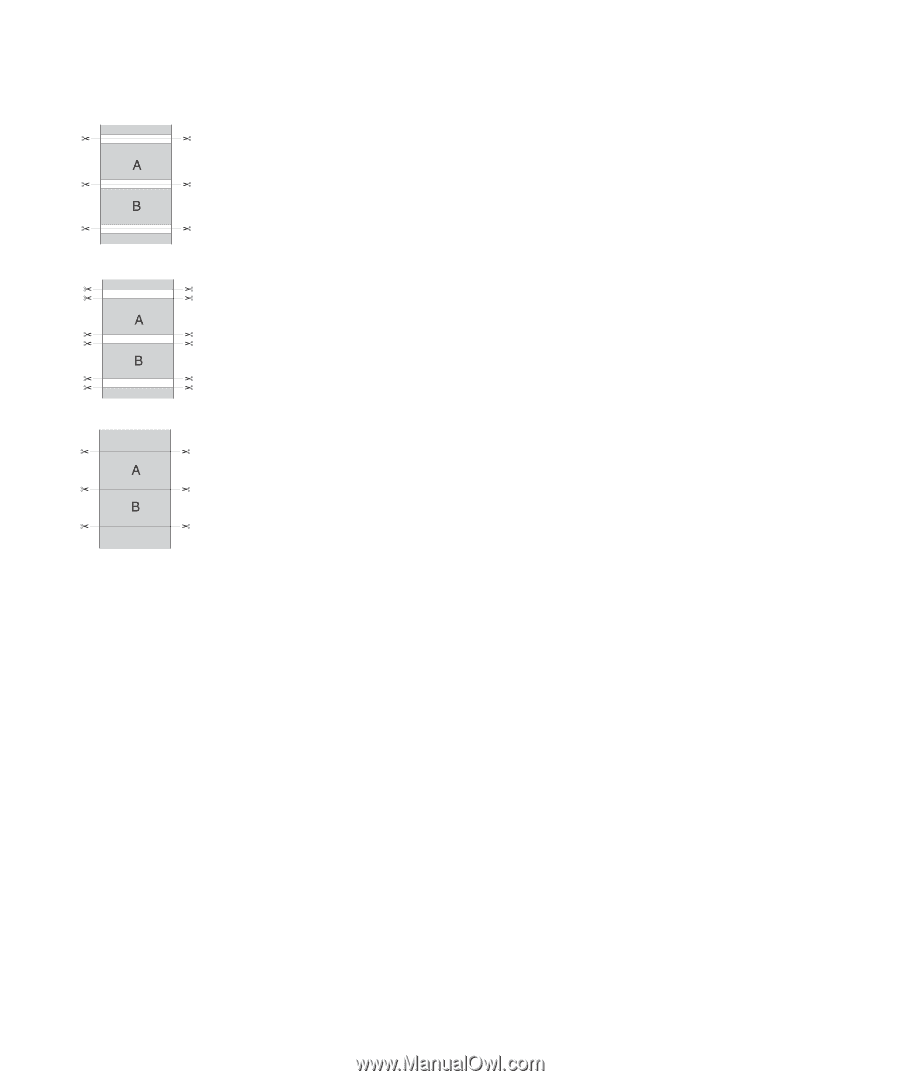
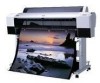
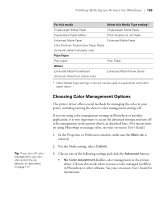
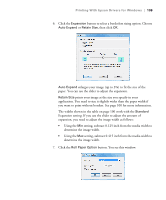
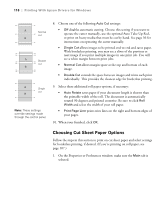
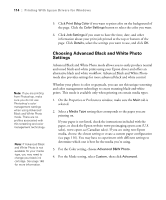
110 | Printing With Epson Drivers for Windows Normal cut Double cut Single cut Note: These settings override settings made through the control panel. 8. Choose one of the following Auto Cut settings: • Off disables automatic cutting. Choose this setting if you want to operate the cutter manually, use the optional Auto Take-Up Reel, or print on heavy media that must be cut by hand. See page 56 for instructions on operating the cutter manually. • Single Cut allows images to be printed end-to-end and saves paper. With borderless printing, you may see a sliver of the previous or next image if you print multiple images in one print job. You will see a white margin between print jobs. • Normal Cut allows margin space at the top and bottom of each image. • Double Cut extends the space between images and trims each print individually. This provides the cleanest edge for borderless printing. 9. Select these additional roll paper options, if necessary: • Auto Rotate saves paper if your document length is shorter than the printable width of the roll. The document is automatically rotated 90 degrees and printed crosswise. Be sure to click Roll Width and select the width of your roll paper. • Print Page Line prints trim lines on the right and bottom edges of your pages. 10. When your finished, click OK. Choosing Cut Sheet Paper Options Follow the steps in this section to print on cut sheet paper and select settings for borderless printing, if desired. (If you're printing on roll paper, see page 107.) 1. On the Properties or Preferences window, make sure the Main tab is selected. 110
-
 1
1 -
2
-
3
-
4
-
5
-
6
-
7
-
8
-
9
-
10
-
11
-
12
-
13
-
14
-
15
-
16
-
17
-
18
-
19
-
20
-
21
-
22
-
23
-
24
-
25
-
26
-
27
-
28
-
29
-
30
-
31
-
32
-
33
-
34
-
35
-
36
-
37
-
38
-
39
-
40
-
41
-
42
-
43
-
44
-
45
-
46
-
47
-
48
-
49
-
50
-
51
-
52
-
53
-
54
-
55
-
56
-
57
-
58
-
59
-
60
-
61
-
62
-
63
-
64
-
65
-
66
-
67
-
68
-
69
-
70
-
71
-
72
-
73
-
74
-
75
-
76
-
77
-
78
-
79
-
80
-
81
-
82
-
83
-
84
-
85
-
86
-
87
-
88
-
89
-
90
-
91
-
92
-
93
-
94
-
 95
95 -
 96
96 -
 97
97 -
 98
98 -
 99
99 -
 100
100 -
 101
101 -
 102
102 -
 103
103 -
 104
104 -
 105
105 -
106
-
107
-
108
-
109
-
110
-
111
-
112
-
113
-
114
-
115
-
116
-
117
-
118
-
119
-
120
-
121
-
122
-
123
-
124
-
125
-
126
-
127
-
128
-
129
-
130
-
131
-
132
-
133
-
134
-
135
-
136
-
137
-
138
-
139
-
140
-
141
-
142
-
143
-
144
-
145
-
146
-
147
-
148
-
149
-
150
-
151
-
152
-
153
-
154
-
155
-
156
-
157
-
158
-
159
-
160
-
161
-
162
-
163
-
164
-
165
-
166
-
167
-
168
-
169
-
170
-
171
-
172
-
173
-
174
-
175
-
176
 |
 |