Epson 9880 Printer Guide - Page 44
Updating Your Printer Firmware, When you see the final installation screen, click - update
 |
UPC - 010343866843
View all Epson 9880 manuals
Add to My Manuals
Save this manual to your list of manuals |
Page 44 highlights
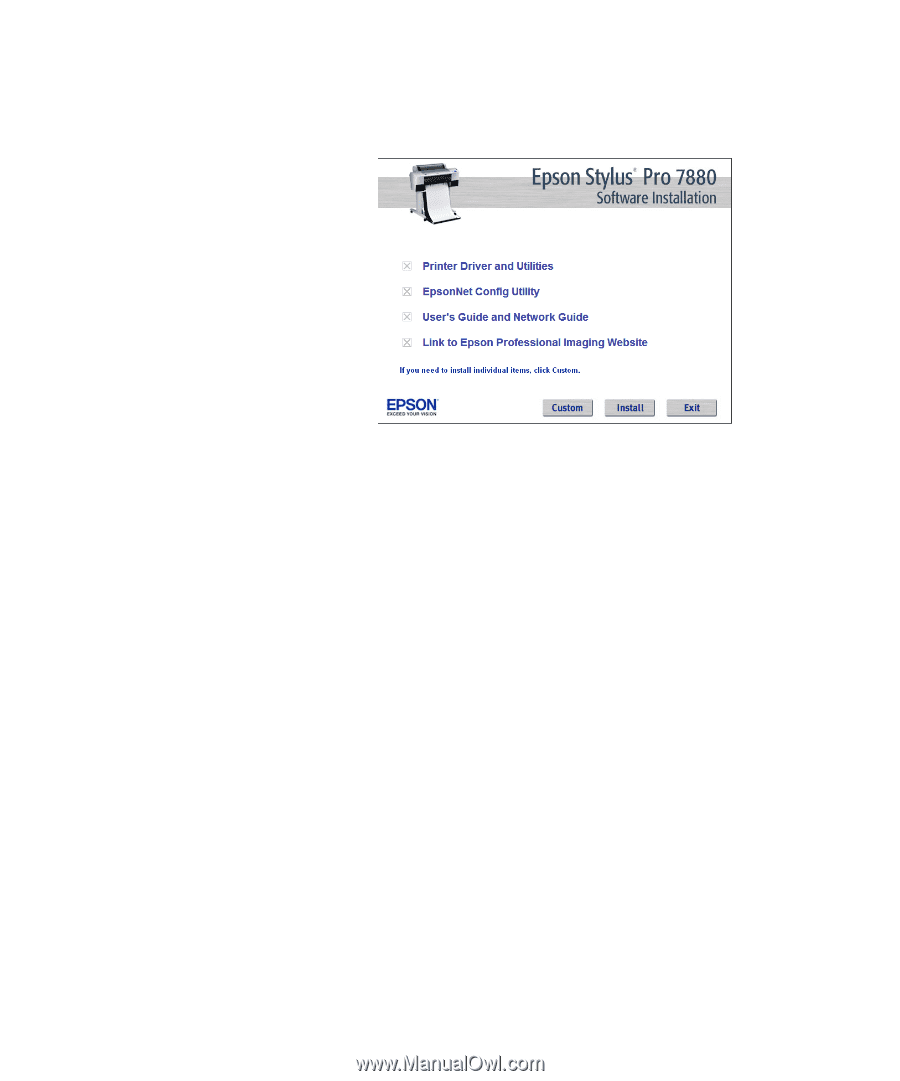
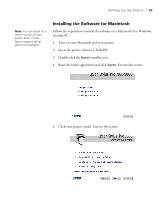
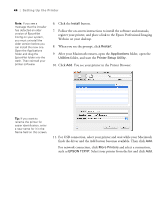
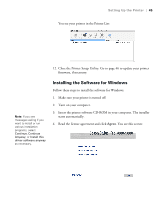
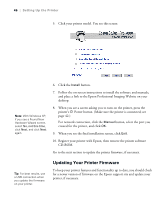
46 | Setting Up the Printer 5. Click your printer model. You see this screen: Note: With Windows XP, if you see a Found New Hardware Wizard screen, select No, not this time, click Next, and click Next again. 6. Click the Install button. 7. Follow the on-screen instructions to install the software and manuals, and place a link to the Epson Professional Imaging Website on your desktop. 8. When you see a screen asking you to turn on the printer, press the printer's P Power button. (Make sure the printer is connected; see page 42.) For network connection, click the Manual button, select the port you created for the printer, and click OK. 9. When you see the final installation screen, click Exit. 10. Register your printer with Epson, then remove the printer software CD-ROM. Go to the next section to update the printer firmware, if necessary. Tip: For best results, use a USB connection when you update the firmware on your printer. Updating Your Printer Firmware To keep your printer features and functionality up to date, you should check for a newer version of firmware on the Epson support site and update your printer, if necessary. 46
-
 1
1 -
2
-
3
-
4
-
5
-
6
-
7
-
8
-
9
-
10
-
11
-
12
-
13
-
14
-
15
-
16
-
17
-
18
-
19
-
20
-
21
-
22
-
23
-
24
-
25
-
26
-
27
-
28
-
29
-
30
-
31
-
32
-
33
-
34
-
35
-
36
-
37
-
38
-
 39
39 -
 40
40 -
 41
41 -
 42
42 -
 43
43 -
 44
44 -
 45
45 -
 46
46 -
 47
47 -
 48
48 -
 49
49 -
50
-
51
-
52
-
53
-
54
-
55
-
56
-
57
-
58
-
59
-
60
-
61
-
62
-
63
-
64
-
65
-
66
-
67
-
68
-
69
-
70
-
71
-
72
-
73
-
74
-
75
-
76
-
77
-
78
-
79
-
80
-
81
-
82
-
83
-
84
-
85
-
86
-
87
-
88
-
89
-
90
-
91
-
92
-
93
-
94
-
95
-
96
-
97
-
98
-
99
-
100
-
101
-
102
-
103
-
104
-
105
-
106
-
107
-
108
-
109
-
110
-
111
-
112
-
113
-
114
-
115
-
116
-
117
-
118
-
119
-
120
-
121
-
122
-
123
-
124
-
125
-
126
-
127
-
128
-
129
-
130
-
131
-
132
-
133
-
134
-
135
-
136
-
137
-
138
-
139
-
140
-
141
-
142
-
143
-
144
-
145
-
146
-
147
-
148
-
149
-
150
-
151
-
152
-
153
-
154
-
155
-
156
-
157
-
158
-
159
-
160
-
161
-
162
-
163
-
164
-
165
-
166
-
167
-
168
-
169
-
170
-
171
-
172
-
173
-
174
-
175
-
176
 |
 |