Epson 9880 Printer Guide - Page 122
Checking and Cleaning the Print Head Using the Control Panel, Windows XP
 |
UPC - 010343866843
View all Epson 9880 manuals
Add to My Manuals
Save this manual to your list of manuals |
Page 122 highlights
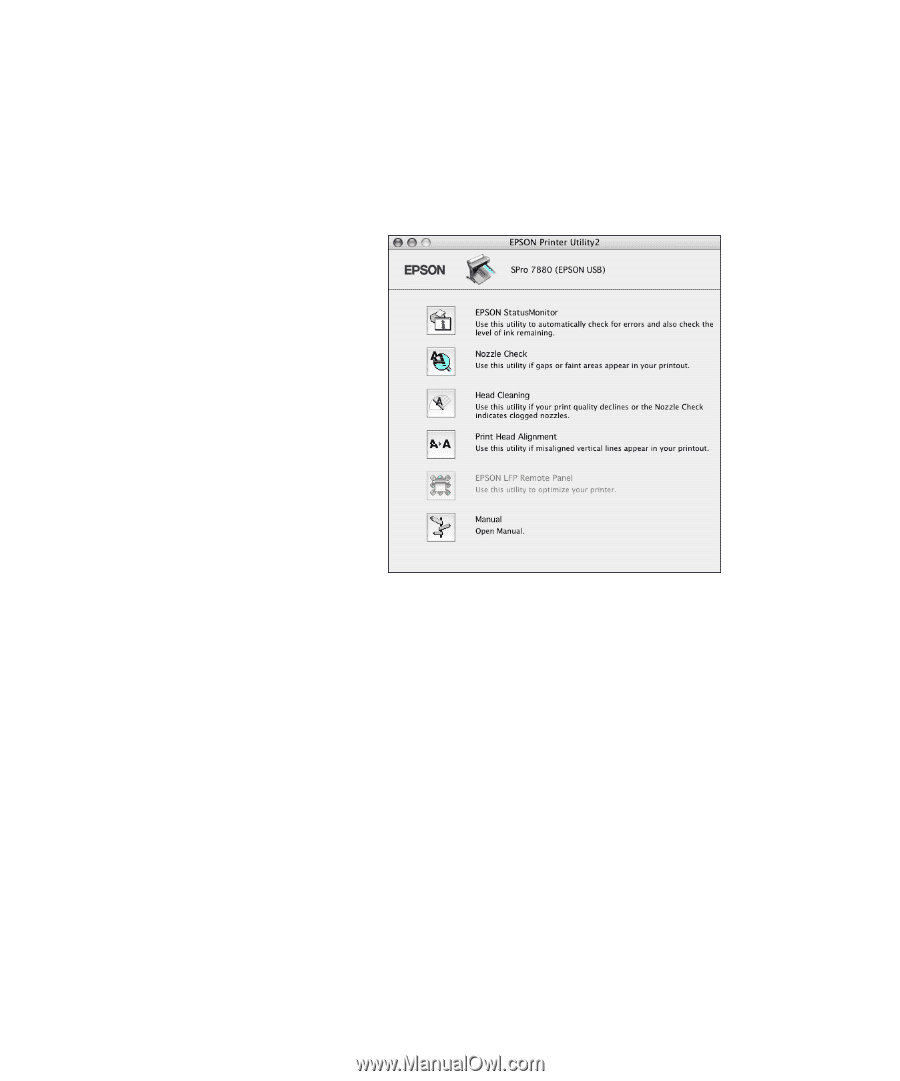
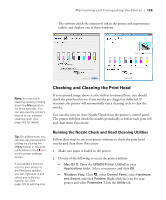
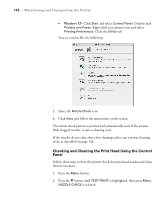
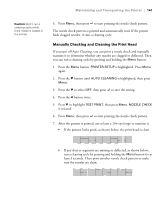
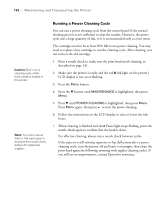
140 | Maintaining and Transporting the Printer • Windows XP: Click Start and select Control Panel. Double-click Printers and Faxes. Right-click your printer icon and select Printing Preferences. Click the Utility tab. You see a menu like the following: 3. Select the Nozzle Check icon. 4. Click Auto and follow the instructions on the screen. The nozzle check pattern is printed and automatically read. If the printer finds clogged nozzles, it runs a cleaning cycle. If the nozzles do not clear after a few cleaning cycles, run a power cleaning cycle, as described on page 142. Checking and Cleaning the Print Head Using the Control Panel Follow these steps to have the printer check the print head nozzles and clean them if necessary. 1. Press the Menu button. 2. Press the d button until TEST PRINT is highlighted, then press Menu. NOZZLE CHECK is selected. 140
-
 1
1 -
2
-
3
-
4
-
5
-
6
-
7
-
8
-
9
-
10
-
11
-
12
-
13
-
14
-
15
-
16
-
17
-
18
-
19
-
20
-
21
-
22
-
23
-
24
-
25
-
26
-
27
-
28
-
29
-
30
-
31
-
32
-
33
-
34
-
35
-
36
-
37
-
38
-
39
-
40
-
41
-
42
-
43
-
44
-
45
-
46
-
47
-
48
-
49
-
50
-
51
-
52
-
53
-
54
-
55
-
56
-
57
-
58
-
59
-
60
-
61
-
62
-
63
-
64
-
65
-
66
-
67
-
68
-
69
-
70
-
71
-
72
-
73
-
74
-
75
-
76
-
77
-
78
-
79
-
80
-
81
-
82
-
83
-
84
-
85
-
86
-
87
-
88
-
89
-
90
-
91
-
92
-
93
-
94
-
95
-
96
-
97
-
98
-
99
-
100
-
101
-
102
-
103
-
104
-
105
-
106
-
107
-
108
-
109
-
110
-
111
-
112
-
113
-
114
-
115
-
116
-
 117
117 -
 118
118 -
 119
119 -
 120
120 -
 121
121 -
 122
122 -
 123
123 -
 124
124 -
 125
125 -
 126
126 -
 127
127 -
128
-
129
-
130
-
131
-
132
-
133
-
134
-
135
-
136
-
137
-
138
-
139
-
140
-
141
-
142
-
143
-
144
-
145
-
146
-
147
-
148
-
149
-
150
-
151
-
152
-
153
-
154
-
155
-
156
-
157
-
158
-
159
-
160
-
161
-
162
-
163
-
164
-
165
-
166
-
167
-
168
-
169
-
170
-
171
-
172
-
173
-
174
-
175
-
176
 |
 |