Epson 9880 Printer Guide - Page 119
Maintaining and Transporting the Printer - cleaning unit
 |
UPC - 010343866843
View all Epson 9880 manuals
Add to My Manuals
Save this manual to your list of manuals |
Page 119 highlights
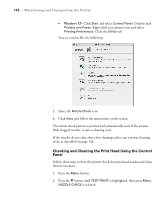
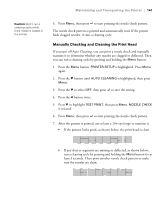
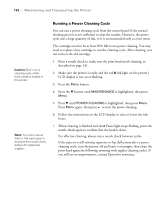
Note: The EDM STATUS option is for future enhancements to the printer. Maintaining and Transporting the Printer | 137 (This option must be enabled using maintenance mode on the printer's control panel to display information. See page 152 for instructions.) • To check the amount of ink left, press d to highlight INK LEVEL, then press Menu. The status of the first cartridge is displayed, using the symbols described on page 138. Continue pressing d to see the status of the remaining cartridges. When done, press l. • To check how much of the maintenance tank has been used, press d to highlight MAINTENANCE TANK, then press Menu. The status of the tank is displayed, using the symbols described on page 138. As the tank is filled, the percentage drops. When done, press l. • To check the amount of ink used (in milliliters) and paper used (in centimeters), press d to highlight USAGE COUNT, then press Menu. When done, press l. You can clear this setting with the CLEAR USAGE COUNT option. You can also change the units of measurement from centimeters to inches and feet using maintenance mode on the printer's control panel. See page 152 for instructions. • To check the job history, press d to highlight JOB HISTORY, then press Menu. For the last 10 print jobs saved in the printer, you see the ink used (in milliliters) and paper used (in square centimeters). The most recent job is saved as No. 0. When done, press l. • To check the total number of prints, press d to highlight TOTAL PRINTS, then press Menu. When done, press l. • To check the status of other printer parts, press d to highlight SERVICE LIFE, then press Menu. The status of the cutter is displayed, using the symbols described below. Continue pressing d to see the status of the carriage motor, paper feed motor, print head, cleaning unit, and pressure motor. When done, press l. 137
-
 1
1 -
2
-
3
-
4
-
5
-
6
-
7
-
8
-
9
-
10
-
11
-
12
-
13
-
14
-
15
-
16
-
17
-
18
-
19
-
20
-
21
-
22
-
23
-
24
-
25
-
26
-
27
-
28
-
29
-
30
-
31
-
32
-
33
-
34
-
35
-
36
-
37
-
38
-
39
-
40
-
41
-
42
-
43
-
44
-
45
-
46
-
47
-
48
-
49
-
50
-
51
-
52
-
53
-
54
-
55
-
56
-
57
-
58
-
59
-
60
-
61
-
62
-
63
-
64
-
65
-
66
-
67
-
68
-
69
-
70
-
71
-
72
-
73
-
74
-
75
-
76
-
77
-
78
-
79
-
80
-
81
-
82
-
83
-
84
-
85
-
86
-
87
-
88
-
89
-
90
-
91
-
92
-
93
-
94
-
95
-
96
-
97
-
98
-
99
-
100
-
101
-
102
-
103
-
104
-
105
-
106
-
107
-
108
-
109
-
110
-
111
-
112
-
113
-
 114
114 -
 115
115 -
 116
116 -
 117
117 -
 118
118 -
 119
119 -
 120
120 -
 121
121 -
 122
122 -
 123
123 -
 124
124 -
125
-
126
-
127
-
128
-
129
-
130
-
131
-
132
-
133
-
134
-
135
-
136
-
137
-
138
-
139
-
140
-
141
-
142
-
143
-
144
-
145
-
146
-
147
-
148
-
149
-
150
-
151
-
152
-
153
-
154
-
155
-
156
-
157
-
158
-
159
-
160
-
161
-
162
-
163
-
164
-
165
-
166
-
167
-
168
-
169
-
170
-
171
-
172
-
173
-
174
-
175
-
176
 |
 |