Epson SureColor S70675 User Manual - Page 122
buttons to, Check the printing result. If you are not satisfied with the results, use
 |
View all Epson SureColor S70675 manuals
Add to My Manuals
Save this manual to your list of manuals |
Page 122 highlights
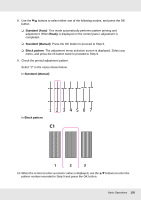
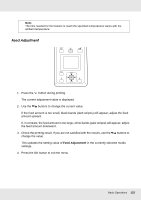
Note: The time needed for the heaters to reach the specified temperatures varies with the ambient temperature. Feed Adjustment 1. Press the button during printing. The current adjustment value is displayed. 2. Use the d/u buttons to change the current value. If the feed amount is too small, black bands (dark stripes) will appear; adjust the feed amount upward. If, in contrast, the feed amount is too large, white bands (pale stripes) will appear; adjust the feed amount downward. 3. Check the printing result. If you are not satisfied with the results, use the d/u buttons to change the value. This updates the setting value of Feed Adjustment in the currently selected media settings. 4. Press the Z button to exit the menu. Basic Operations 122
-
 1
1 -
2
-
3
-
4
-
5
-
6
-
7
-
8
-
9
-
10
-
11
-
12
-
13
-
14
-
15
-
16
-
17
-
18
-
19
-
20
-
21
-
22
-
23
-
24
-
25
-
26
-
27
-
28
-
29
-
30
-
31
-
32
-
33
-
34
-
35
-
36
-
37
-
38
-
39
-
40
-
41
-
42
-
43
-
44
-
45
-
46
-
47
-
48
-
49
-
50
-
51
-
52
-
53
-
54
-
55
-
56
-
57
-
58
-
59
-
60
-
61
-
62
-
63
-
64
-
65
-
66
-
67
-
68
-
69
-
70
-
71
-
72
-
73
-
74
-
75
-
76
-
77
-
78
-
79
-
80
-
81
-
82
-
83
-
84
-
85
-
86
-
87
-
88
-
89
-
90
-
91
-
92
-
93
-
94
-
95
-
96
-
97
-
98
-
99
-
100
-
101
-
102
-
103
-
104
-
105
-
106
-
107
-
108
-
109
-
110
-
111
-
112
-
113
-
114
-
115
-
116
-
 117
117 -
 118
118 -
 119
119 -
 120
120 -
 121
121 -
 122
122 -
 123
123 -
 124
124 -
 125
125 -
 126
126 -
 127
127 -
128
-
129
-
130
-
131
-
132
-
133
-
134
-
135
-
136
-
137
-
138
-
139
-
140
-
141
-
142
-
143
-
144
-
145
-
146
-
147
-
148
-
149
-
150
-
151
-
152
-
153
-
154
-
155
-
156
-
157
-
158
-
159
-
160
-
161
-
162
-
163
-
164
-
165
-
166
-
167
-
168
-
169
-
170
-
171
-
172
-
173
-
174
-
175
-
176
-
177
-
178
-
179
-
180
-
181
-
182
-
183
-
184
-
185
-
186
-
187
-
188
-
189
-
190
-
191
-
192
-
193
-
194
-
195
-
196
-
197
-
198
-
199
-
200
-
201
-
202
-
203
-
204
-
205
-
206
-
207
-
208
-
209
-
210
-
211
-
212
-
213
-
214
-
215
-
216
-
217
-
218
-
219
-
220
-
221
-
222
-
223
-
224
-
225
-
226
-
227
-
228
-
229
-
230
-
231
-
232
-
233
-
234
-
235
-
236
-
237
-
238
-
239
-
240
-
241
-
242
-
243
-
244
-
245
-
246
-
247
-
248
-
249
-
250
-
251
-
252
-
253
-
254
-
255
 |
 |
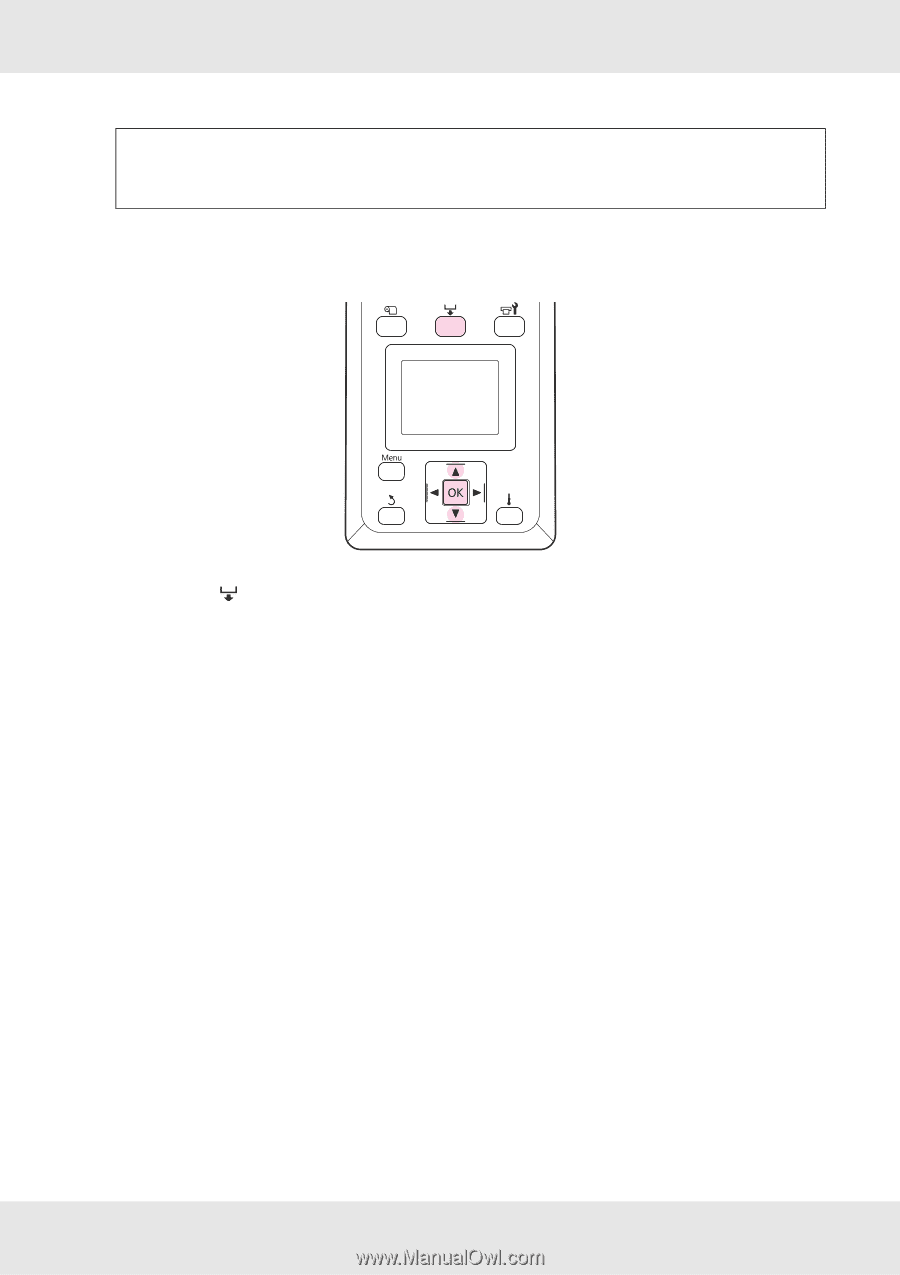
Basic Operations
122
Feed Adjustment
1.
Press the
button during printing.
The current adjustment value is displayed.
2.
Use the
d
/
u
buttons to change the current value.
If the feed amount is too small, black bands (dark stripes) will appear; adjust the feed
amount upward.
If, in contrast, the feed amount is too large, white bands (pale stripes) will appear; adjust
the feed amount downward.
3.
Check the printing result. If you are not satisfied with the results, use the
d
/
u
buttons to
change the value.
This updates the setting value of
Feed Adjustment
in the currently selected media
settings.
4.
Press the
Z
button to exit the menu.
Note:
The time needed for the heaters to reach the specified temperatures varies with the
ambient temperature.