Cisco RV042 User Guide - Page 16
Setup Tab > Network, Network - vpn setup
 |
UPC - 745883560530
View all Cisco RV042 manuals
Add to My Manuals
Save this manual to your list of manuals |
Page 16 highlights
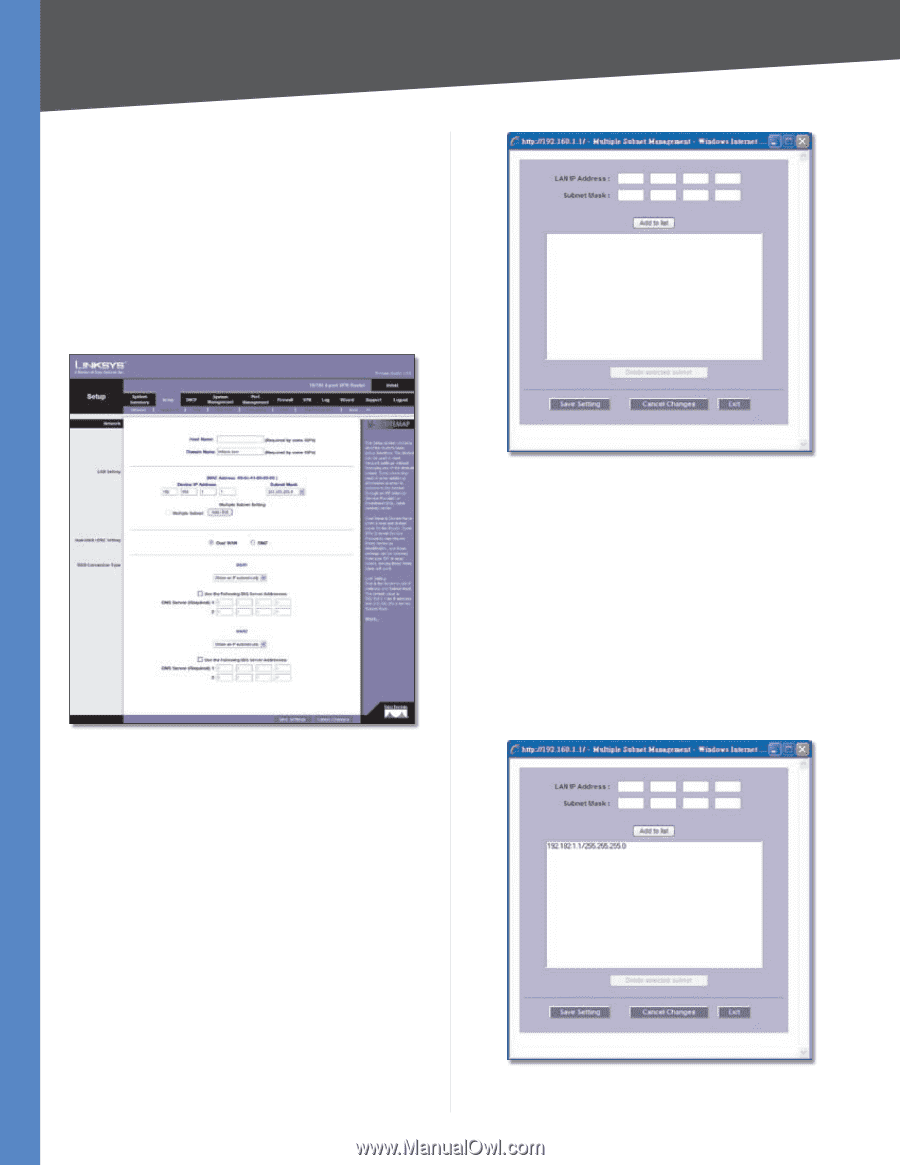
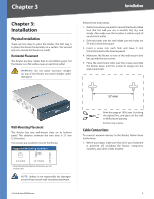
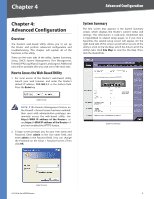
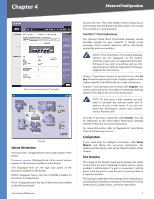
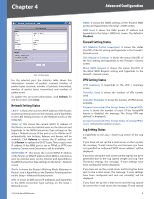
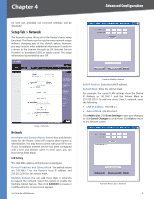
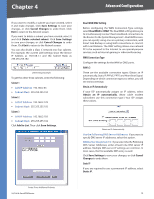
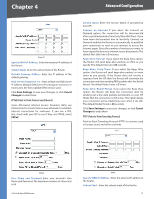
Chapter 4 be sent out, probably use incorrect settings," will be displayed. Setup Tab > Network The Network screen shows all of the Router's basic setup functions. The Router can be used in most network setups without changing any of the default values; however, you may need to enter additional information in order to connect to the Internet through an ISP (Internet Service Provider) or broadband (DSL or cable) carrier. The setup information is provided by your ISP. Advanced Configuration Setup > Network Network Host Name and Domain Name Enter a host and domain name for the Router. Some ISPs require these names as identification. You may have to check with your ISP to see if your broadband Internet service has been configured with a host and domain name. In most cases, you can leave these fields blank. LAN Setting The LAN MAC address of the Router is displayed. Device IP Address and Subnet Mask The default values are 192.168.1.1 for the Router's local IP address and 255.255.255.0 for the subnet mask. Multiple Subnet You can add more Class C networks to expand the network. Select this option to enable the Multiple Subnet feature. Then click Add/Edit to create or modify subnet(s). A new screen appears. 10/100 4-Port VPN Router Create or Modify a Subnet LAN IP Address Enter the LAN IP address. Subnet Mask Enter the subnet mask. For example, the current LAN settings show the Device IP Address as 192.168.1.1 and the Subnet Mask as 255.255.255.0. To add one more Class C network, enter the following: •• LAN IP Address 192.168.2.1 •• Subnet Mask 255.255.255.0 Click Add to List. Click Save Settings to save your changes, or click Cancel Changes to undo them. Click Exit to return to the Network screen. Add One More Class C Network 9
-
 1
1 -
2
-
3
-
4
-
5
-
6
-
7
-
8
-
9
-
10
-
 11
11 -
 12
12 -
 13
13 -
 14
14 -
 15
15 -
 16
16 -
 17
17 -
 18
18 -
 19
19 -
 20
20 -
 21
21 -
22
-
23
-
24
-
25
-
26
-
27
-
28
-
29
-
30
-
31
-
32
-
33
-
34
-
35
-
36
-
37
-
38
-
39
-
40
-
41
-
42
-
43
-
44
-
45
-
46
-
47
-
48
-
49
-
50
-
51
-
52
-
53
-
54
-
55
-
56
-
57
-
58
-
59
-
60
-
61
-
62
-
63
-
64
-
65
-
66
-
67
-
68
-
69
-
70
-
71
-
72
-
73
-
74
-
75
-
76
-
77
-
78
-
79
-
80
-
81
-
82
-
83
-
84
-
85
-
86
-
87
-
88
-
89
-
90
-
91
-
92
-
93
-
94
-
95
-
96
-
97
-
98
-
99
-
100
-
101
-
102
-
103
 |
 |