Cisco RV042 User Guide - Page 54
VPN Client Access, VPN > VPN Pass Through - vpn router password reset
 |
UPC - 745883560530
View all Cisco RV042 manuals
Add to My Manuals
Save this manual to your list of manuals |
Page 54 highlights
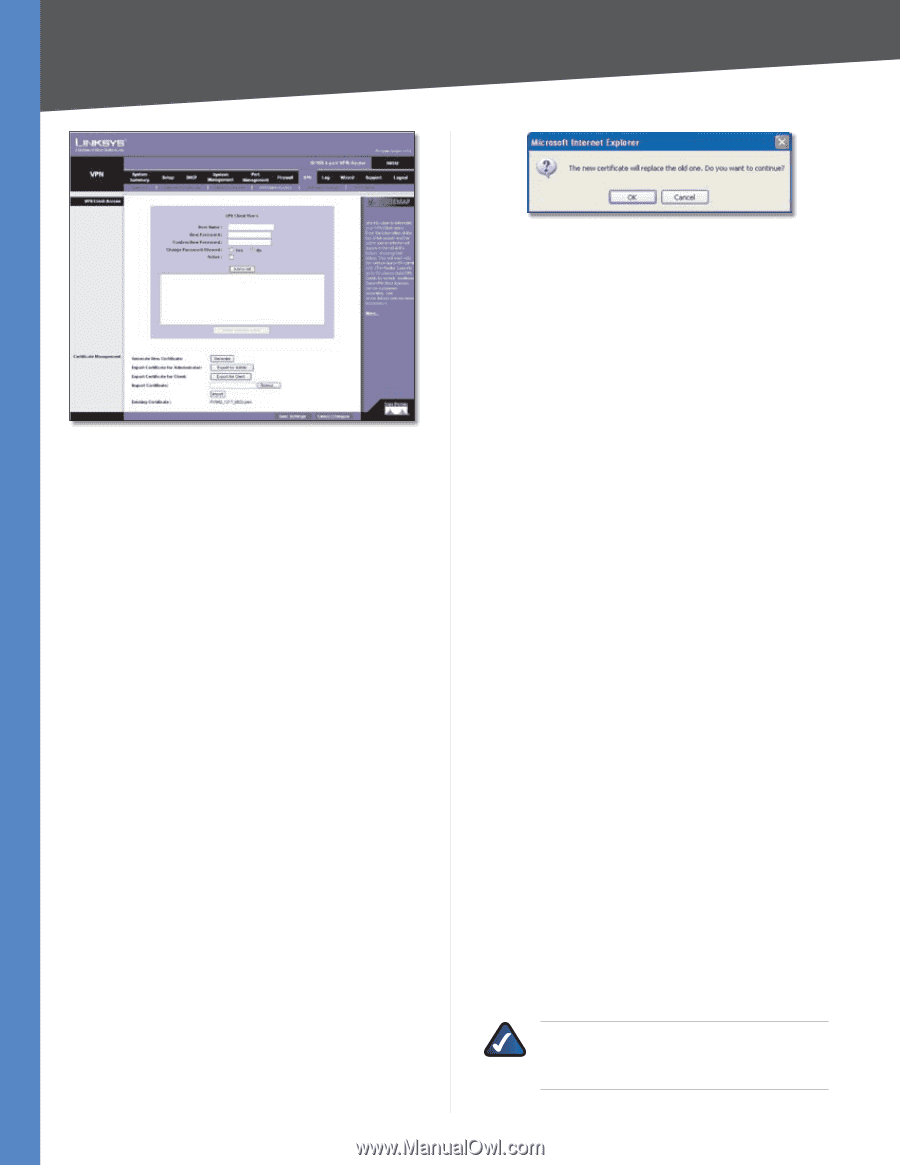
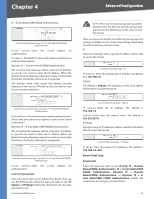
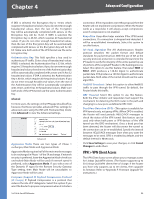
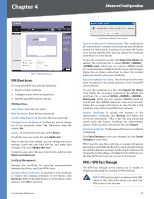
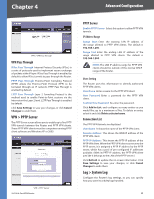
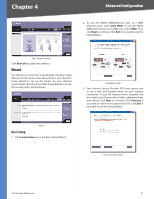
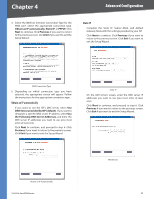
Chapter 4 Advanced Configuration VPN > VPN Client Access VPN Client Access For each QuickVPN client, do the following: 1. Export a client certificate. 2. Configure a user name and password. 3. Add the QuickVPN client to the list. VPN Client Users User Name Enter the user name. New Password Enter the new password. Confirm New Password Re-enter the new password. Change Password Allowed To allow the user to change his or her password, select Yes. Otherwise, keep the default, No. Active To activate the new user, select Active. To add the new user to the list, click Add to list. After a user has been added, you can change the user's settings. Select the user from the list, and make your changes. Then click Update this user. To delete a user, select the user from the list, and then click Delete selected users. Certificate Management Manage the certificate for securing communication between the Router and QuickVPN clients. Generate New Certificate To generate a new certificate to replace the existing certificate on the Router, click Generate. After clicking the button, a confirmation screen appears. Click OK to continue. 10/100 4-Port VPN Router Generate Certificate Confirmation Export Certificate for Administrator The certificate for the administrator contains the private key and should be stored in a safe place as a backup. If you reset the Router to its factory defaults, then you can import the certificate and restore it on the Router. To save the certificate as a file, click Export for Admin. By default, the certificate file is named RV042__ .pem, which you can rename. (MMDD stands for month and day; HHMM stands for hours and minutes.) Follow the on-screen instructions to select the location where you want to store your certificate. Export Certificate for Client The certificate for the client must be placed in the install directory of the QuickVPN client software. To save the certificate as a file, click Export for Client. Then follow the on-screen instructions. By default, the certificate file is named RV042___ Client.pem, which you can rename. (MMDD stands for month and day; HHMM stands for hours and minutes.) Follow the on-screen instructions to save the file in the install directory of the QuickVPN client software. Import Certificate To specify the location of the administrator certificate, click Browse and follow the on‑screen instructions. (This is the file you previously saved using the Export Certificate for Administrator option.) After you have selected the file, click Import. ExistingCertificate Thefilenameofthecurrentcertificate is displayed. Click Save Settings to save your changes, or click Cancel Changes to undo them. When you first save these settings, a message will appear, asking if you would like the Router to automatically change the LAN IP address to prevent conflicting IP addresses. To change the LAN IP address, click Yes. If an IP conflict occurs, the QuickVPN client will not connect to the Router. VPN > VPN Pass Through The VPN Pass Through screen allows you to enable or disable passthrough for a variety of VPN methods. NOTE: VPN passthrough is enabled so that VPN clients in the LAN of the Router can reach the VPN server on the Internet. 47
-
 1
1 -
2
-
3
-
4
-
5
-
6
-
7
-
8
-
9
-
10
-
11
-
12
-
13
-
14
-
15
-
16
-
17
-
18
-
19
-
20
-
21
-
22
-
23
-
24
-
25
-
26
-
27
-
28
-
29
-
30
-
31
-
32
-
33
-
34
-
35
-
36
-
37
-
38
-
39
-
40
-
41
-
42
-
43
-
44
-
45
-
46
-
47
-
48
-
 49
49 -
 50
50 -
 51
51 -
 52
52 -
 53
53 -
 54
54 -
 55
55 -
 56
56 -
 57
57 -
 58
58 -
 59
59 -
60
-
61
-
62
-
63
-
64
-
65
-
66
-
67
-
68
-
69
-
70
-
71
-
72
-
73
-
74
-
75
-
76
-
77
-
78
-
79
-
80
-
81
-
82
-
83
-
84
-
85
-
86
-
87
-
88
-
89
-
90
-
91
-
92
-
93
-
94
-
95
-
96
-
97
-
98
-
99
-
100
-
101
-
102
-
103
 |
 |