Cisco RV042 User Guide - Page 26
DHCP > Setup, Static Routing - dmz setup
 |
UPC - 745883560530
View all Cisco RV042 manuals
Add to My Manuals
Save this manual to your list of manuals |
Page 26 highlights
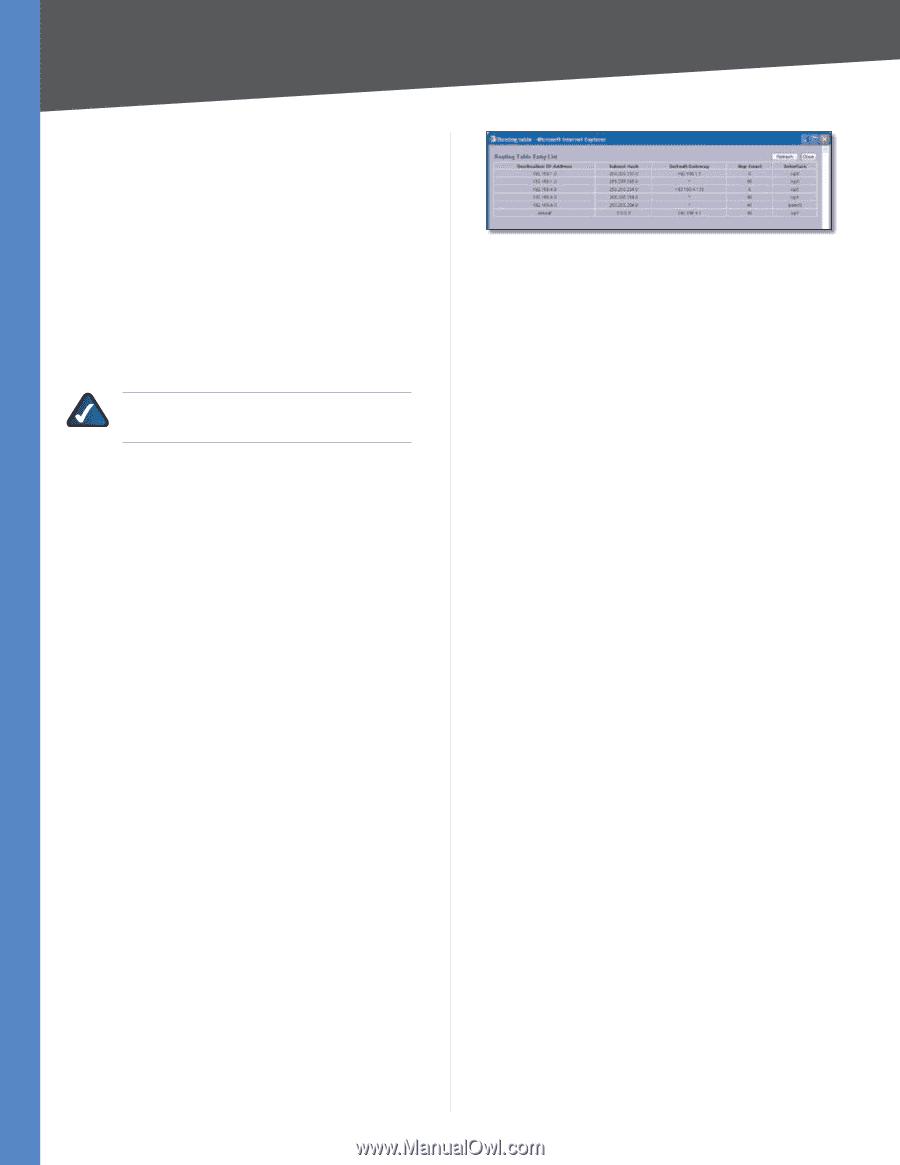
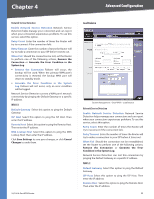
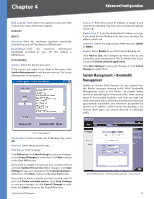
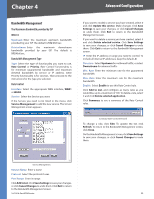
Chapter 4 Advanced Configuration Static Routing If the Router is connected to more than one network or there are multiple routers installed on your network, it may be necessary to set up static routes. The static routing function determines the path that data follows over your network before and after it passes through the Router. You can use static routing to allow different IP domain users to access the Internet through the Router. Static routing is a powerful feature that should be used by advanced users only. In many cases, it is better to use dynamic routing because it enables the Router to automatically adjust to physical changes in the network's layout. NOTE: Static routing is an advanced feature. Create these routes with care. To create a static route entry, enter the following information: Destination IP Enter the network address of the remote LAN segment. For a standard Class C IP domain, the network address is the first three fields of the Destination LAN IP, while the last field should be 0. Subnet Mask Enter the subnet mask used on the destination LAN IP domain. For Class C IP domains, the subnet mask is 255.255.255.0. Default Gateway Enter the IP address of the router of the network, for which this static route is created. For example, if this network is connected to the local router's LAN port through another router, use the WAN IP address of that router. Hop Count Enter the appropriate value (maximum is 15). This indicates the number of nodes that a data packet passes through before reaching its destination. A node is any device on the network, such as a computer or router. Interface Select the appropriate interface. The Interface tells you whether your network is on the LAN, WAN1, or WAN2/DMZ. If the gateway router is on a LAN port, then select LAN. If you're connecting to another network through the Internet, select the appropriate WAN port option. Click Add to List, and configure as many entries as you would like, up to a maximum of 30. To delete an entry, select it and click Delete selected IP. Click Show Routing Table to see the details of your entries. Routing Table Entry List Click Refresh to update the on-screen information. Click Close to exit this screen and return to the Advanced Routing screen. On the Advanced Routing screen, click Save Settings to save your changes, or click Cancel Changes to undo them. DHCP > Setup The Router can be used as a DHCP (Dynamic Host Configuration Protocol) server on your network. A DHCP server automatically assigns available IP addresses to computers on your network. If you choose to enable the DHCP server option, all of the computers on your LAN must be set to obtain an IP address automatically from a DHCP server. (By default, Windows computers are set to obtain an IP automatically.) If the Router's DHCP server function is disabled, do one of the following: •• Configure the IP address, subnet mask, and DNS settings of every computer on your network. (Make sure you do not assign the same IP address to different computers.) •• Set up a stand-alone DHCP server with the Router as the default gateway. 10/100 4-Port VPN Router 19
-
 1
1 -
2
-
3
-
4
-
5
-
6
-
7
-
8
-
9
-
10
-
11
-
12
-
13
-
14
-
15
-
16
-
17
-
18
-
19
-
20
-
 21
21 -
 22
22 -
 23
23 -
 24
24 -
 25
25 -
 26
26 -
 27
27 -
 28
28 -
 29
29 -
 30
30 -
 31
31 -
32
-
33
-
34
-
35
-
36
-
37
-
38
-
39
-
40
-
41
-
42
-
43
-
44
-
45
-
46
-
47
-
48
-
49
-
50
-
51
-
52
-
53
-
54
-
55
-
56
-
57
-
58
-
59
-
60
-
61
-
62
-
63
-
64
-
65
-
66
-
67
-
68
-
69
-
70
-
71
-
72
-
73
-
74
-
75
-
76
-
77
-
78
-
79
-
80
-
81
-
82
-
83
-
84
-
85
-
86
-
87
-
88
-
89
-
90
-
91
-
92
-
93
-
94
-
95
-
96
-
97
-
98
-
99
-
100
-
101
-
102
-
103
 |
 |