Cisco RV042 User Guide - Page 41
GroupVPN Status, Gateway to Gateway, Client to Gateway - vpn client
 |
UPC - 745883560530
View all Cisco RV042 manuals
Add to My Manuals
Save this manual to your list of manuals |
Page 41 highlights
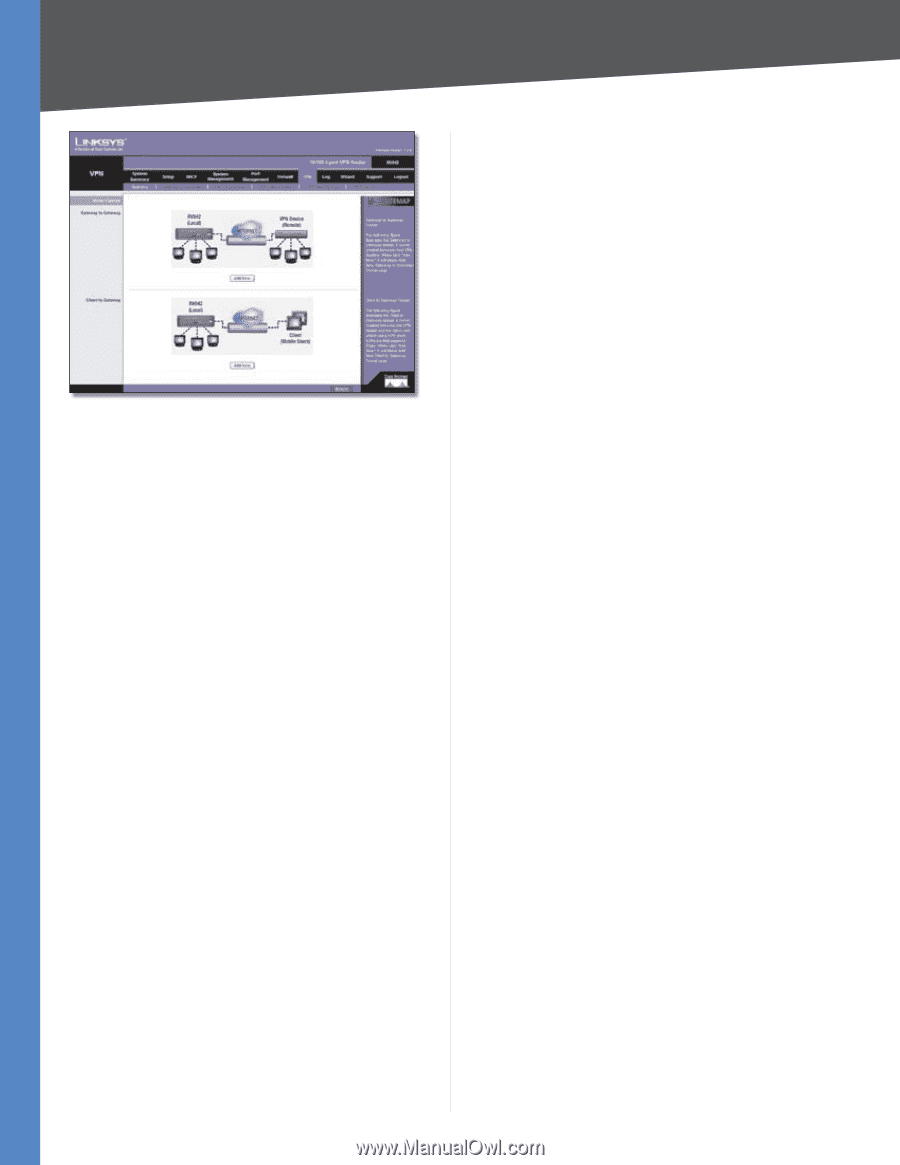
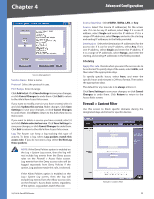
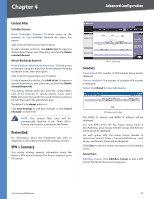
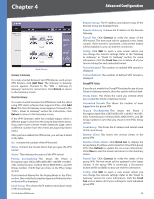
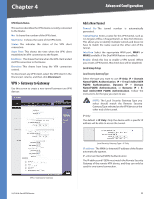
Chapter 4 Advanced Configuration Mode Choose Gateway to Gateway To create a tunnel between two VPN devices, such as two VPN Routers, click Add Now. The Gateway to Gateway screen appears. Proceed to the "VPN > Gateway to Gateway" section for instructions. Click Return to return to the Summary screen. Client to Gateway To create a tunnel between the VPN Router and the client using VPN client software that supports IPSec, click Add Now. The Client to Gateway screen appears. Proceed to the "VPN > Client to Gateway" section for instructions. Click Return to return to the Summary screen. If the VPN Summary table has multiple pages, select a different page to view from the Jump to drop-down menu. If you want more or fewer entries listed per page, select a different number from the entries per page drop-down menu. After you have added the VPN tunnel, you will see it listed in the table. No. It shows the number of the VPN tunnel. Name It shows the Tunnel Name that you gave the VPN tunnel. Status This indicates the status of the VPN tunnel. Phase2 Enc/Auth/Grp This shows the Phase 2 Encryption type (NULL/DES/3DES/AES-128/AES-192/AES256), Authentication method (NULL/MD5/SHA1), and DH Group number (1/2/5) that you chose in the IPSec Setup section. If you selected Manual for the Keying Mode in the IPSec section, then only the Encryption type and Authentication method will be displayed. Local Group This shows the IP address and subnet mask of the Local Group. 10/100 4-Port VPN Router Remote Group The IP address and subnet mask of the Remote Group are displayed here. Remote Gateway It shows the IP address of the Remote Gateway. Tunnel Test Click Connect to verify the status of the VPN tunnel. The test result will be updated in the Status column. If the tunnel is connected, a Disconnect button will be available so you can end the connection. Config. Click Edit to open a new screen where you can change the tunnel's settings. Refer to the "Gateway to Gateway" or "Client to Gateway" section for more information. Click the Trash Can icon to delete all of your tunnel settings for each individual tunnel. Tunnel Enabled The number of enabled VPN tunnels is displayed. Tunnel Defined The number of defined VPN tunnels is displayed. GroupVPN Status If you do not enable the GroupVPN setting for any of your Client to Gateway tunnels, then this section will be blank. Group Name This shows the name you entered when you created the Client to Gateway tunnel. Connected Tunnels This shows the number of users logged into the group VPN. Phase2 Enc/Auth/Grp This shows the Phase 2 Encryption type (NULL/DES/3DES/AES-128/AES-192/AES256), Authentication method (NULL/MD5/SHA1), and DH Group number (1/2/5) that you chose in the IPSec Setup section. Local Group This shows the IP address and subnet mask of the Local Group. Remote Client This shows the remote clients in the group VPN. Remote Clients Status Click Detail List to display the Group Name, IP address and Connection Time of this group VPN. Click Refresh to update the on-screen information. Click Close to exit this screen and return to the Summary screen. Tunnel Test Click Connect to verify the status of the group VPN. The test result will be updated in the Status column. If the group VPN is connected, a Disconnect button will be available so you can end the connection. Config. Click Edit to open a new screen where you can change the tunnel's settings. Refer to the "Client to Gateway" section for more information. Click the Trash Can icon to delete all of your settings for each individual group VPN. 34
-
 1
1 -
2
-
3
-
4
-
5
-
6
-
7
-
8
-
9
-
10
-
11
-
12
-
13
-
14
-
15
-
16
-
17
-
18
-
19
-
20
-
21
-
22
-
23
-
24
-
25
-
26
-
27
-
28
-
29
-
30
-
31
-
32
-
33
-
34
-
35
-
 36
36 -
 37
37 -
 38
38 -
 39
39 -
 40
40 -
 41
41 -
 42
42 -
 43
43 -
 44
44 -
 45
45 -
 46
46 -
47
-
48
-
49
-
50
-
51
-
52
-
53
-
54
-
55
-
56
-
57
-
58
-
59
-
60
-
61
-
62
-
63
-
64
-
65
-
66
-
67
-
68
-
69
-
70
-
71
-
72
-
73
-
74
-
75
-
76
-
77
-
78
-
79
-
80
-
81
-
82
-
83
-
84
-
85
-
86
-
87
-
88
-
89
-
90
-
91
-
92
-
93
-
94
-
95
-
96
-
97
-
98
-
99
-
100
-
101
-
102
-
103
 |
 |