Cisco RV042 User Guide - Page 35
Restart, System Management > Setting Backup, Import Configuration File, Port Management > Port Setup - exp
 |
UPC - 745883560530
View all Cisco RV042 manuals
Add to My Manuals
Save this manual to your list of manuals |
Page 35 highlights
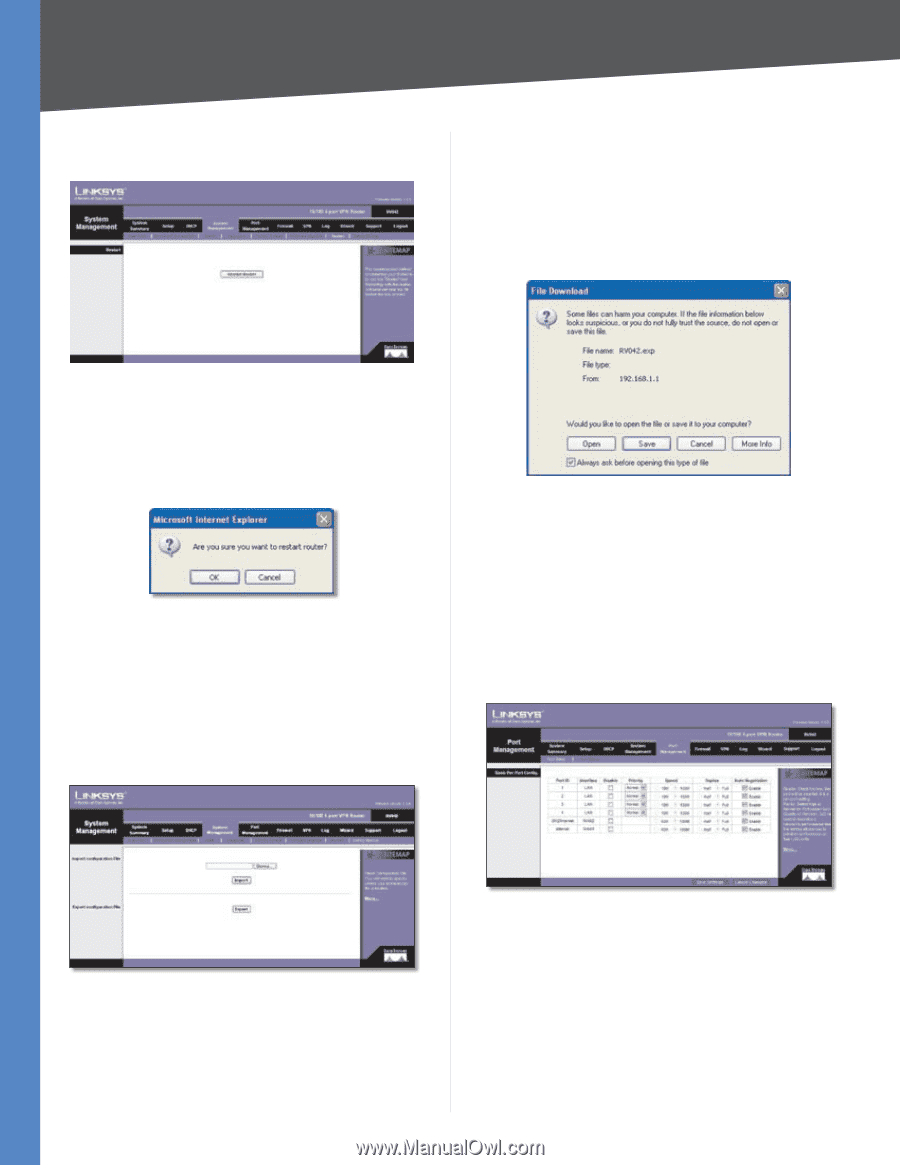
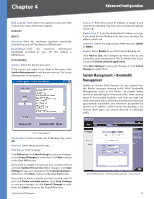
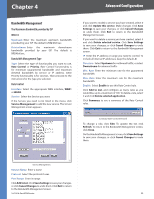
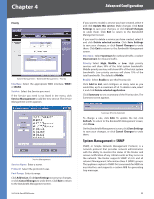
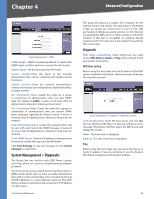
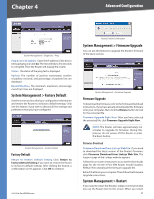
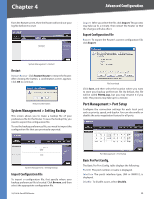
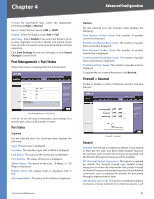
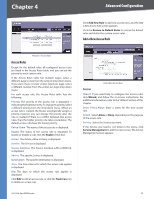
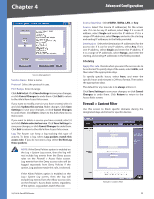
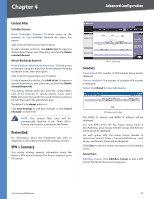
Chapter 4 Advanced Configuration from the Restart screen, then the Router will send out your log file before it is reset. Import After you select the file, click Import. This process may take up to a minute. Then restart the Router so that the changes will take effect. Export Configuration File Export To export the Router's current configuration file, click Export. System Management > Restart Restart Restart Router Click Restart Router to restart the Router. After clicking the button, a confirmation screen appears. Click OK to continue. Restart Confirmation System Management > Setting Backup This screen allows you to make a backup file of your preferences file for the Router. To save the backup file, you need to export the configuration file. To use the backup preferences file, you need to import the configuration file that you previously exported. File Download Click Save, and then select the location where you want to store your backup preferences file. By default, this file will be called RV042.exp, but you may rename it if you wish. This process may take up to a minute. Port Management > Port Setup Configure the connection settings for each local port, such as priority, speed, and duplex. You can also enable or disable the auto-negotiation feature for all ports. System Management > Setting Backup Import Configuration File To import a configuration file, first specify where your backup preferences file is located. Click Browse, and then select the appropriate configuration file. 10/100 4-Port VPN Router Port Management > Port Setup Basic Per Port Config. The Basic Per Port Config. table displays the following: Port ID The port number or name is displayed. Interface The port's interface type, LAN or WAN1/2, is displayed. Disable To disable a port, select Disable. 28
-
 1
1 -
2
-
3
-
4
-
5
-
6
-
7
-
8
-
9
-
10
-
11
-
12
-
13
-
14
-
15
-
16
-
17
-
18
-
19
-
20
-
21
-
22
-
23
-
24
-
25
-
26
-
27
-
28
-
29
-
 30
30 -
 31
31 -
 32
32 -
 33
33 -
 34
34 -
 35
35 -
 36
36 -
 37
37 -
 38
38 -
 39
39 -
 40
40 -
41
-
42
-
43
-
44
-
45
-
46
-
47
-
48
-
49
-
50
-
51
-
52
-
53
-
54
-
55
-
56
-
57
-
58
-
59
-
60
-
61
-
62
-
63
-
64
-
65
-
66
-
67
-
68
-
69
-
70
-
71
-
72
-
73
-
74
-
75
-
76
-
77
-
78
-
79
-
80
-
81
-
82
-
83
-
84
-
85
-
86
-
87
-
88
-
89
-
90
-
91
-
92
-
93
-
94
-
95
-
96
-
97
-
98
-
99
-
100
-
101
-
102
-
103
 |
 |