Cisco RV042 User Guide - Page 32
System Management > SNMP, Priority - bandwidth management
 |
UPC - 745883560530
View all Cisco RV042 manuals
Add to My Manuals
Save this manual to your list of manuals |
Page 32 highlights
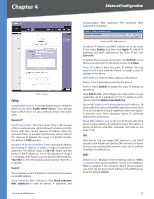
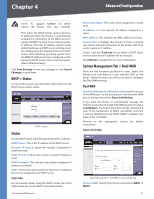
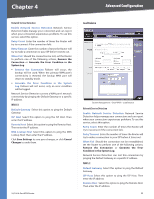
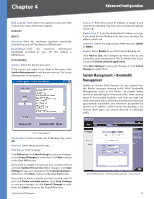
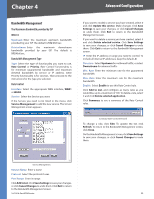
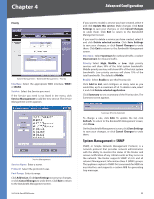
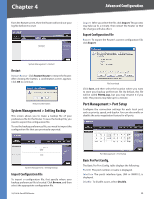
Chapter 4 Advanced Configuration Priority System Management > Bandwidth Management > Priority Interface Select the appropriate WAN interface, WAN1 or WAN2. Service Select the Service you want. If the Service you need is not listed in the menu, click Service Management to add the new service. The Service Management screen appears. Service Management Service Name Enter a name. Protocol Select the protocol it uses. Port Range Enter its range. Click Add to List. Click Save Settings to save your changes, or click Cancel Changes to undo them. Click Exit to return to the Bandwidth Management screen. 10/100 4-Port VPN Router If you want to modify a service you have created, select it and click Update this service. Make changes. Click Save Settings to save your changes, or click Cancel Changes to undo them. Click Exit to return to the Bandwidth Management screen. If you want to delete a service you have created, select it and click Delete selected service. Click Save Settings to save your changes, or click Cancel Changes to undo them. Click Exit to return to the Bandwidth Management screen. Direction Select Upstream for outbound traffic, or select Downstream for inbound traffic. Priority Select High, Middle, or Low. High priority services will share 30% of the total system bandwidth. Middle priority services will share 60% of the total system bandwidth. Low priority services will share 10% of the total bandwidth. The default is Middle. Enable Select Enable to use this Priority rule. Click Add to List, and configure as many rules as you would like, up to a maximum of 50. To delete a rule, select it and click Delete selected application. Click Summary to see a summary of the Priority rules. The Summary screen appears. Summary (Priority Selected) To change a rule, click Edit. To update the list, click Refresh. To return to the Bandwidth Management screen, click Close. On the Bandwidth Management screen, click Save Settings to save your changes, or click Cancel Changes to undo them. System Management > SNMP SNMP, or Simple Network Management Protocol, is a network protocol that provides network administrators with the ability to monitor the status of the Router and receive notification of any critical events as they occur on the network. The Router supports SNMP v1/v2c and all relevant Management Information Base II (MIBII) groups. The appliance replies to SNMP Get commands for MIBII via any interface and supports a custom MIB for generating trap messages. 25
-
 1
1 -
2
-
3
-
4
-
5
-
6
-
7
-
8
-
9
-
10
-
11
-
12
-
13
-
14
-
15
-
16
-
17
-
18
-
19
-
20
-
21
-
22
-
23
-
24
-
25
-
26
-
 27
27 -
 28
28 -
 29
29 -
 30
30 -
 31
31 -
 32
32 -
 33
33 -
 34
34 -
 35
35 -
 36
36 -
 37
37 -
38
-
39
-
40
-
41
-
42
-
43
-
44
-
45
-
46
-
47
-
48
-
49
-
50
-
51
-
52
-
53
-
54
-
55
-
56
-
57
-
58
-
59
-
60
-
61
-
62
-
63
-
64
-
65
-
66
-
67
-
68
-
69
-
70
-
71
-
72
-
73
-
74
-
75
-
76
-
77
-
78
-
79
-
80
-
81
-
82
-
83
-
84
-
85
-
86
-
87
-
88
-
89
-
90
-
91
-
92
-
93
-
94
-
95
-
96
-
97
-
98
-
99
-
100
-
101
-
102
-
103
 |
 |
