Cisco RV042 User Guide - Page 66
Add VPN Client Users, Linksys QuickVPN Client Installation and Configuration, Install from the CD-ROM - vpn client download
 |
UPC - 745883560530
View all Cisco RV042 manuals
Add to My Manuals
Save this manual to your list of manuals |
Page 66 highlights
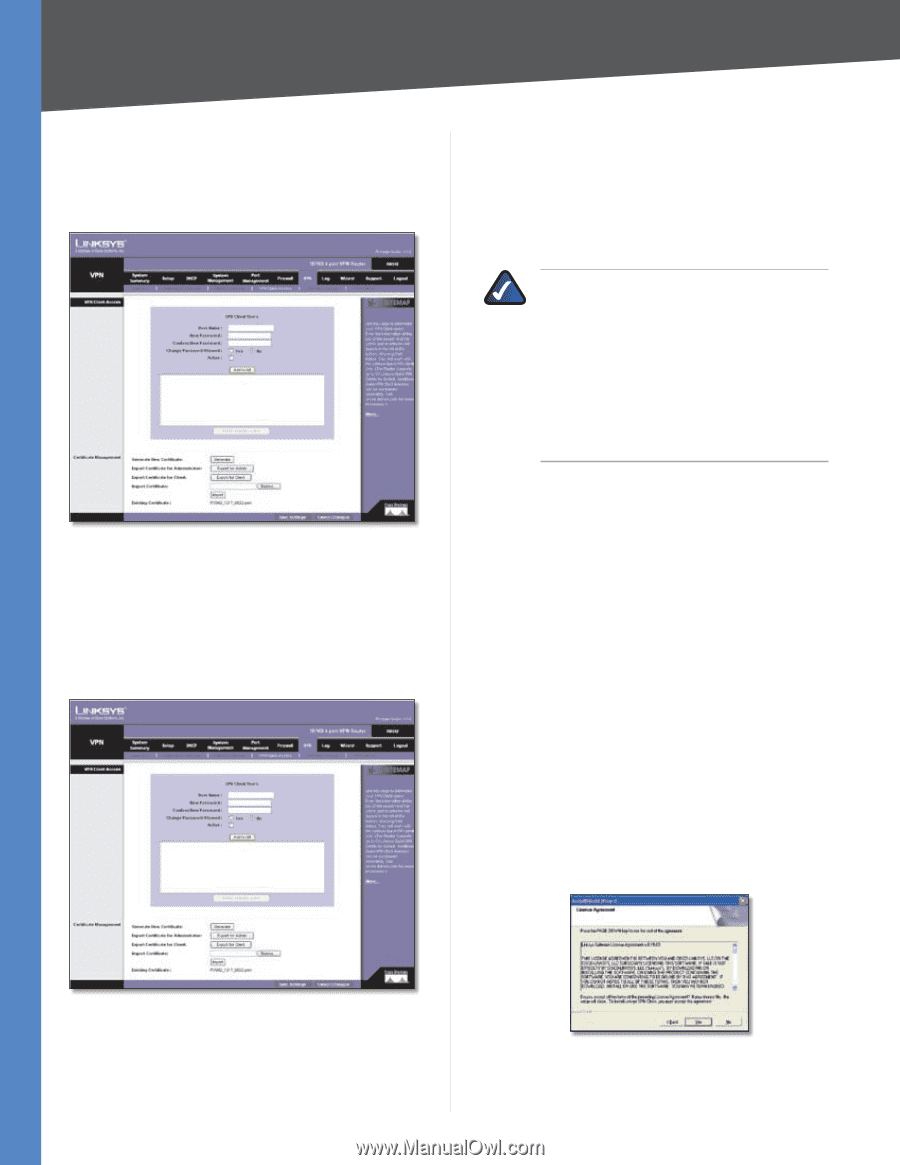
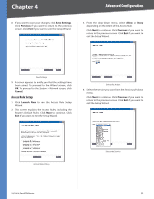
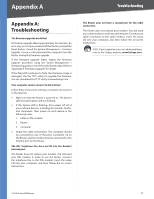
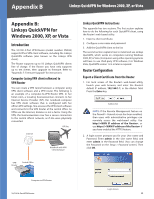
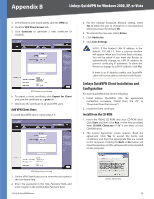
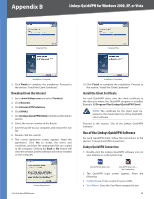
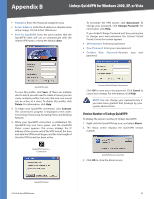
Appendix B Linksys QuickVPN for Windows 2000, XP, or Vista 3. In the Router's web-based utility, click the VPN tab. 4. Click the VPN Client Access tab. 5. Click Generate to generate a new certificate (if needed). VPN Client Access Screen 6. To export a client certificate, click Export for Client and save the certificate as a .pem file. 7. Distribute the certificate to all QuickVPN users. Add VPN Client Users For each QuickVPN client, repeat steps 1-6. 3. For the Change Password Allowed setting, select Yes to allow the user to change his or her password. Otherwise, keep the default, No. 4. To activate the new user, select Active. 5. Click Add to list. 6. Click Save Settings. NOTE: If the Router's LAN IP address is the default, 192.168.1.1, then a pop-up window will appear when you first save these settings. You will be asked if you want the Router to automatically change its LAN IP address to prevent conflicting IP addresses. To allow the Router to change its LAN IP address, click Yes. If there is an IP address conflict, the QuickVPN client will not be able to connect to the Router. Linksys QuickVPN Client Installation and Configuration For each QuickVPN client, do the following: 1. Install Linksys QuickVPN. (Use the appropriate installation procedure, "Install from the CD" or "Download from the Internet".) 2. Install the client certificate. Install from the CD-ROM 1. Insert the RV042 CD-ROM into your CD-ROM drive. Click Start and then click Run. In the field provided, enter D:\VPN_Client.exe (if "D" is the letter of your CD-ROM drive). 2. The License Agreement screen appears. Read the agreement. Click Yes to accept the terms and conditions, and then the appropriate files are copied to the computer. Clicking the Back or No button will close the window, and the software will not be installed on the computer. VPN Client Access Screen 1. On the VPN Client Access screen, enter the user name in the User Name field. 2. Enter the password in the New Password field, and enter it again in the Confirm New Password field. 10/100 4-Port VPN Router License Agreement 59
-
 1
1 -
2
-
3
-
4
-
5
-
6
-
7
-
8
-
9
-
10
-
11
-
12
-
13
-
14
-
15
-
16
-
17
-
18
-
19
-
20
-
21
-
22
-
23
-
24
-
25
-
26
-
27
-
28
-
29
-
30
-
31
-
32
-
33
-
34
-
35
-
36
-
37
-
38
-
39
-
40
-
41
-
42
-
43
-
44
-
45
-
46
-
47
-
48
-
49
-
50
-
51
-
52
-
53
-
54
-
55
-
56
-
57
-
58
-
59
-
60
-
 61
61 -
 62
62 -
 63
63 -
 64
64 -
 65
65 -
 66
66 -
 67
67 -
 68
68 -
 69
69 -
 70
70 -
 71
71 -
72
-
73
-
74
-
75
-
76
-
77
-
78
-
79
-
80
-
81
-
82
-
83
-
84
-
85
-
86
-
87
-
88
-
89
-
90
-
91
-
92
-
93
-
94
-
95
-
96
-
97
-
98
-
99
-
100
-
101
-
102
-
103
 |
 |